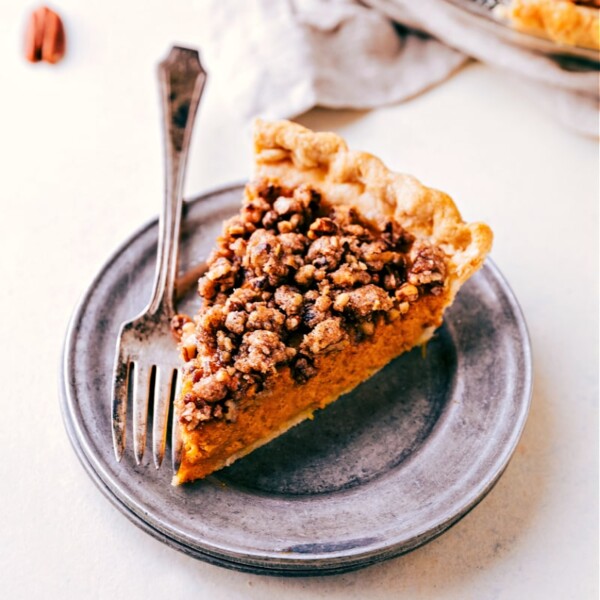
Desserts
Dinner
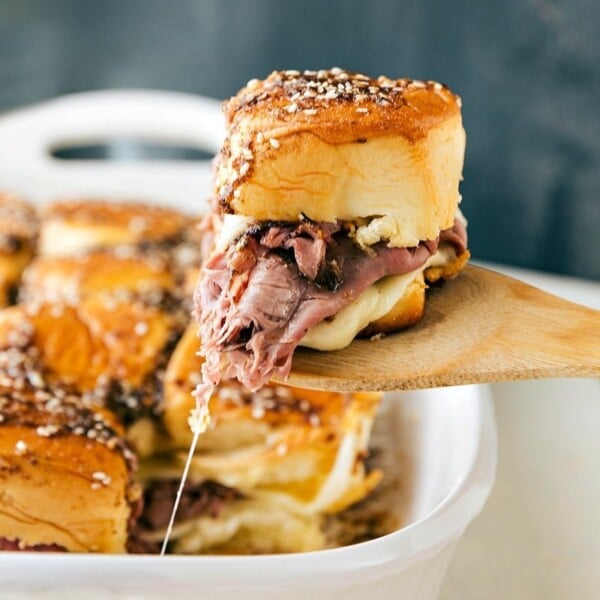
French Dip Sliders

Quick And Easy
5-Ingredient Christmas Treats
Desserts
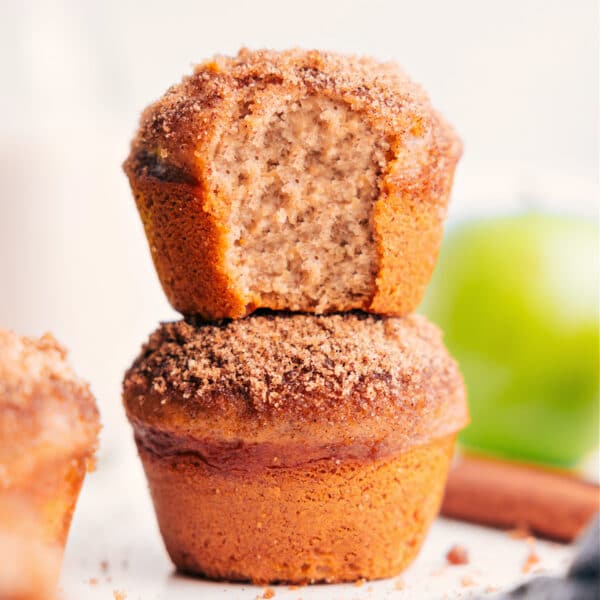
Applesauce Muffins
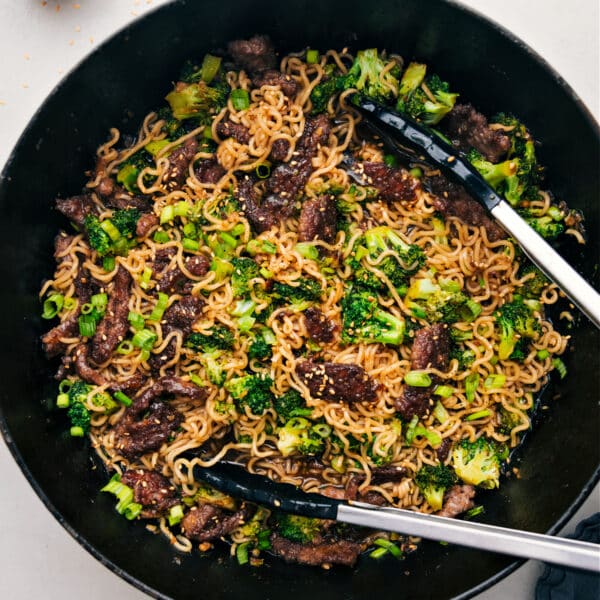
Dinner
Beef and Broccoli Ramen

Desserts
Halloween Oreo Balls
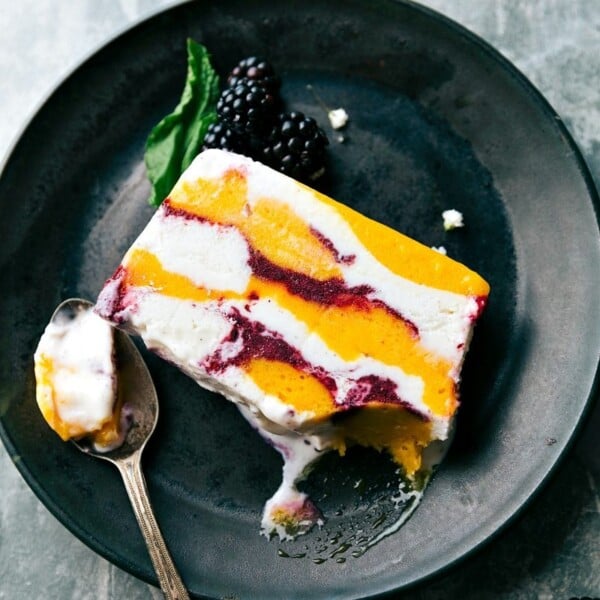
Desserts
Sorbet Terrine
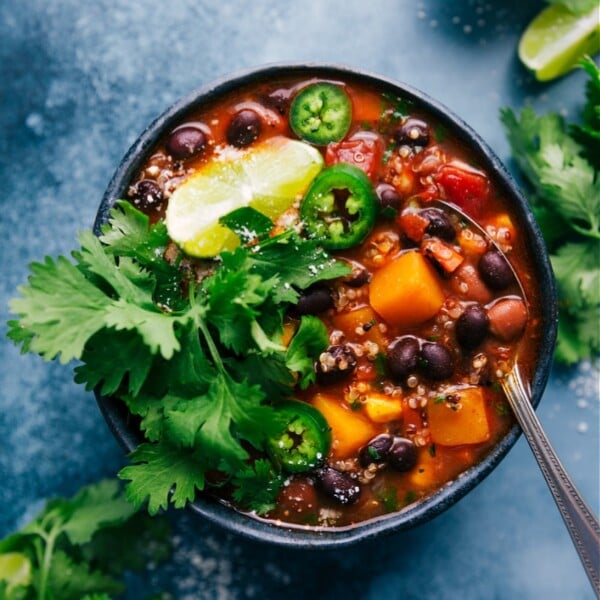
Soups And Stews
Butternut Squash Chili
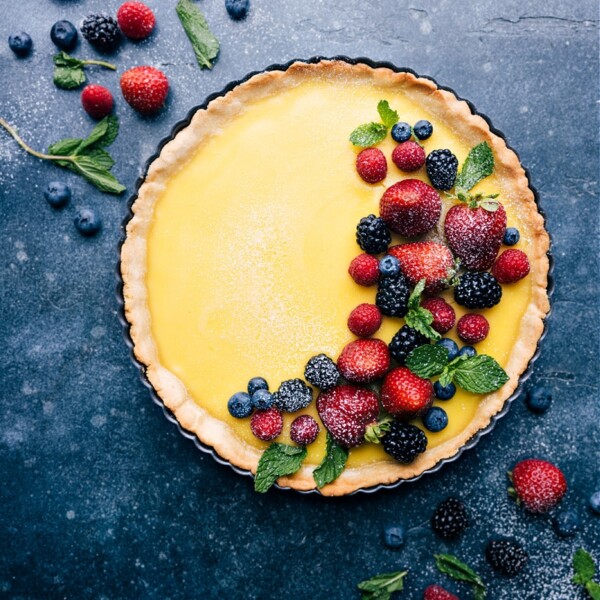
Desserts
Lemon Tart
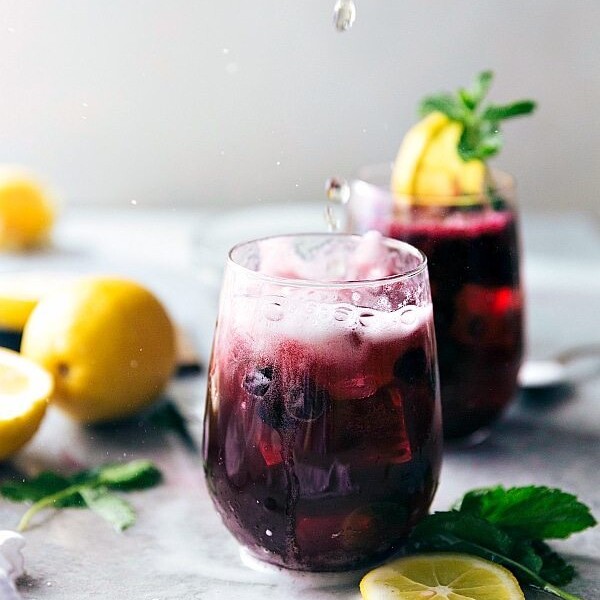
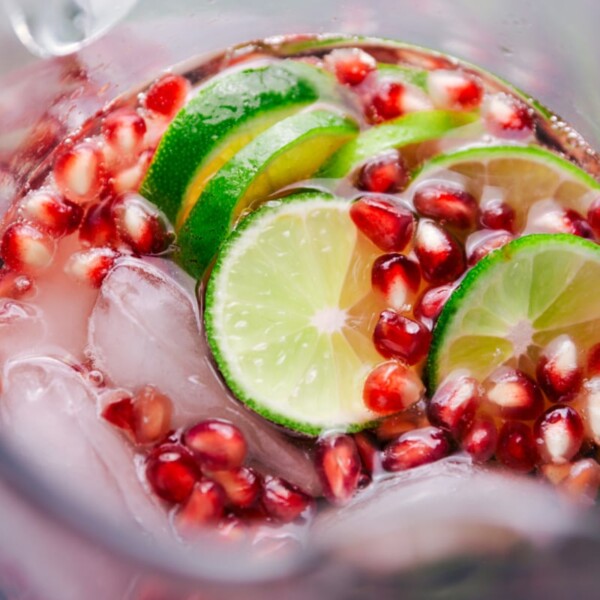
Beverages
Sparkling Blueberry Lemonade
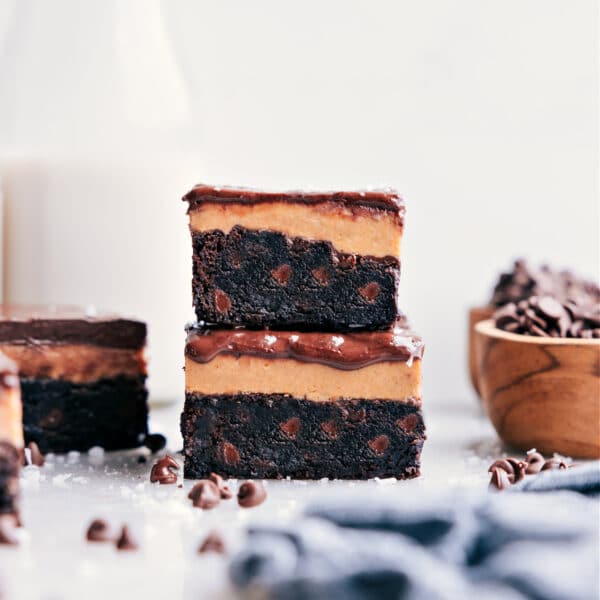
Desserts
Buckeye Brownies Recipe
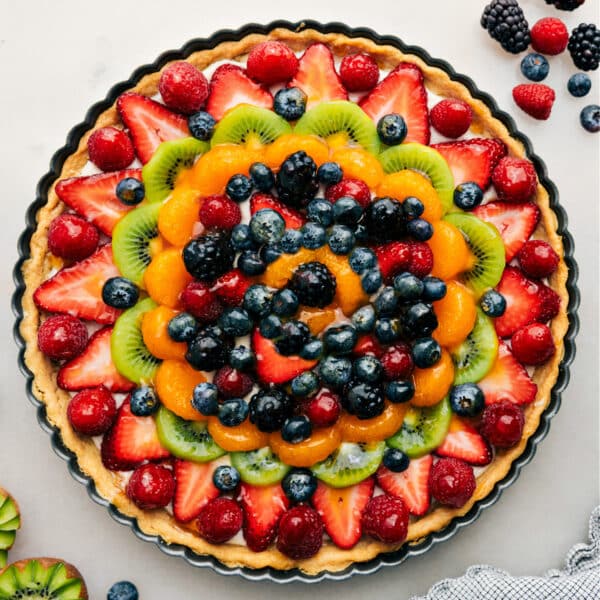
Desserts
Fruit Pizza Recipe

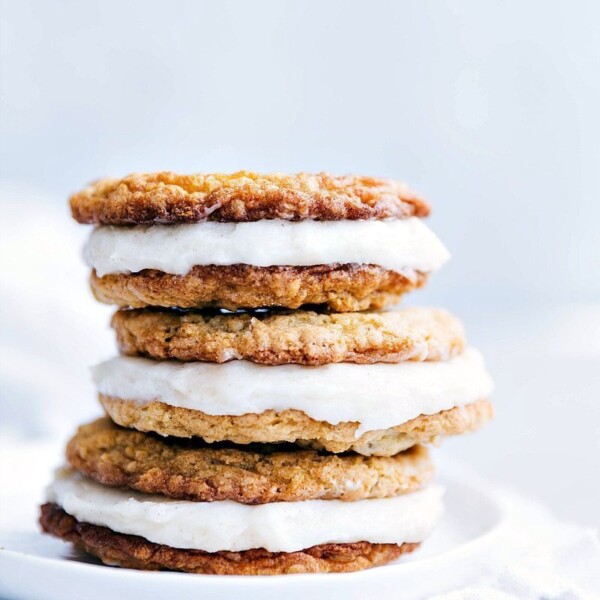
Desserts
Oatmeal Creme Pies
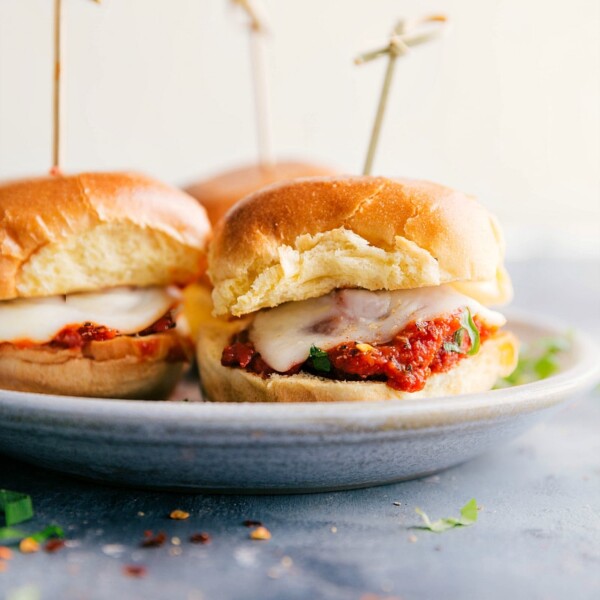
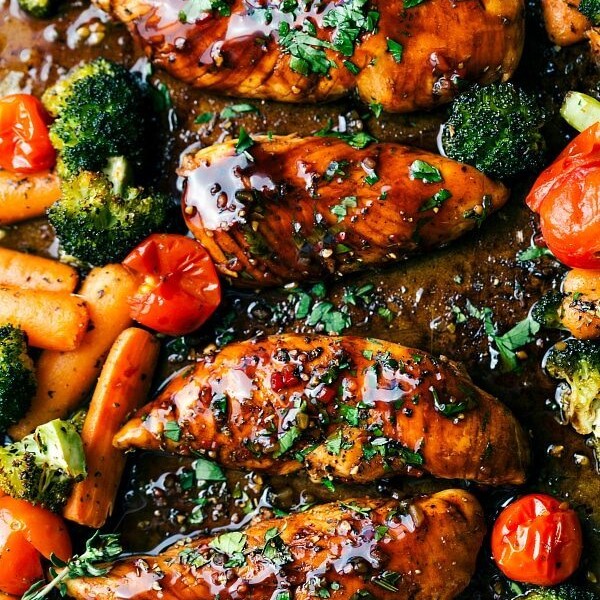
Dinner
Meatball Sliders Recipe
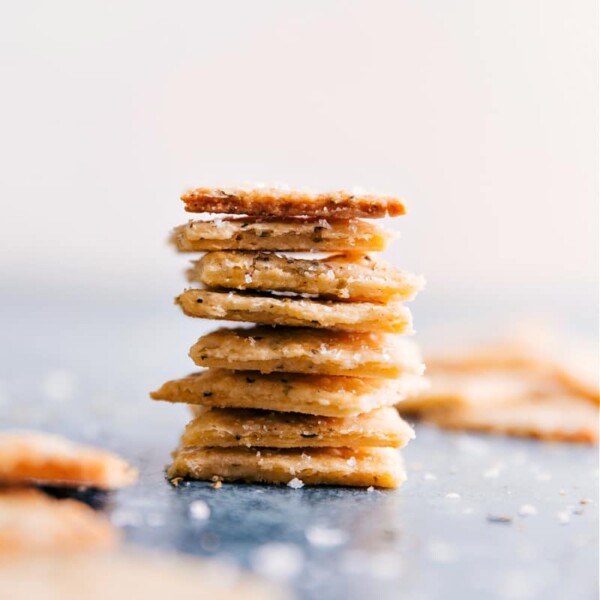
Snacks
Homemade Crackers
Beverages


