Dinner
Dinner
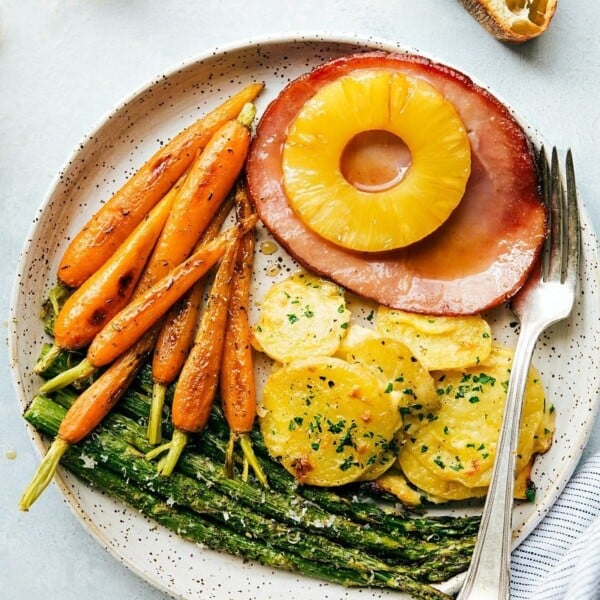
One Hour Easter Dinner
Quick And Easy
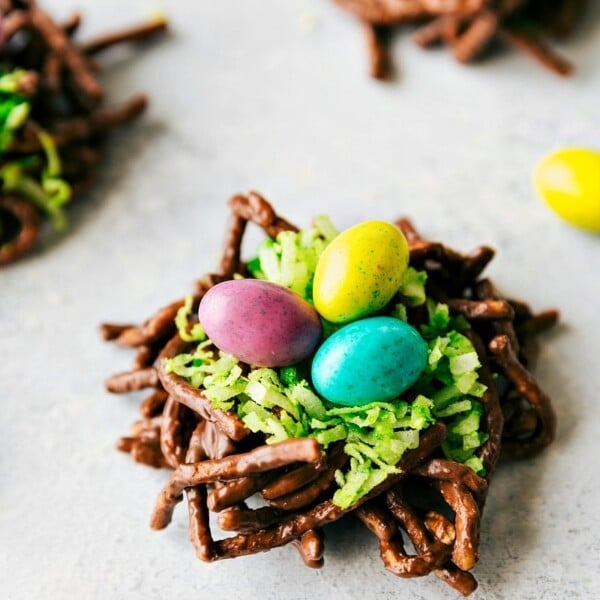
4 Simple Easter Treat Ideas
Desserts
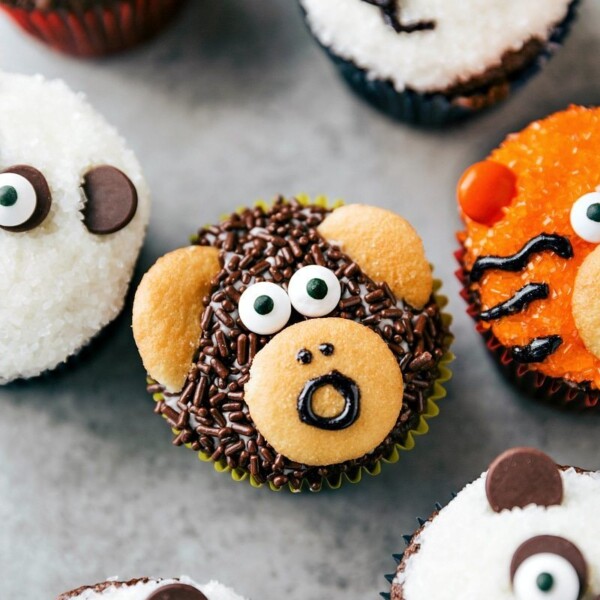
Easy Animal Cupcakes
Dinner
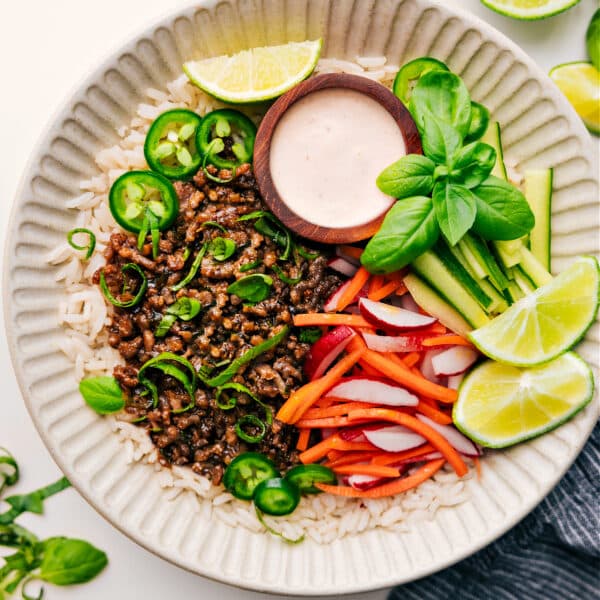
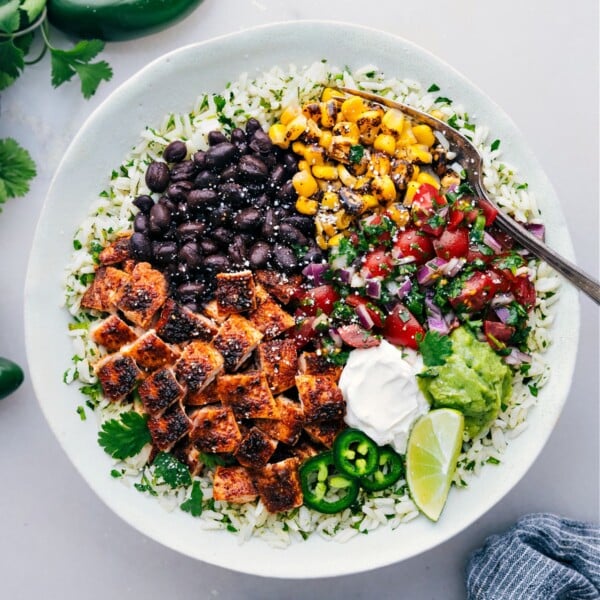
Chicken Burrito Bowls

Beverages
Tart Cherry Juice Mocktail
Desserts
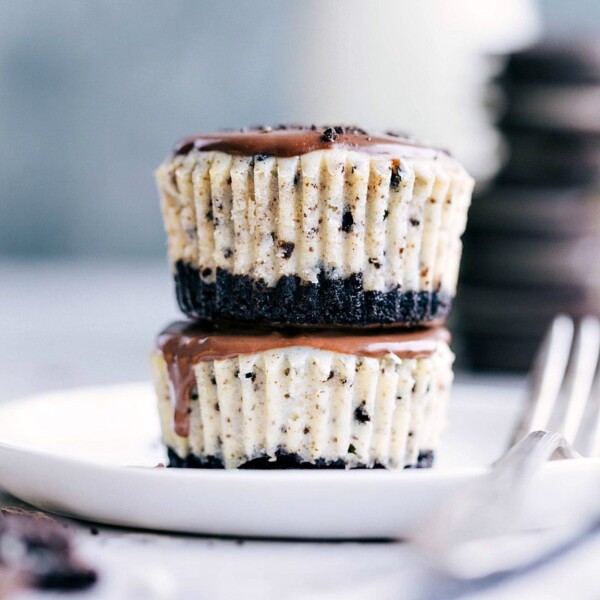
Mini Oreo Cheesecakes
Quick And Easy
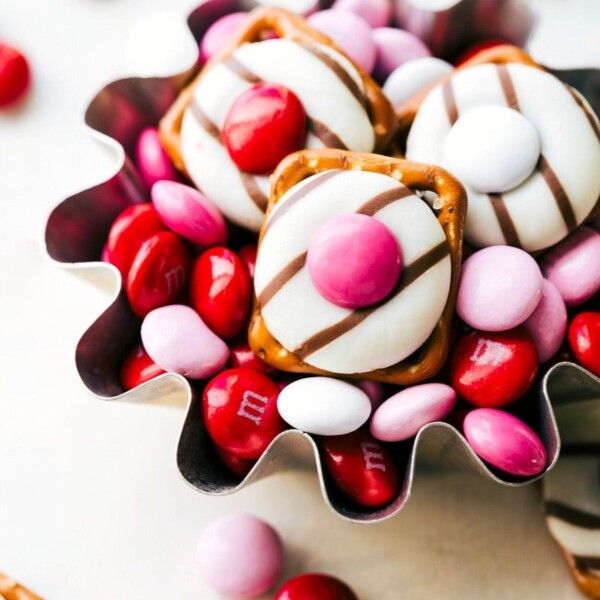
4 Easy Valentine’s Day Treats
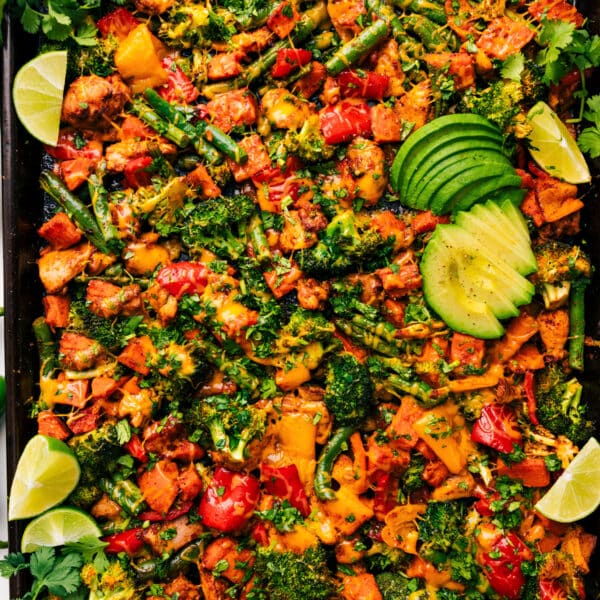
Dinner
Chicken and Veggies
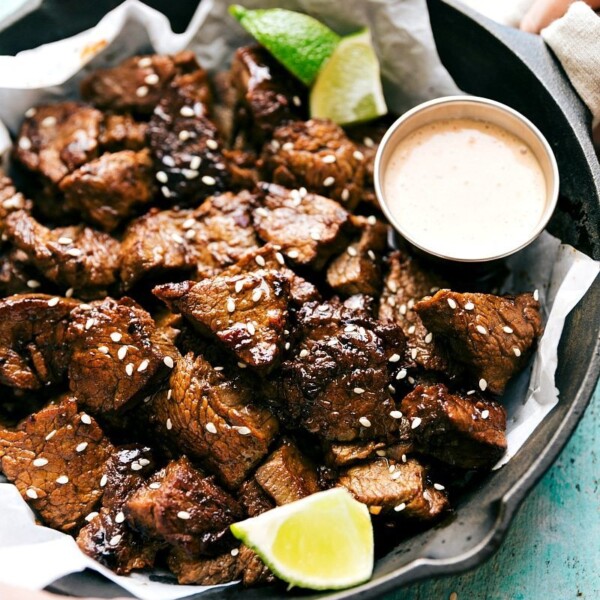
Dinner
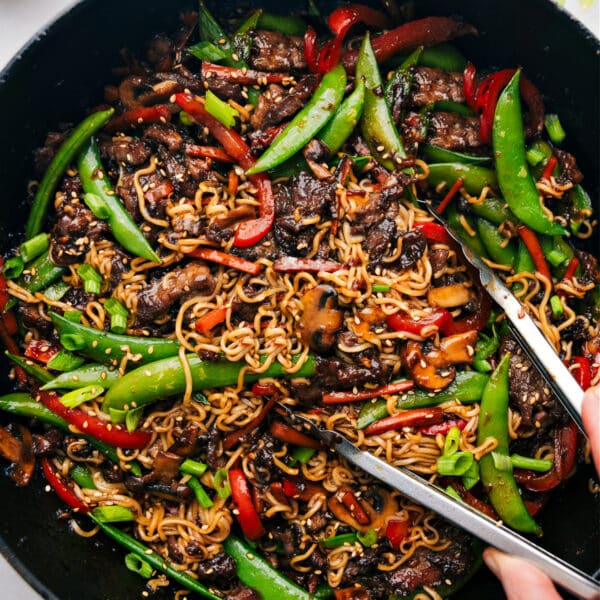
Easy Asian Steak Bites

Desserts
Five Christmas Oreo Balls

Quick And Easy
Christmas Oreo Pops #2
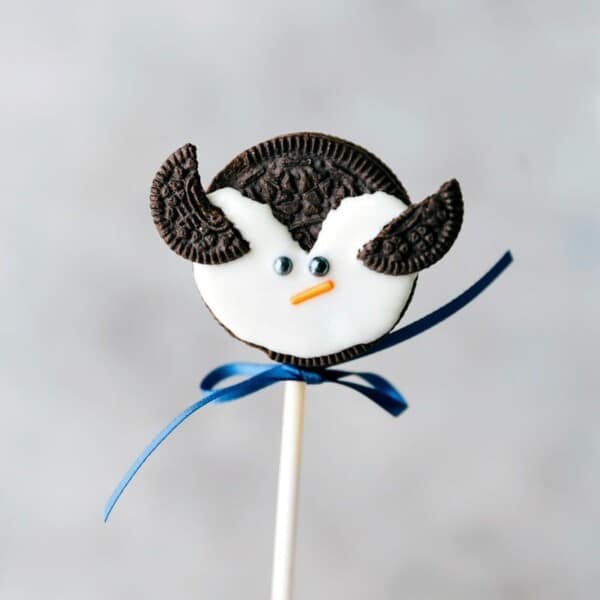
Quick And Easy
Christmas Oreo Pops
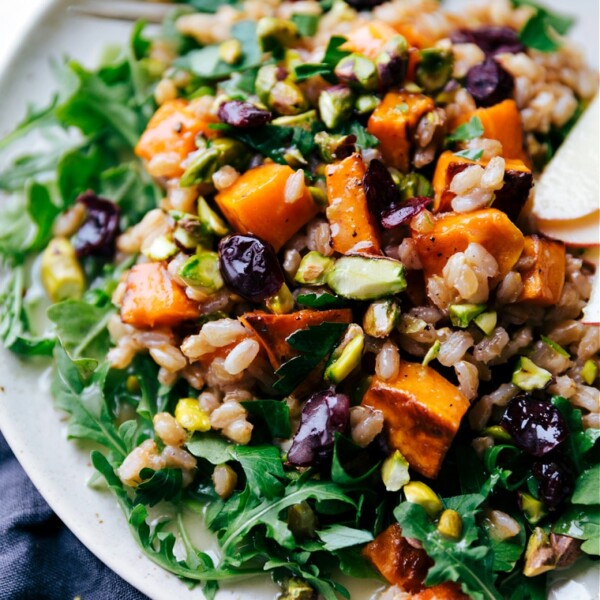
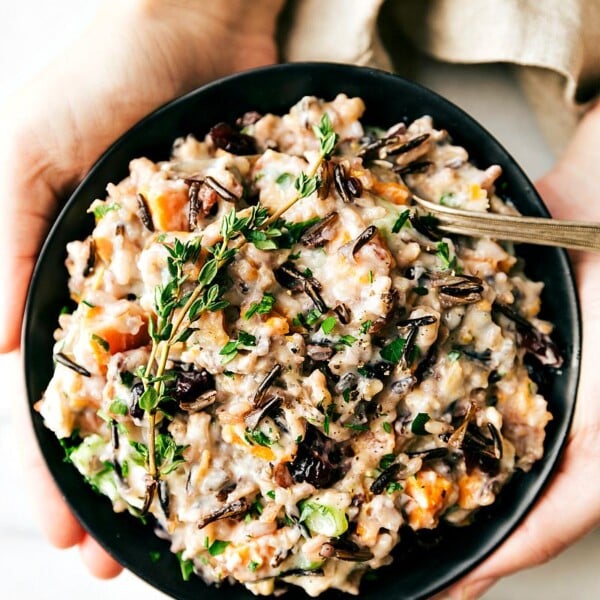
Salads
Sweet Potato Farro Salad

Quick And Easy
3-ingredient Muffin Pan Treats

Quick And Easy
Christmas Mason Jar Gifts
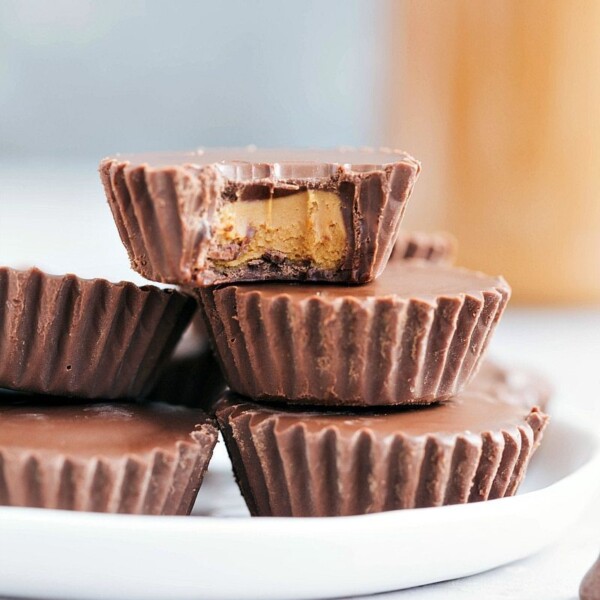
Desserts
Cookie Butter Cups

Quick And Easy


