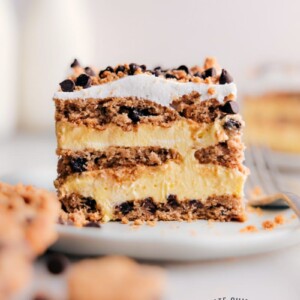
Chocolate Chip Cookie Icebox Cake is your new go-to dessert—just four ingredients and zero baking! It’s creamy, rich, and always a showstopper.
Next, try some other icebox cake recipes like Pistachio Icebox Cake, S’mores Icebox Cake, or Lemon Icebox Cake.

No-Bake Chocolate Chip Cookie Icebox Cake
One evening while I was at my son’s sports practice, my husband sent me a text with a photo of a half-eaten dessert in our fridge, exclaiming, “Omg I don’t know what this is but it’s the greatest thing I’ve ever eaten.” The dessert turned out to be this very Chocolate Chip Cookie Icebox Cake!
If my husband’s rave review hasn’t already tempted you to try this cake, here are a few other reasons why you need it in your life:
- It requires no baking and only has four ingredients. It’s quick and easy in just 15-20 minutes.
- It’s a perfect make-ahead dessert–great if you’re making it for a special occasion.
- Even though it’s simple to prepare, it looks fancy and complex.
- And, most importantly, it’s downright delicious!

Ingredients In Chocolate Chip Cookie Icebox Cake
- Chocolate Chip Cookies: I use regular Chips Ahoy cookies for this recipe. They soften perfectly as they absorb the filling’s moisture. I’ve tried high-end brands like Tate’s or Pepperidge Farm, but I didn’t notice a significant difference, and they are more expensive.
- Instant Vanilla Pudding: I use two 3.4-ounce boxes of instant vanilla pudding mix. I make sure to use regular instant pudding, not cook-and-serve, sugar-free, or low-fat types. It’s important to follow the recipe instructions below, not the package directions. I recommend Jell-o® brand pudding mix for the best flavor.
- Milk: I use whole milk for a richer flavor and thicker consistency.
- Frozen Whipped Topping: I prefer using Cool Whip or a similar brand. I always choose regular, not sugar-free or reduced-fat, as they can become watery.
Quick Tip
You’ll need a lot of cookies for this cake, so make sure to use the family-sized box (18 oz) instead of the original (13 oz) size. When it comes to the type of cookies, using crispy cookies is key to achieving the right texture for this cake. So be sure to choose cookies that are crisp and not soft or chewy.
Chips Ahoy has quite a few fun flavors of crispy cookies–I’ve got my eye on this Reese’s Pieces flavor for next time!

Quick Tip
Whipped Topping Options
Chocolate Chip Cookie Icebox Cake calls for one 8-ounce container of Cool Whip®. If you’d like a healthier alternative, you can try TruWhip®. Or make your own whipped cream(recipe below) to use in place of the container of frozen whipped topping. Just FYI, Cool Whip is a non-dairy product, and of course, that isn’t the case with the homemade version.
- 1 cup heavy cream
- 1/2 cup powdered sugar
- 1/2 teaspoon vanilla extract
In a mixing bowl attached to a stand mixer (with a whisk attachment) add 1 cup heavy cream, 1/2 cup powdered sugar, and 1/2 teaspoon vanilla extract. Beat to combine and then increase the speed and whip until firm peaks form, about 2-4 minutes. Now you’ve got homemade whipped cream to use in this recipe!

Chocolate Chip Cookie Icebox Cake Tips
- Chill the cake overnight: This cake needs time to chill in the fridge to allow the cookies to soften and absorb the moisture from the filling. So be sure to plan ahead and give the cake enough time to chill overnight.
- Break cookies to fit pan: The chocolate chip cookies might not fit perfectly in the pan, so it’s okay to break them up into smaller pieces to fit. Don’t worry– they will still turn into a cake-like layer after they’ve softened.
- Garnish: To add a nice finishing touch, consider sprinkling a handful of miniature chocolate chips or crumbled (leftover) cookies on top of the cake slices. This will not only add a decorative element but also an extra burst of chocolatey goodness to each bite.
Storage
Storing Chocolate Chip Icebox Cake
Chocolate Chip Cookie Icebox Cake is the perfect choice to make ahead of time since the cookie layers needs time to soften into cake-like layers. Eat the cake on days 2 or 3. It may become watery after that.
To store the cake, serve it directly from the fridge. Return any leftovers to the fridge promptly.
This cake isn’t a good choice for freezing and thawing. It contains a lot of dairy, which can cause it to become grainy and watery upon thawing.

Quick Tip
Here’s my favorite 8×8-inch pan to make this cake in. These parchment paper sheets are a game changer for lining the pan and these binder clips hold the parchment paper in nicely!
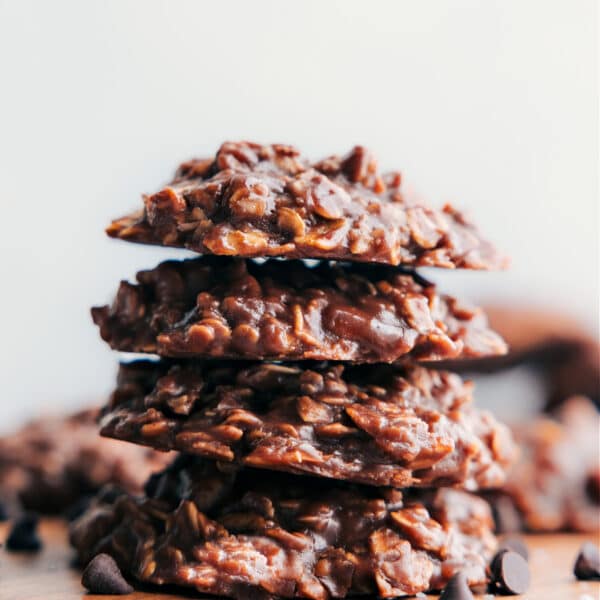
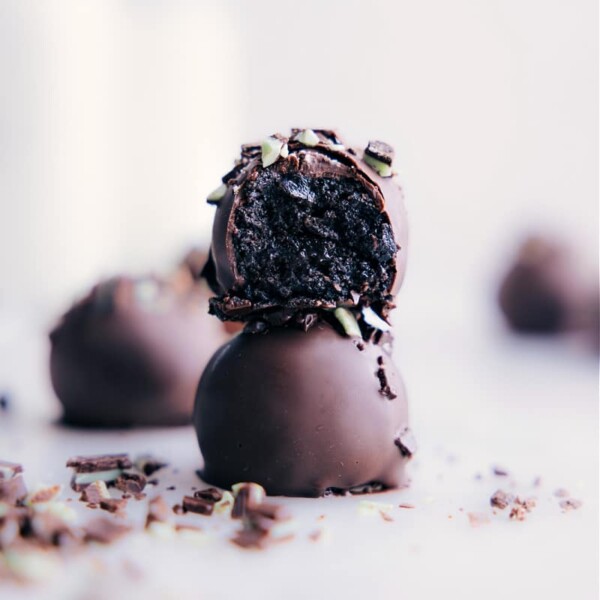
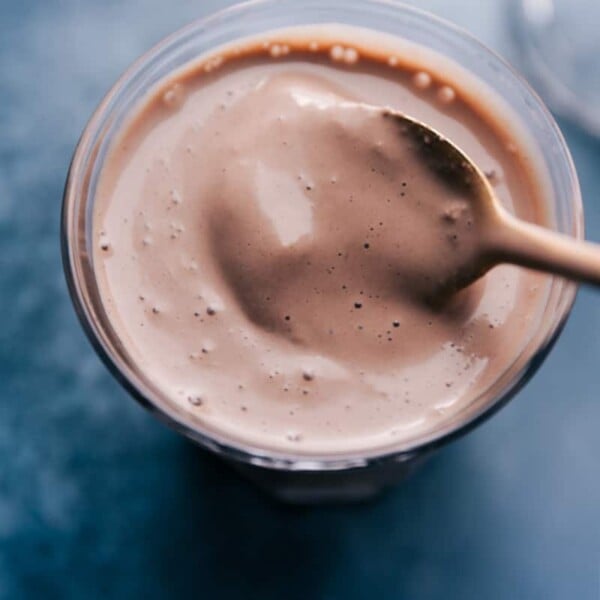
More No-Bake Desserts:
Chocolate Chip Cookie Icebox Cake
Video
Equipment
- 8 x 8-inch baking pan lined
Ingredients
- 1 (18.2-ounce) package chocolate chip cookies see note 1
- 2 (3.4-ounce) packages instant vanilla pudding mix see note 2
- 2-1/4 cups whole milk
- 1 (8-ounce) container frozen whipped topping thawed, divided, see note 3
Instructions
- Line an 8×8-inch pan with parchment paper, leaving an overhang for easy removal. Set aside for now. Remove 1 heaping cup of whipped topping and set it aside as well.
- In a large bowl, combine both pudding mixes and milk and briskly whisk together for about 1 minute or until smooth. Take the remaining whipped topping and gently fold it into the pudding mixture until completely incorporated.
- Place down an even layer of cookies in the prepared pan, breaking them apart as needed to fit the pan. Top with half the pudding mixture and use the back of a large spoon to gently spread into an even layer. Top with one more layer of cookies. Add the rest of the pudding, again spreading it into an even layer. Add the last layer of cookies. Finally, spread on the reserved cup of whipped topping in an even layer. Cover the cake and refrigerate for 8 hours.
- When ready to serve, cut the cake into squares (see note 4) and, if desired, crumble a few reserved cookies on top as a garnish.
Recipe Notes
Nutrition
Nutrition information is automatically calculated, so should only be used as an approximation.


The whole family loves this recipe. Yummy, 5 stars!
I’m so thrilled to hear this! Thanks Emily!
Too bad you can’t make it with sugar free ingredients.
Thank you for your recipe. I can’t wait to try it.
So excited to hear what you think!
I just made this for Canada Day, and it was so good, it was all gone before I was able to try it 😂😂 I will definitely be making it again. Thanks again Chelsea, for another fantastic recipe!
So happy to hear this! Thanks Jenna!
This Chocolate Chip Cookie Icebox Cake looks absolutely heavenly! I love that it combines two of my favorites—chocolate chip cookies and cake. Can’t wait to try this recipe for my next gathering; I’m sure it’ll be a hit! Thanks for sharing such a delicious idea!
So excited for you to give this a try! Thanks for your comment!
This was amazingly good! It was looking for an easy dessert to make but the flavor and texture were really more than I had expected. It ended up being the favorite dessert of my family get together.
I am so thrilled to hear this! Thanks so much Leigh! 🙂