Mint Oreo Truffles are decadent, three-ingredient treats with a creamy mint Oreo filling, smooth chocolate coating, and optional Andes mints topping.

Mint Oreo Truffles
If you’re a fan of mint and chocolate, then you need to try these Mint Oreo Truffles! These bite-sized treats are incredibly easy to make with just a few simple ingredients, and they taste absolutely divine. The creamy filling is made with crushed mint Oreo cookies and cream cheese, and then dipped in rich, melted chocolate. The result is a heavenly treat that’s perfect for any occasion – from a sweet snack to impress your guests, to a homemade gift for your loved ones.
These regular Oreo balls are already a family favorite, but when I switched it up and used Mint cookies instead of the regular ones, and topped them with chopped Andes mints, my family agreed that they were better than ever!
Quick Tip
Oreos, Andes, Baker’s, Guittard, and Ghiradelli are all trademarked brands of products we’ve used in our recipes. We use the brand names to help illustrate the process since these well-known products produce a mental image that just about everyone knows. We respect patents and trademarks!

Let’s Chat Chocolate
For the ultimate in both taste and presentation, it’s crucial to use high-quality baking chocolate bars or melting wafers when making these Mint Oreo Truffles. Look for four-ounce bars of brands like Baker’s, Guittard, or Ghirardelli in the baking aisle. Grab your favorite flavor of chocolate–from milk, semi-sweet, bittersweet, or white–to suit your preferences.
Using chocolate melting wafers, like the ones made by Ghirardelli®, is a great alternative to baking bars since it’s a bit easier and saves time chopping the chocolate bars. However, it’s important to avoid using chocolate chips. They contain stabilizers that prevent them from melting into the right consistency for coating. We also stay away from candy melts or almond bark; they don’t deliver the same rich chocolate flavor as baking bars or melting wafers.

Other Mint Truffle Ingredients
- Family-size Mint Oreos: Use a bigger pack for the best texture. Smaller packs work but can make the mix softer and harder to handle.
- Cream cheese: Use full-fat, block cream cheese. Other types won’t work as well.
- Coconut or vegetable oil: Mix a little into the chocolate to make dipping easier. Add more if it feels too thick.
- Andes Mints (optional): Sprinkle chopped Andes mints on top for more minty flavor and crunch.
Quick Tip
Here’s how we like to dip Mint Oreo Truffles: Dip a fork in the melted chocolate then place a chilled ball on top of the fork. Use a spoon to pour melted chocolate over the ball. Tap that fork against the bowl a few times to smooth the chocolate and then slide the fork against the edge of the bowl to remove excess chocolate. Use a table knife to gently slide the ball off the fork and onto a parchment-lined tray to harden.

Mint Oreo Truffle Recipe Tips
- Make sure the Oreos are finely crushed; big cookie chunks will mess up that creamy interior texture.
- To make it easier to mix the cream cheese with the Oreo crumbs, use room-temperature cream cheese. Cold cream cheese will be harder to mix and can result in lumps throughout the truffles.
- If you’re having trouble with dipping the truffles, try freezing the un-dipped balls for 10-15 minutes to firm them up a bit. This makes them easier to handle and prevents them from falling apart when dipped.
- When melting the chocolate, be careful not to overheat it as this can cause it to seize up and become unusable. Use a microwave-safe bowl and heat the chocolate in 20-second intervals, stirring between each interval until the chocolate is fully melted.
- If your chocolate coating is too thick, add a bit more oil to the melted chocolate to help thin it out and make dipping easier. Be careful not to add too much, as this can affect the texture and flavor of the chocolate.
- Important tip: Use a lined sheet pan in this recipe. It helps with easy cleanup and prevents the truffles from sticking to the pan. To line a sheet pan, you can use parchment paper, wax paper, or a silicone mat. Make sure to spread the truffles out on the lined sheet pan evenly and leave enough space between each truffle.

Variations
Add some visual interest to your Mint Oreo Truffles by drizzling them with melted white chocolate and then sprinkling chopped Andes mints on top.

Storage
Storage Instructions
Storage: Mint Oreo Truffles can be stored in an airtight container in the refrigerator for up to one week.
Make ahead: The shaped Oreo balls can be chilled in the refrigerator for up to three days before coating them with chocolate. Cover them tightly to keep them from drying out in the fridge.
Freezing: You can also freeze the un-dipped truffles for up to three months. Be sure to thaw them overnight in the refrigerator before dipping them in chocolate the next day.
More Minty Desserts:
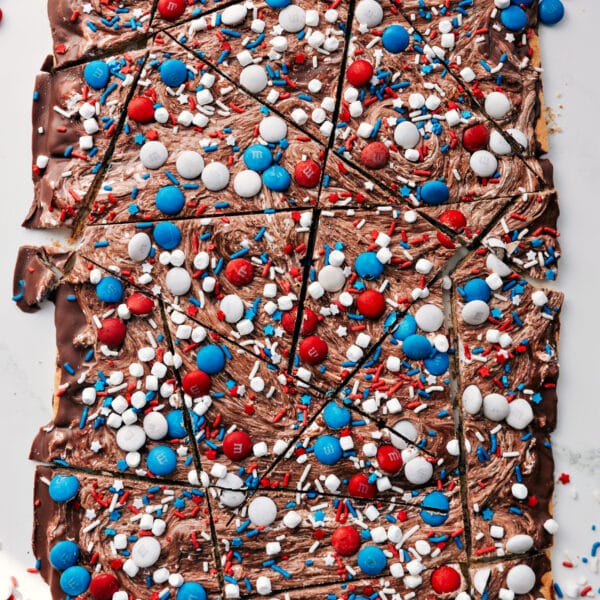
- Mint Chocolate Bark with mint cookies
- Andes Mint Cookies super simple
- Mint Brownie Cookies with a chocolate ganache topping
- Thin Mint Cheesecake with an Oreo Pie Crust
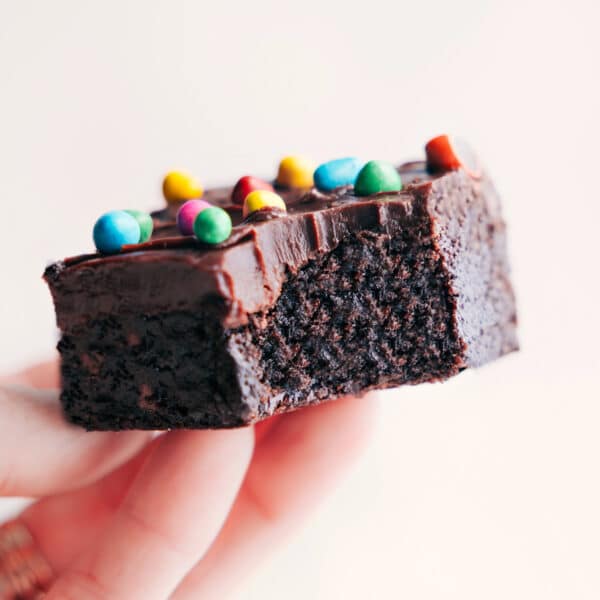
- Mint Brownies with a mint frosting center and chocolate topping

Mint Oreo Truffles
Video
Equipment
- Blender or food processor
- Hand mixer or stand mixer
Ingredients
- 1 (20-ounce) family-sized package Mint Oreos see note 1
- 8 ounces cream cheese full-fat, block-style, softened
- 2 cups chocolate melting wafers milk, sweet, or dark chocolate, about 10 to 12 ounces, see note 2
- 2 teaspoons coconut oil or vegetable oil
- Andes Crème de Menthe Thin Mints optional, unwrapped and finely chopped
Instructions
- Place whole Oreo cookies (don’t separate cookie from creme) in a blender or food processor. Pulse until they have been crushed into fine crumbs. Make sure there are no large pieces and transfer to a large bowl or stand mixer.
- Add the softened cream cheese (room temperature, not melted at all) to the Oreo crumbs. Using a hand mixer or the whisk attachment on a stand mixer, beat until ingredients are well combined and smooth. (If you don’t have a mixer, knead with your hands until smooth and combined.) Cover and refrigerate the dough for at least 30 minutes.
- Use a 1-tablespoon measuring spoon or a cookie scoop to measure out the dough balls. Roll into even-sized balls. (If the mixture is still too wet or gets difficult to shape, chill it again for longer.) Place balls on a large lined sheet pan and refrigerate for another 15 minutes.
- Once the balls are chilled, add chocolate and the oil to a microwave-safe bowl. Melt in the microwave in bursts of 15 seconds, stirring between each burst for 15 seconds. Be patient microwaving to avoid burning the chocolate—the chocolate is melting even outside the microwave (see note 3).
- Once melted and smooth, coat the Oreo balls in the chocolate. Dip a fork in the chocolate, then place an Oreo ball on top of the dipped fork. With the other hand and a spoon, spoon the melted chocolate over the fork. Tap the fork a few times to get the chocolate smooth, then drag the fork across the edge of the bowl to remove excess chocolate. Use a knife to push the Oreo ball off the fork onto the lined sheet pan. Garnish balls immediately after dipping (see step 6). Repeat until all the balls have been dipped. Allow the dipped truffles to harden at room temperature (not fridge/freezer). See note 4 for troubleshooting.
- If desired, top with a sprinkle of finely chopped Andes mints while the chocolate is still wet.
- Let set, and they’re ready to enjoy! Store any leftovers in an airtight container in the fridge for up to a week.
Recipe Notes
Nutrition
Nutrition information is automatically calculated, so should only be used as an approximation.


I love these cold out of the fridge or freezer, I will definitely be making again
Delish! I love them cold too! Thanks Melissa!