Banana Waffles

This post may contain affiliate links. Please read my disclosure policy.

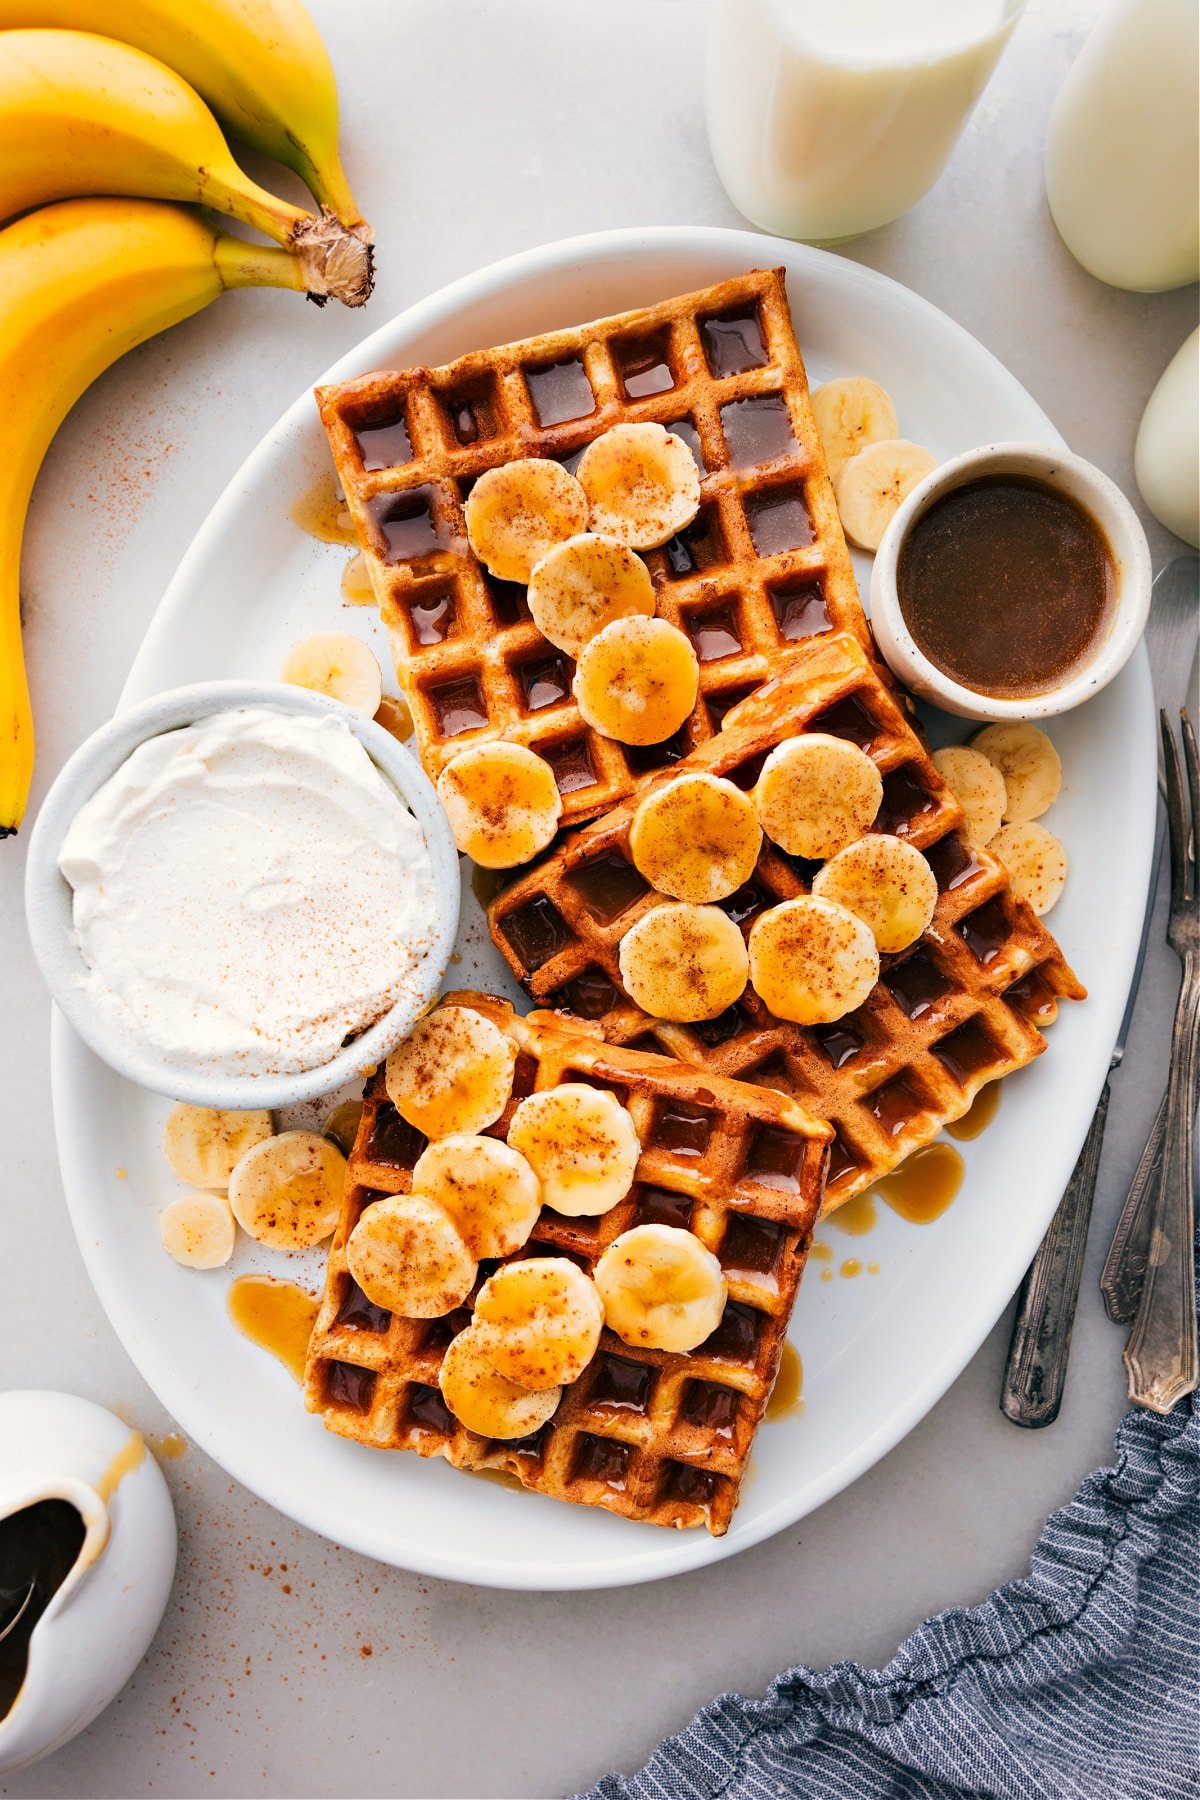
Banana Waffles are one of the best ways to use those overripe bananas sitting on the counter! These sweet cinnamon-spiced waffles have nice crisp edges with soft and chewy interiors. Bonus: these waffles are made with better-for-you ingredients — no flour or refined sugars and they’re filled with plant-based protein! 

While nothing can beat the ease of a pancake/waffle mix. you’ll be amazed at how simple this recipe is! These easy banana waffles are made by adding everything to a blender, letting it whiz, and pouring that batter into a waffle iron!

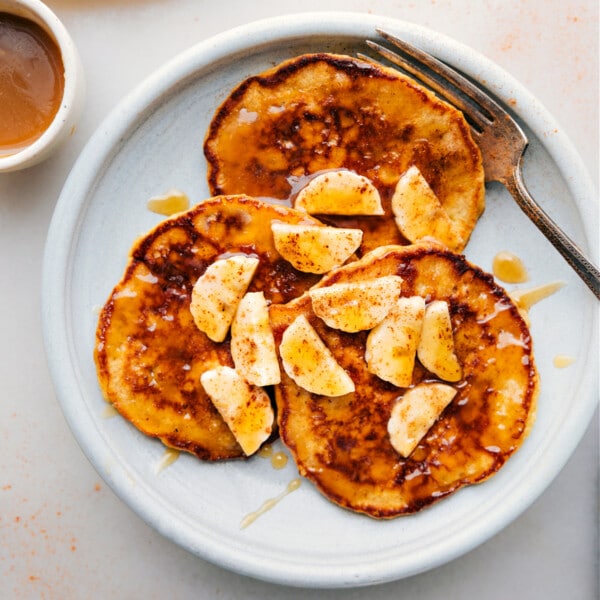
Not in the mood for waffles? Try our tasty Banana Pancakes instead (or these Gluten-Free Banana Pancakes if you are gluten intolerant).

Image of a stack of Banana Waffles

A Really Great Banana Waffle Recipe

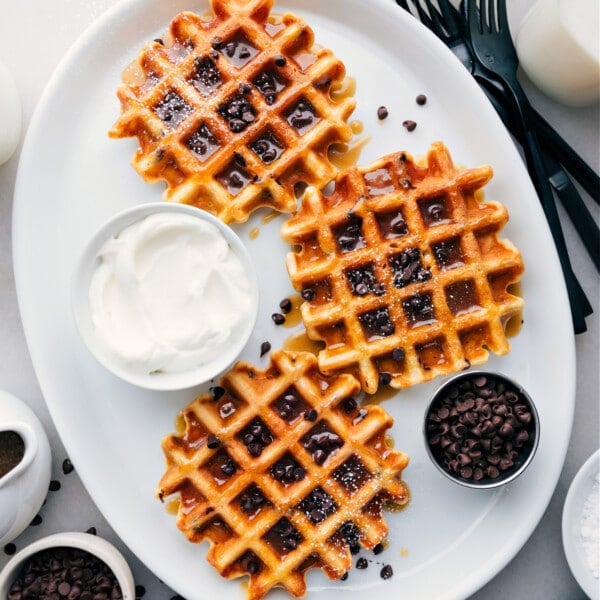
Remember these secretly nutritious Chocolate Chip Waffles? My kids are completely obsessed with them and beg for them just about every morning (Or these healthy pancakes!).

I’ve learned to make a few batches of waffles ahead of time and freeze them. That way, on busy mornings they’re as easy as popping them in the toaster oven.

One day as I was prepping a few batches of waffles, there was a bunch of overripe bananas on the counter. And so the idea to create a nutritious recipe for banana waffles was born. Luckily, there were a whole lot of bananas to test, and willing participants to try out batch after batch until they were perfect! 🙂 

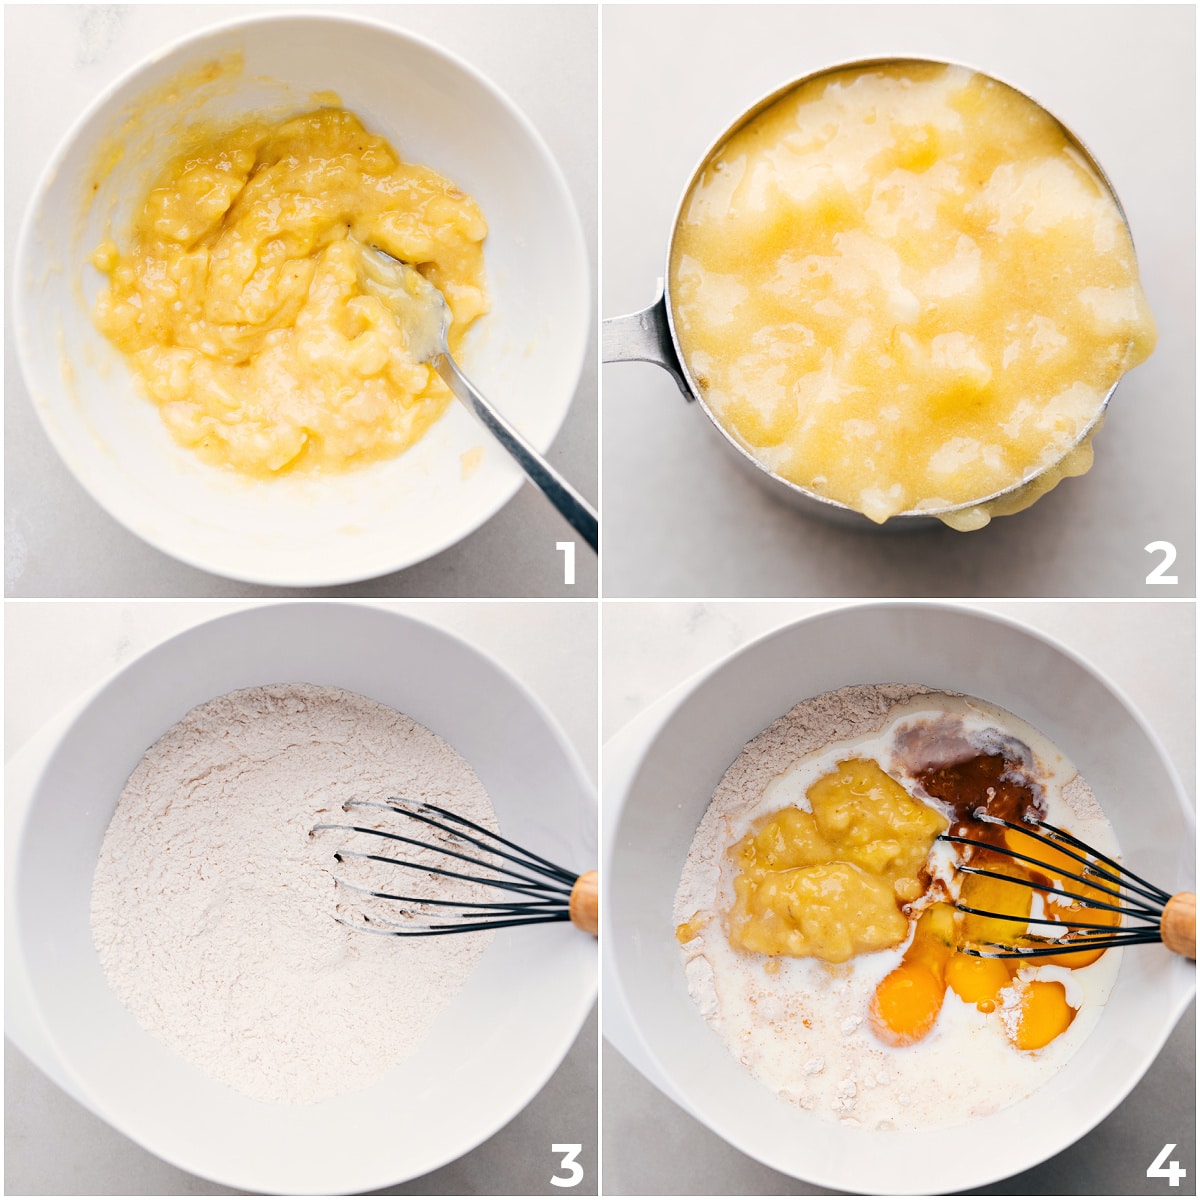
Process shots-- images of the banana being mashed and then added to a blender with oats and cashews

Healthy Banana Waffles

Here’s a quick overview of the benefits of this banana waffles recipe:

  • Mashed bananas. This nutrient-rich fruit is loaded with fiber, vitamins, and boasts many health benefits.
  • No refined sugar. Really, there is none! We’re sweetening this cake with banana and honey — a natural sweetener.
  • No flour. We use old-fashioned oats instead.
  • Cashews. These nuts are loaded with good-for-you fats, protein, and nutrients.
  • Protein. This recipe is packed with protein, thanks to nuts, eggs, and plant-based milk.
  • Dairy-free. We use plant-based milk (almond milk).
  • Anti-inflammatory spices. This recipe calls for cinnamon and nutmeg, which are surprisingly full of health benefits!

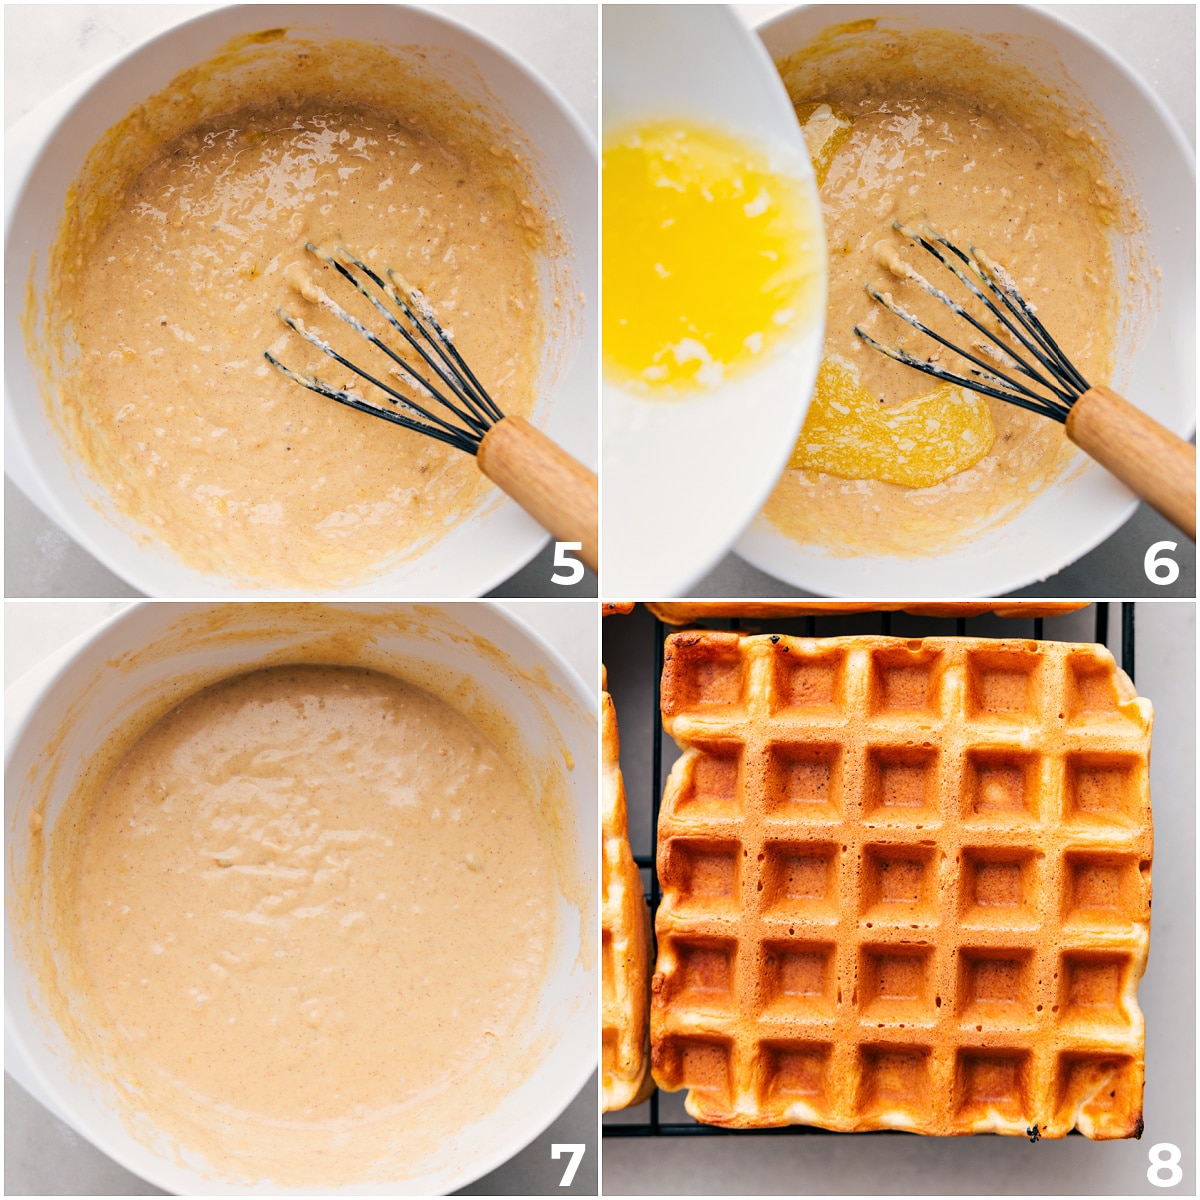
Process shots of Banana Waffles-- images of the wet and dry ingredients being added to the blender and then added to a waffle iron

How To Make Banana Waffles (From Scratch)

  • Start with ripe bananas. The riper the bananas, the sweeter and more flavorful the waffles will be. I wait until the banana skins are very spotty and speckled all over before using them in a recipe like this one. Mash and measure bananas–and then add to a blender.
  • Add everything else to the blender. And let it rip! Before you know it, you’ll have a perfect banana batter.
  • Pour batter directly into a measuring cup and then empty onto the grid of a preheated waffle iron.
  • Keep ’em crisp. Right out of the waffle iron, set waffles on a wire cooling rack, and serve from there! Skip the platter to avoid creating steam, which softens and makes the waffles soggy. 

QUICK TIP

If you don’t have overripe bananas, you can speed-ripen them! Here’s how: Take some regular bananas, place them on a parchment paper-lined tray, and then bake them for 7-8 minutes in a preheated 350-degree F oven. When the skins turn a deep black color, you know they are ready (to make sure the whole skin is black, flip the bananas while baking). Let the bananas cool completely, discard any accumulated liquids, and they’re ready to be mashed for these banana bread waffles.

Overhead image of the waffles

Banana Waffle Recipe Tips

  • Make sure you’re using fresh baking powder. How do you test for freshness? Add 2 teaspoons of BP to a cup of hot water. If it fizzes, it’s good!
  • Let the batter stand at room temperature for about 5-10 minutes before adding to the waffle iron; this lets the oats absorb the liquid, which thickens the batter. 
  • As an alternative to mashing with a fork, use an electric hand mixer to mash bananas quickly
  • Be sure to use old-fashioned oats. Although it would make sense that any oats would work, since they’re getting blended anyways, it’s important to use old-fashioned to ensure you get the right measurement. Both quick and steel-cut oats are smaller, denser, and more compact. Using them would make the measurements off and the waffles would end up too dry.
  • How do you know when your waffle is done? Most waffle irons tell you via a light or beep. If your waffle maker does neither, watch for the steam to stop seeping out the sides. Never open your iron until the steam has stopped!

Image of a stack of Banana Waffles on a plate with syrup being drizzled on top

STORAGE

Freezing Banana Waffles 

We love doubling or tripling this waffle recipe. They’re perfect for leftovers or meal prepping for busy mornings, and they’re ideal to freeze when anticipating guests. Those leftovers even make a great last-minute dinner or breakfast! Frozen waffles can be kept in the freezer for up to 3 months.

  • To freeze: Allow the waffles to cool completely at room temperature. Place the cooled waffles on a parchment-paper-lined tray. Place the tray in the freezer until the waffles are fully frozen, about 1-2 hours. Transfer to a freezer-safe bag or container.
  • To thaw: Use the toaster to reheat. Banana Waffles are a little softer when thawed (compared to other waffles) due to the moisture of the bananas, so you may need to pop them in the toaster twice to get them perfectly crispy.

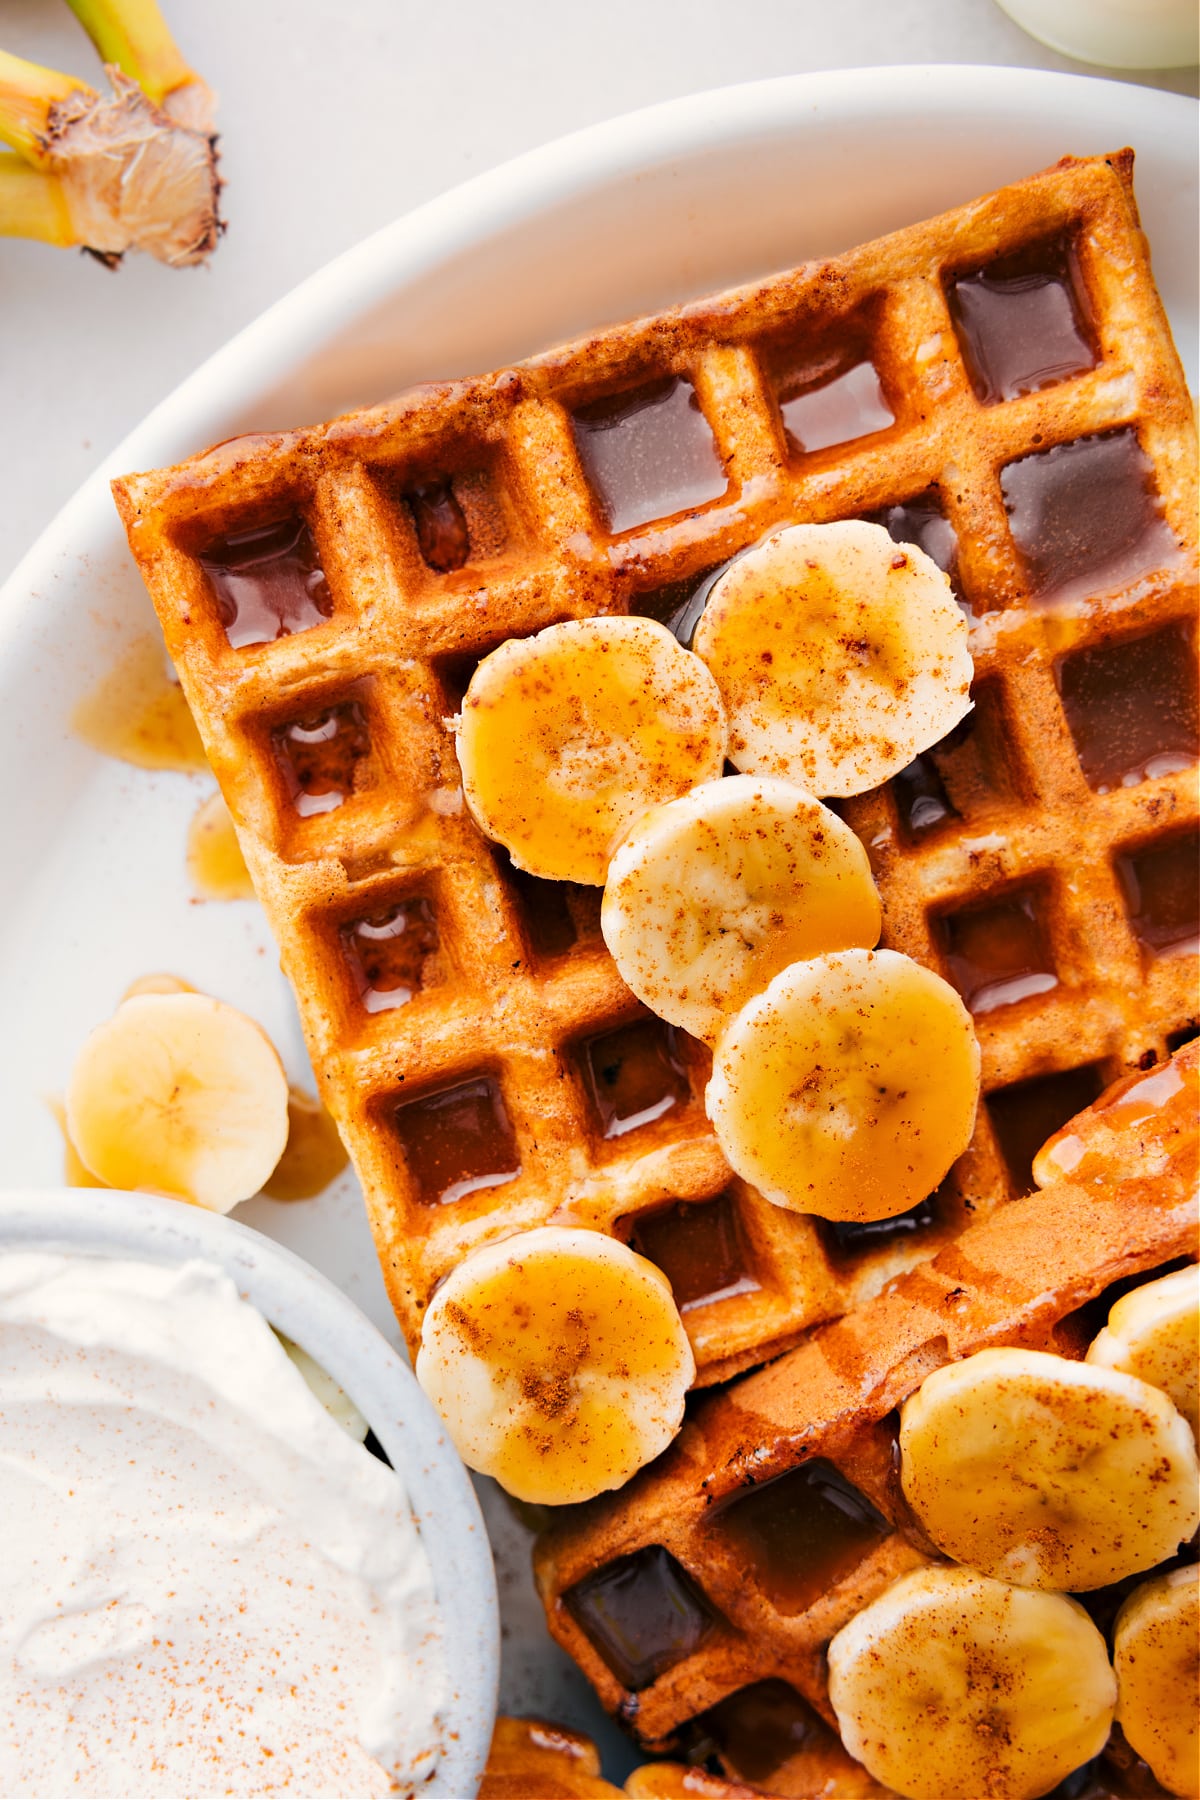
Overhead image of Banana Waffles, topped with fresh banana slices and ready to be served

The Number One Banana Waffle Recipe Tip

My number one tip for the best waffles? Use a good waffle iron. If you’re in the market (or make waffles often and want to invest), here’s the exact waffle maker I use. I can’t say enough good things about it!

Also, if your waffle iron or pan has a nonstick surface, don’t use cooking spray. Cooking spray builds up on the surfaces and eventually becomes tacky, ruining that non-stick coating.

QUICK TIP

As written, this is a gluten-free recipe. However, smart gluten-free cooks know to check the package ingredients to be sure the ingredients (especially the oats) were processed in a gluten-free facility.  Some of these ingredients may contain gluten, so check the labels. The possible culprits in this recipe are oats and even maybe the vanilla extract.

More Ways To Use Overripe Bananas:

FOLLOW ALONG! Subscribe to my newsletter and follow along on Facebook, Pinterest and Instagram for the latest updates, recipes and content.

Banana Waffles

5 from 1 vote
These Banana Waffles are one of the best ways to use those overripe bananas on the counter! These sweet cinnamon-spiced waffles have nice crisp edges with soft and chewy interiors. Bonus: these waffles are made with better-for-you ingredients -- no flour or refined sugars and they're filled with plant-based protein!
Print Recipe

Banana Waffles

5 from 1 vote
These Banana Waffles are one of the best ways to use those overripe bananas on the counter! These sweet cinnamon-spiced waffles have nice crisp edges with soft and chewy interiors. Bonus: these waffles are made with better-for-you ingredients -- no flour or refined sugars and they're filled with plant-based protein!
Course Breakfast, Brunch, Snack
Cuisine American, Healthy, Vegetarian
Keyword banana waffle recipe, banana waffles
Prep Time 15 minutes
Cook Time 5 minutes
Total Time 20 minutes
Servings 8 -10 waffles
Chelsea Lords
Calories 211kcal
Cost $6.72

Equipment

  • Waffle Iron

Ingredients

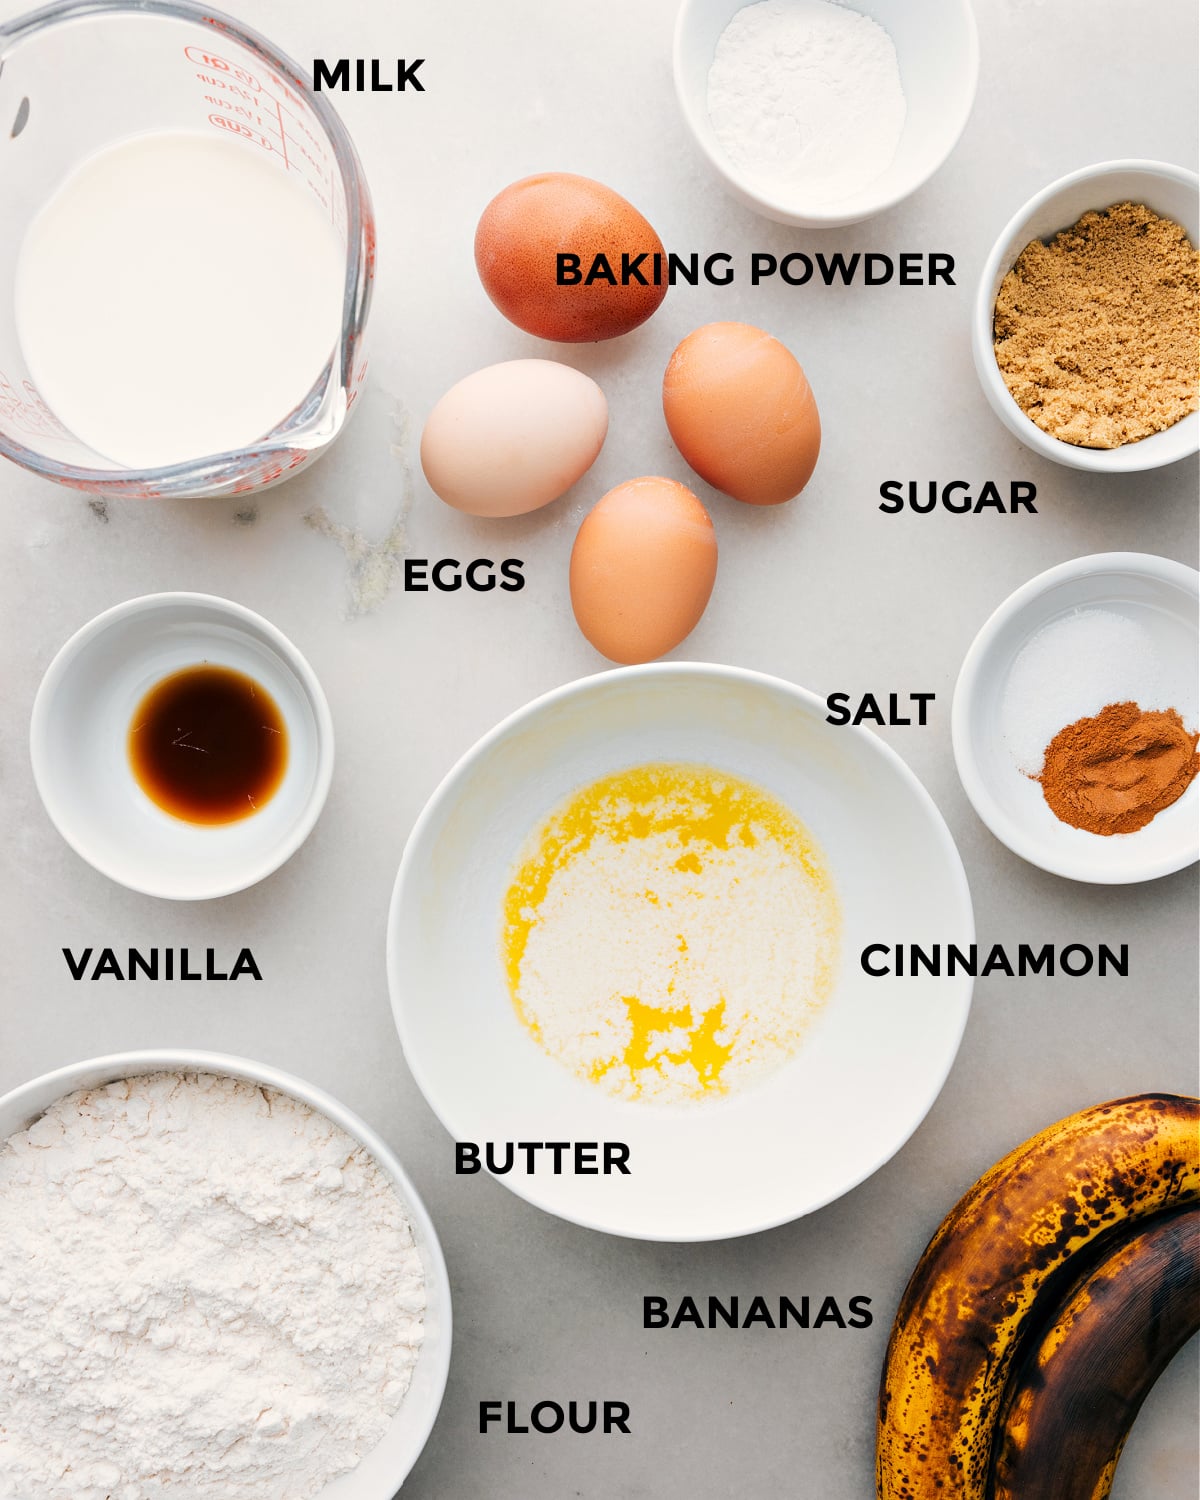
  • 3/4 cup mashed, overripe banana (Note 1)
  • 1-1/4 cups old-fashioned oats
  • 3/4 cup roasted & salted cashews 
  • 1/3 cup melted coconut oil (Note 2)
  • 1 large egg
  • 3/4 cup plant-based milk (Note 3)
  • 2 tablespoons honey
  • 1 teaspoon vanilla extract, optional
  • 2 tablespoons cornstarch (or arrowroot powder)
  • 2 teaspoons baking powder
  • 1/2 teaspoon fine sea salt
  • Optional, but recommended: 1/2 teaspoon cinnamon, 1/4 teaspoon nutmeg

For serving: whatever you like on your waffles -- we love pure maple syrup, sliced bananas and blueberries, and a scoop of coconut whipped cream!

    Instructions

    • PREP: Preheat the waffle iron. If you won't be eating waffles right away and want to keep waffles warm, see Note 4. Mash banana in a small bowl until smooth. Measure to get a full 3/4 cup and add to a large blender.
    • BLEND: Add everything else to the blender in the order listed. Blend until completely smooth, about 90-120 seconds. Scrape down the sides and blend longer if needed. There shouldn't be any chunks of oats or cashews.
    • COOK: If your waffle iron or pan has a nonstick surface, don't use cooking spray. (Cooking spray builds up on the surfaces and eventually becomes tacky, ruining that non-stick coating.) If it doesn't have a nonstick surface, grease with cooking spray. Add 1/3 cup of batter from the blender into each cavity. Use all the batter in the blender -- scraping it out with a spatula if needed.
      Most waffle irons will signal when the waffle is done. If your waffle maker doesn't have that feature, watch for the steam to stop seeping out the sides. Never open your iron until the steam has stopped! Right out of the waffle iron, place each waffle on a wire cooling rack. (Letting waffles stand on a wire cooling rack for a few minutes before digging in gives a chance for the exteriors to crisp up nicely.)
    • ENJOY: Serve waffles enjoying as is or with a drizzle of syrup, a dollop of whipped cream, and/or fresh fruit (like more bananas and/or handful of blueberries).

    Video

    Recipe Notes

    Note 1: Bananas: This recipe uses about 2 medium-sized bananas; we wait until they are speckled and spotty all over --the riper they are, the sweeter they are! When measuring overripe bananas, start by fully mashing them down with a fork and then spoon the mash into the measuring cup. Be sure to fill the measuring cup all the way to the top and level off for the perfect measurement. Too many bananas will result in overly-moist-bordering-on-mushy waffles.
    Note 2: Coconut oil: Measure in the melted state. Butter or ghee (melted) can also be used.
    Note 3: Milk: Any plant-based milk will work in these waffles; we like unsweetened vanilla almond milk or coconut milk best. Dairy-based milk will work as well if preferred.
    Note 4: Keeping waffles warm:
    • Preheat the oven to 200 degrees F.
    • Place a cooling rack on a large sheet pan. As soon as you pull each waffle from the waffle iron, place it on the cooling rack in a single layer.
    • Place that sheet pan in the oven until ready to eat.
    • If you'll be eating the waffles right away, just set them on a wire cooling rack right out of the waffle iron and serve from there.

    Nutrition Facts

    Serving: 1serving | Calories: 211kcal | Carbohydrates: 20.6g | Protein: 3.9g | Fat: 12.7g | Cholesterol: 18.6mg | Sodium: 89.1mg | Fiber: 1.9g | Sugar: 6.1g

    We do our best to provide accurate nutritional analysis for our recipes. Our nutritional data is calculated using a third-party algorithm and may vary, based on individual cooking styles, measurements, and ingredient sizes. Please use this information for comparison purposes and consult a health professional for nutrition guidance as needed.

    DID YOU MAKE THIS RECIPE?

    I love hearing from you when you've made one of my recipes! Tag me on Instagram at @ChelseasMessyApron or leave me a comment below.

    More Recipes You'll Love

    Air Fryer Dutch Baby

    24 mins

    Air Fryer Dutch Baby

    Click the Bookmark Icon to Add to Your Favories

    Banana Crepes

    15 mins

    Banana Crepes

    Click the Bookmark Icon to Add to Your Favories

    Cinnamon Roll Cookies

    1 hrs 49 mins

    Cinnamon Roll Cookies

    Click the Bookmark Icon to Add to Your Favories

    Healthy Banana Cake Recipe

    50 mins

    Healthy Banana Cake Recipe

    Click the Bookmark Icon to Add to Your Favories

    FREE BONUS

    FREE BONUS

    EASY MEAL SECRETS:
    How to Make Mealtime Hassle Free!

    5 secrets to easy, fast and delicious dinners.

    [gravityform id="2" title="false" description="false"]

    Leave a Comment:

    Your email address will not be published. Required fields are marked *

    Recipe Rating


    0 Comments

    Never Miss a Recipe

    [gravityform id="3" title="false" description="false"]