Cashew Ice Cream that’s ultra-creamy, dairy-free, and naturally sweet! Just three ingredients, no refined sugar, and no ice cream maker needed!
Try some other favorite healthy ice cream recipes — this Blueberry Ice Cream or Chocolate Healthy Ice Cream.
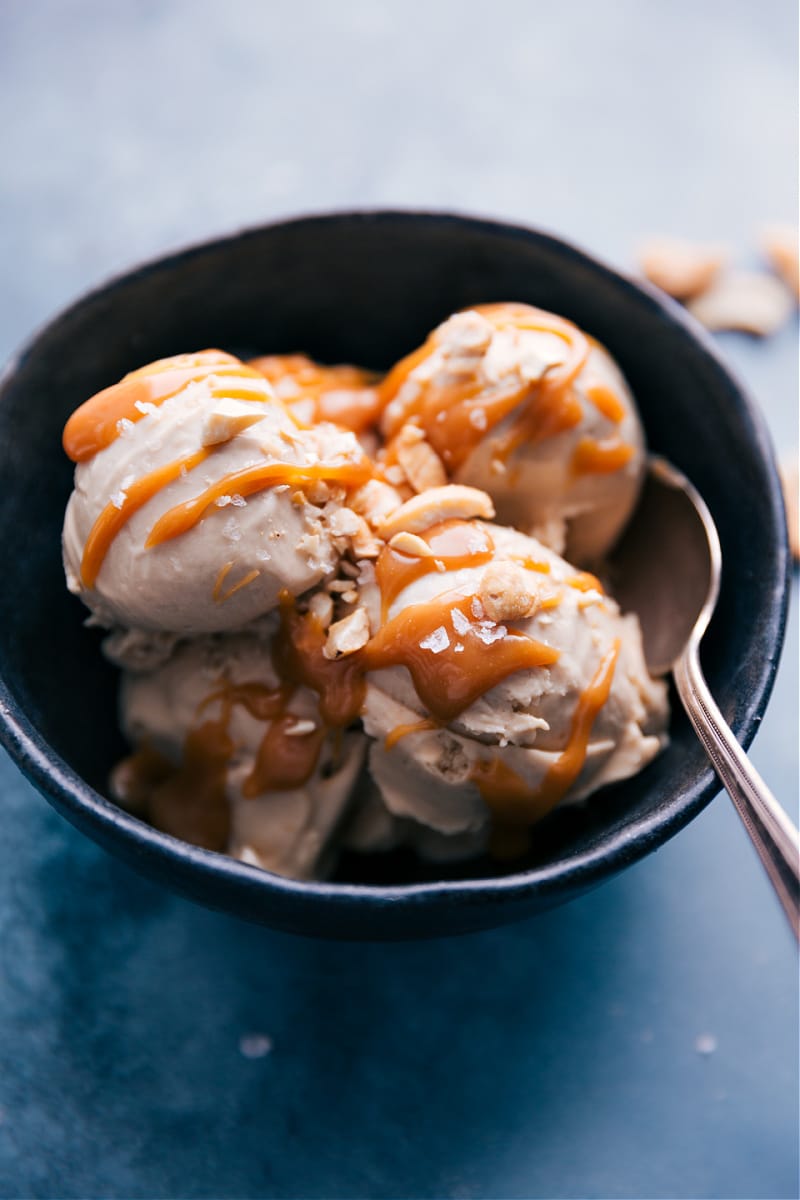
The Best Cashew Ice Cream
Cashew Ice Cream that’s super creamy, full of rich flavor, and has a hint of vanilla. If you love cashews and coconut, you’ll be hooked on this recipe!
After trying just about every cashew ice cream from the store, I decided to make my own—and it’s so much better! Instead of searching for where to buy cashew ice cream, give this homemade version a try!
Quick Tip
This isn’t the only super-healthy ice cream I’ve developed. Remember when we made this Healthy Ice Cream using sweet potato and it was met with rave reviews?! Truly — delicious desserts can start in humbling places!
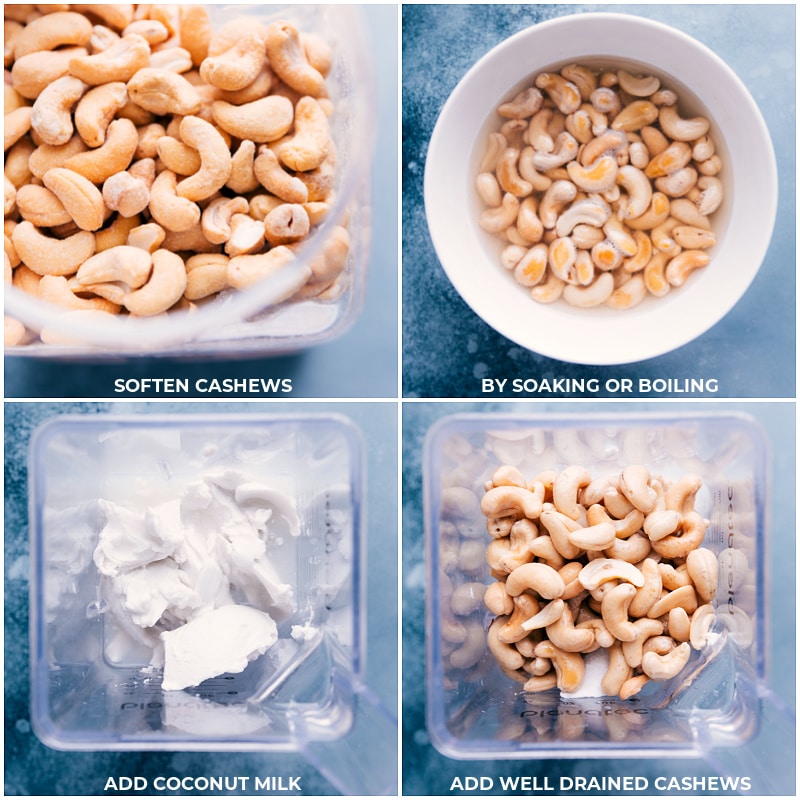
What Is Cashew Ice Cream Made Of?
This recipe contains three integral ingredients and two optional flavor enhancers. Let’s break it all down:
- Cashews are the base of this ice cream — not only do they add flavor, but they’re also integral to thickening the ice cream. Use whole cashews without added ingredients.
- Coconut cream is what we prefer to use in this recipe, but coconut milk will also work. See “quick tip” box below for more information.
- Pure maple syrup is a natural sweetener (unlike corn syrup or pancake syrup) made from the sap of a maple tree which gets boiled down to a thicker consistency. Maple syrup is just one ingredient and all natural — the perfect way to sweeten this Cashew Ice Cream recipe!
- (Optional) Fine sea salt helps intensify flavors and balance all the ingredients nicely.
- (Optional) Vanilla extract adds a nice flavor complexity.
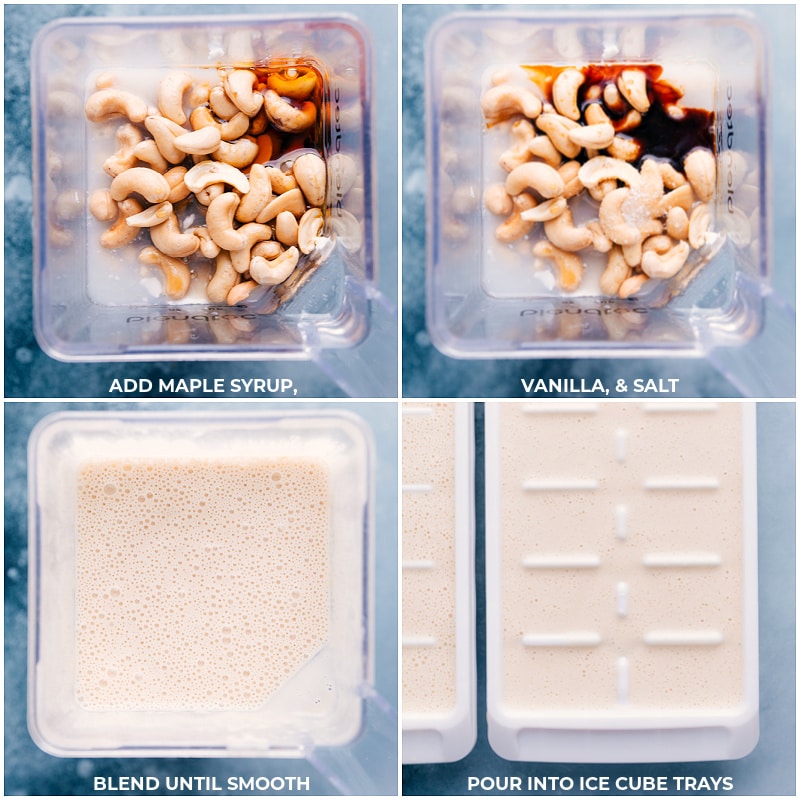
How To Make Cashew Ice Cream
- Soften the cashews. To ensure the cashews will blend smoothly, we need to soften them first. You can do this one of three ways: soak overnight, cover in boiling water and soak, or boil in water.
- Blend. Once the cashews are softened, add them to the blender along with the remaining ingredients. Give it a whirl and it’s time to freeze!
- Freeze. You can chill this mixture and then add it to an ice cream maker to freeze per the maker’s instructions OR try my foolproof method using ice cube trays instead of an ice cream maker! Pour the mixture into ice cube trays and freeze until solid. Once solid, pop ’em out and put them back into the blender. Blend to the perfect ice cream consistency!
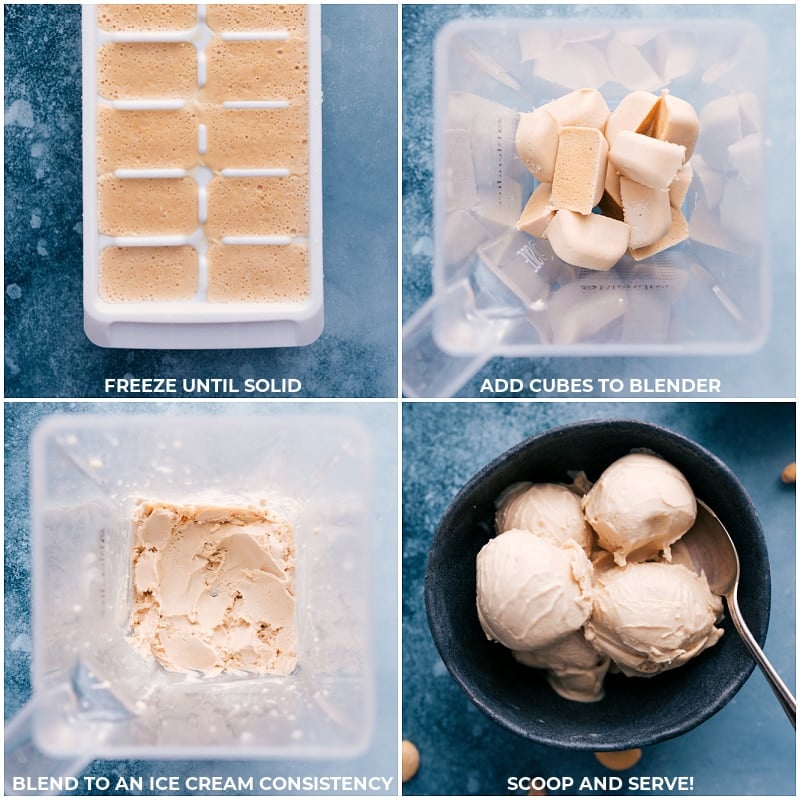
Tools Needed
- Powerful blender OR food processor. (We use a Blend-tec®). It’s imperative the blender can handle the cashews without overheating. You’ll also need a lot of power to break down the ice cream “cubes” into smooth and creamy ice cream without making it watery.
- Ice cream maker OR ice cube trays. Here’s the ice cream maker I use and love, but you can make Cashew Ice Cream without an ice cream maker by using ice cube trays. We freeze the mixture in the trays then blend those cubes into smooth and creamy ice cream!
Quick Tip
Be sure to thoroughly blend the ice cream mixture to ensure cashews are fully broken down and completely smooth. With a high-powered blender, this goes quickly, but with a less powerful blender, you may need to blend the mixture a few times to ensure the mixture is nice and smooth.
Leveling Up Cashew Ice Cream
- Make a brownie ice cream sundae! Prepare a batch of our best-ever Healthy Brownies (or our sugar-laden Brownie Recipe!) and top it with a few scoops of ice cream and a generous scoop of Whipped Cream.
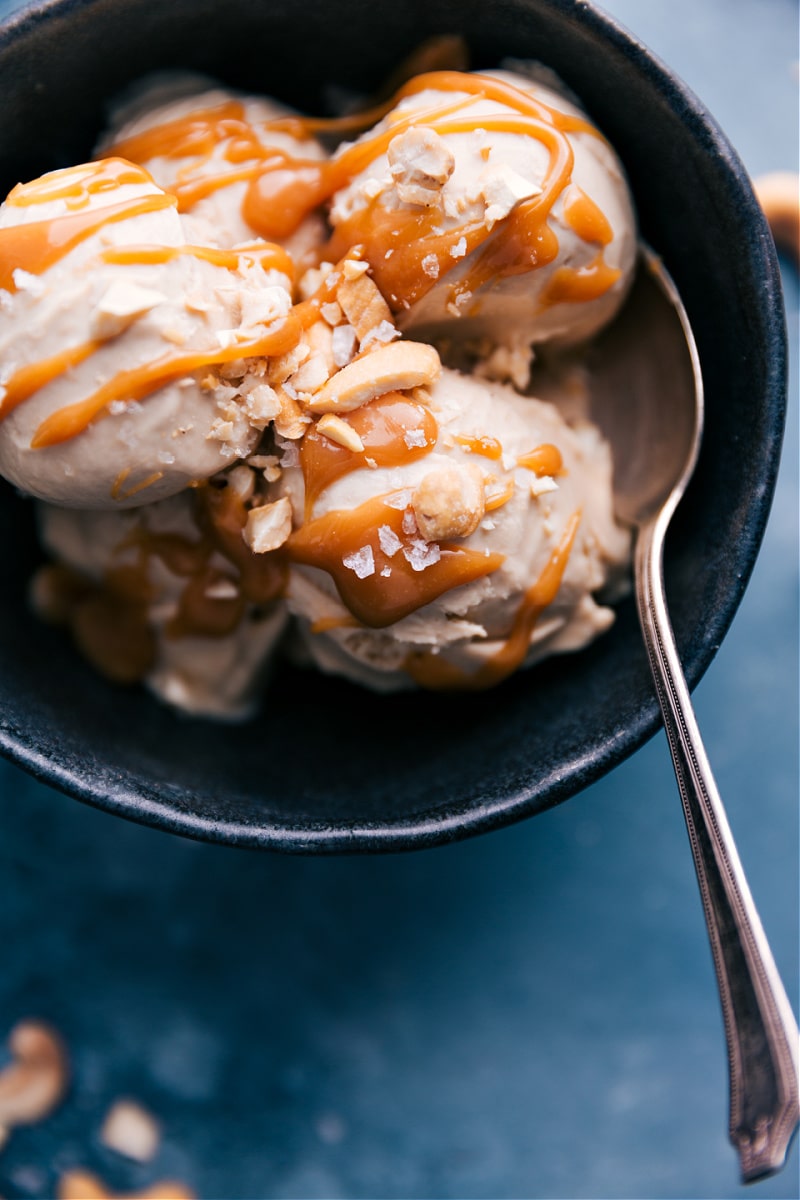
- Make a salted caramel cashew ice cream recipe: (our favorite!) Add a drizzle of Caramel Sauce and sprinkle of Maldon sea salt flakes — delish! Or try our Healthy Caramel Sauce if you’re avoiding refined sugars.
- Add some chocolate: We’re obsessed with this Hot Fudge Sauce and it would pair perfectly on this Cashew Ice Cream!
- Make a cashew milkshake: Add in some milk and caramel sauce and blend to a thick milkshake consistency! (Use general quantities from this Strawberry Milkshake recipe.)
Recipe Source: Inspired and highly adapted from @katieclarimore’s TikTok page! Thanks, Katie for the idea!
Cashew Ice Cream
Equipment
- Blender high-powered, see note 1
- Ice cube trays or ice cream maker
Ingredients
- 1 cup cashews plain
- 1 (13.66-ounce) can coconut cream or coconut milk, see note 2
- 1/2 cup maple syrup
- 1-1/2 teaspoons vanilla extract
- 1/4 teaspoon salt
- Caramel sauce optional
- Flaky sea salt optional
Instructions
- Cashews need to be soft before blending; see note 3 for instructions on how to soften the cashews.
- Add the entire can of coconut cream to a large and powerful blender. Add remaining ingredients and well-drained, softened cashews. Blend on high speed until very smooth, 2–3 minutes.
- If you’re using a blender, pour mixture evenly into ice cube trays. If you don’t have a high-powered blender, reserve 1/3 cup of the mixture and chill in the fridge (see note 1). Freeze in ice cube trays for at least 8 hours. If you’re using an ice cream maker, chill mixture in the fridge for 30 minutes, then add to an ice cream maker and churn according to machine instructions.
- Remove the ice cube trays and run the bottoms under hot water for about 30 seconds, or until the cubes release easily. Place the ice cream cubes in a high-powered blender; no additional liquid is needed. If using a low-powered blender, add the reserved 1/3 cup of liquid. Blend until smooth and creamy, taking your time to scrape down the sides and stir as needed for an even consistency. Once fully blended, scoop into bowls and serve, ideally drizzled with caramel sauce and a sprinkle of Maldon sea salt.
Video
Recipe Notes
- Add to a bowl and cover with water. Let stand for 6–8 hours or until soft and bloated. Thoroughly drain.
- Place cashews in a heatproof bowl. Pour 2 cups boiling water over the cashews. Let stand for 30 minutes to an hour or until soft and bloated. Thoroughly drain.
- Add cashews to a small pot and cover with 1 inch of water. Bring to a boil and boil for 10 minutes or until cashews are soft and bloated. Thoroughly drain.
Nutrition
Nutrition information is automatically calculated, so should only be used as an approximation.




My husband is diabetic , can I substitute allulose for the maple syrup?
I haven’t tested that so I can’t say for sure. Let me know if you give it a try!
Made this last night and it was super creamy and delicious. Not grainy at all, it was silky. I soaked for 4 hours and got impatient so let it soak in boiling water for 15ish mins and followed the recipe as is. Not sure if all that was needed, the blender(nutribullet) pulverized it in less than 2 mins.
I am so happy to hear this! Thanks so much Jo! 🙂
So delish and creamy!
Thanks so much Kellie! 🙂