Potato Salads
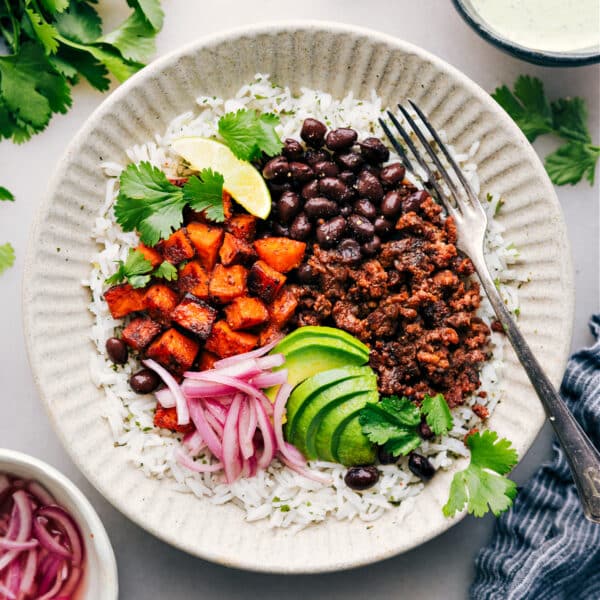
Dinner
Beef Burrito Bowl Recipe
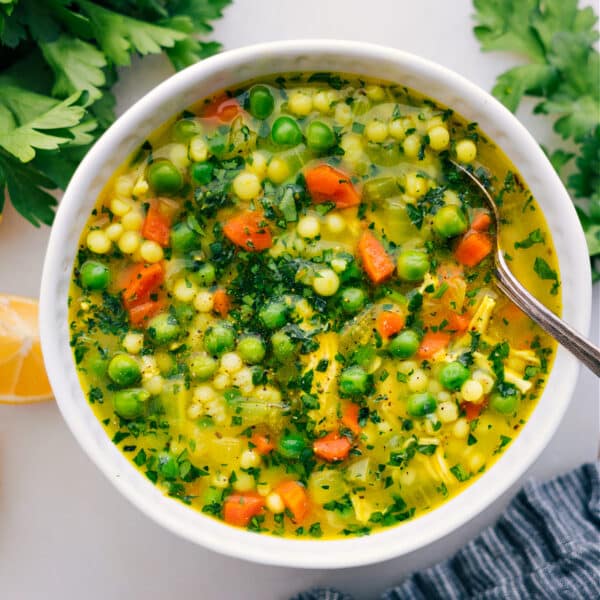
Soups And Stews
Couscous Soup (Cold-Buster!)

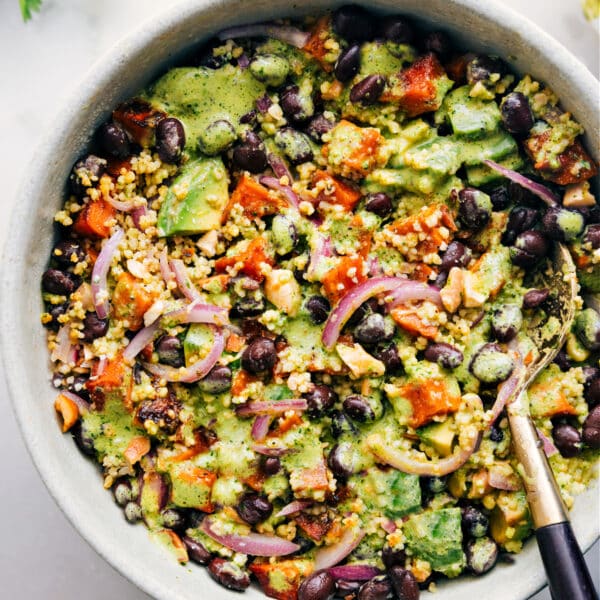
Salads
Quinoa Black Bean Salad
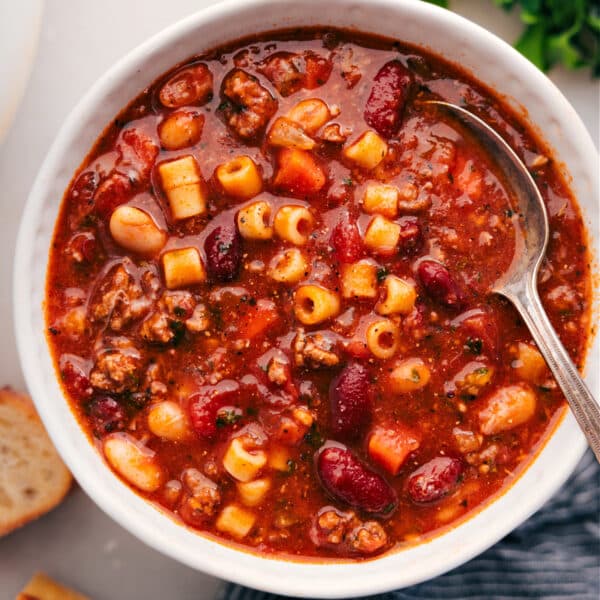
Soups And Stews
Pasta e Fagioli (Olive Garden Copycat)
Dinner
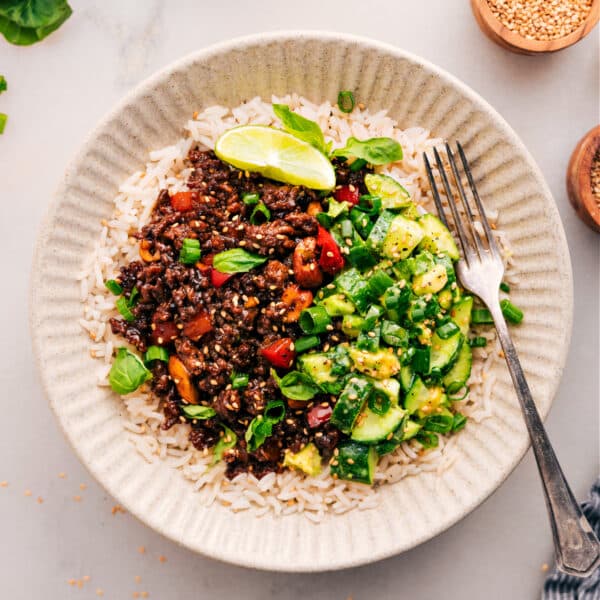
Asian Ground Beef
Healthy
Couscous Mediterranean Salad

Dinner
Honey Garlic Chicken
Dinner
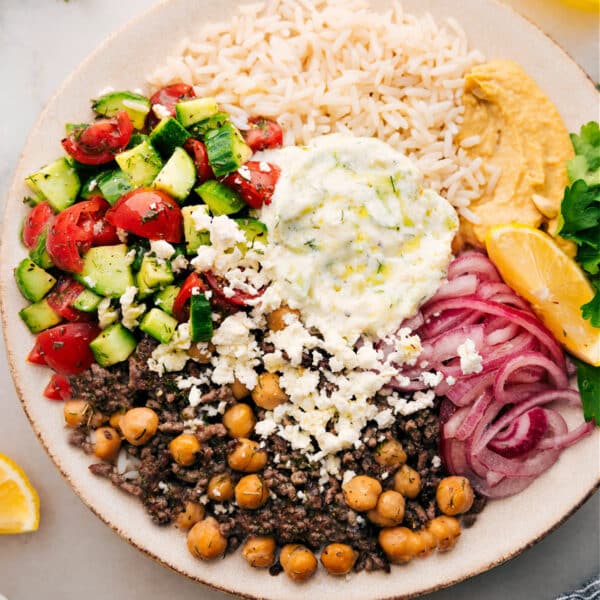
Greek Beef Bowl
Desserts
Haystack Cookies
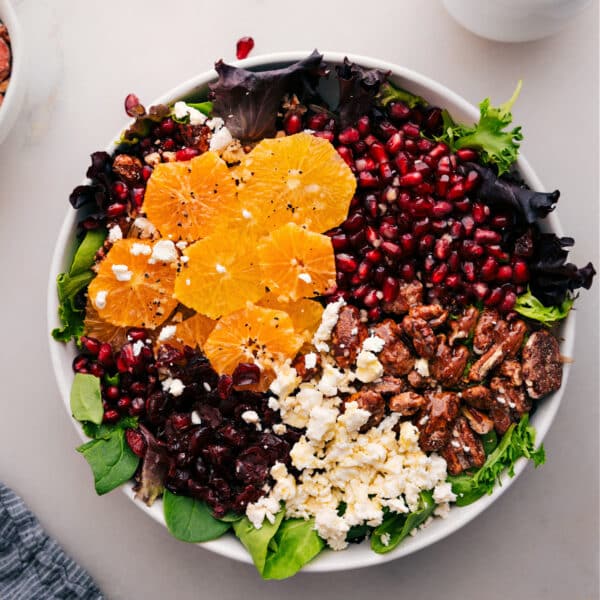
Dinner
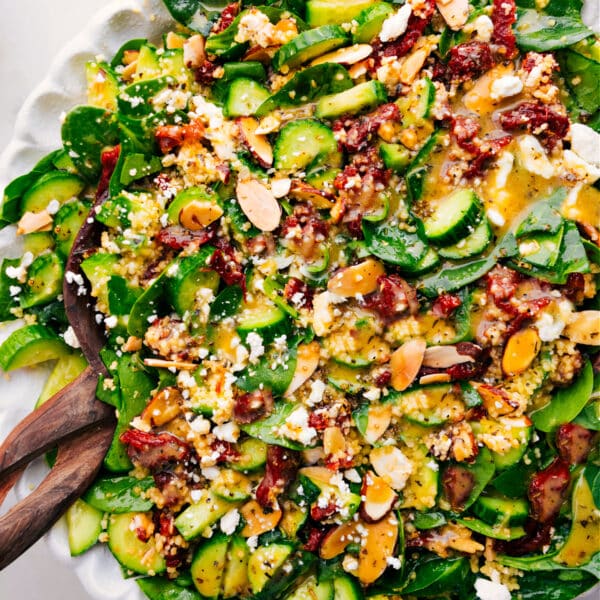
Winter Salad
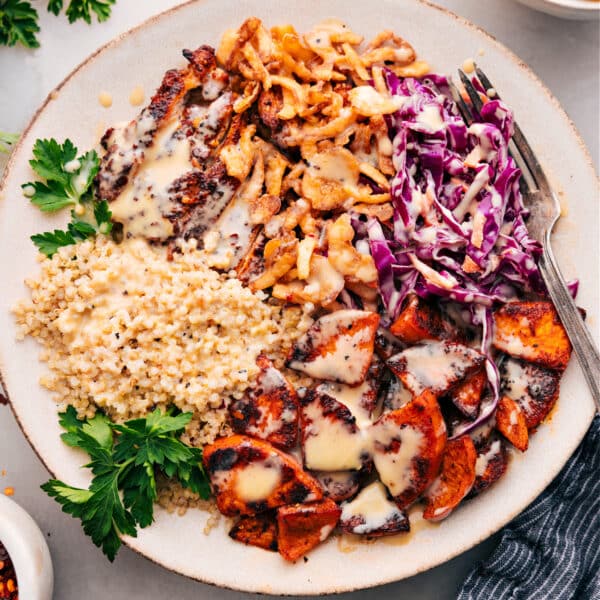
Dinner
Hot Honey Chicken Bowl
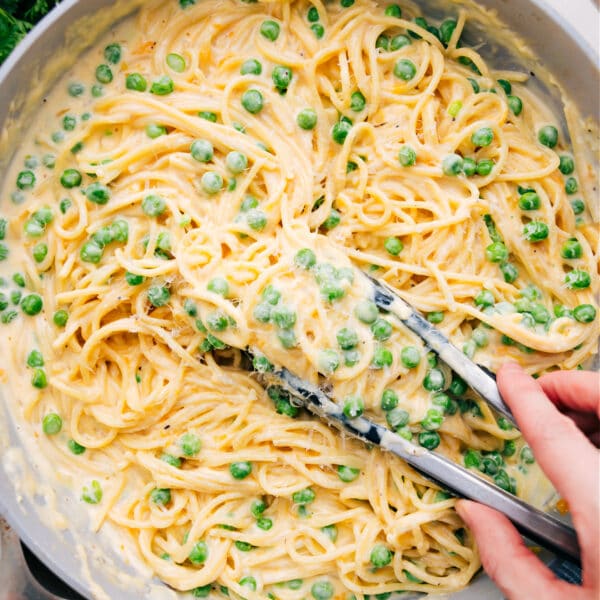
Dinner
Cheesy Spaghetti
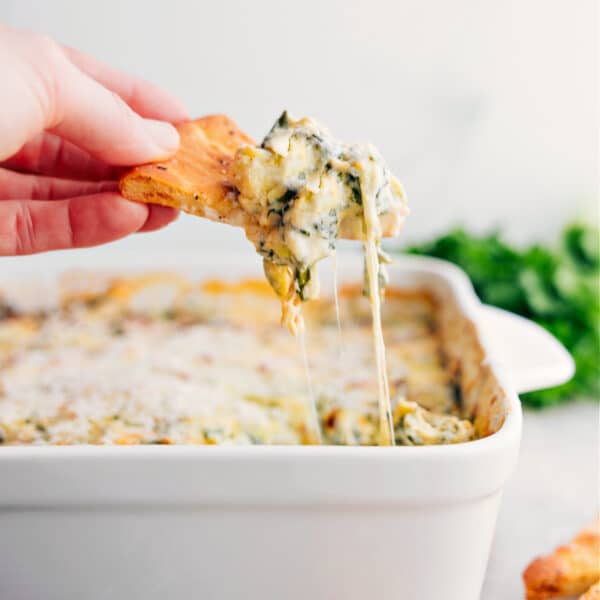
Appetizers
Spinach Artichoke Dip
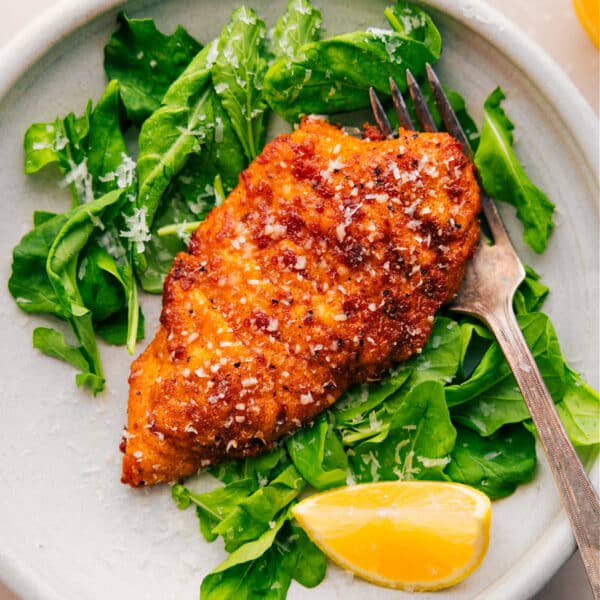
Dinner
Chicken Cutlets
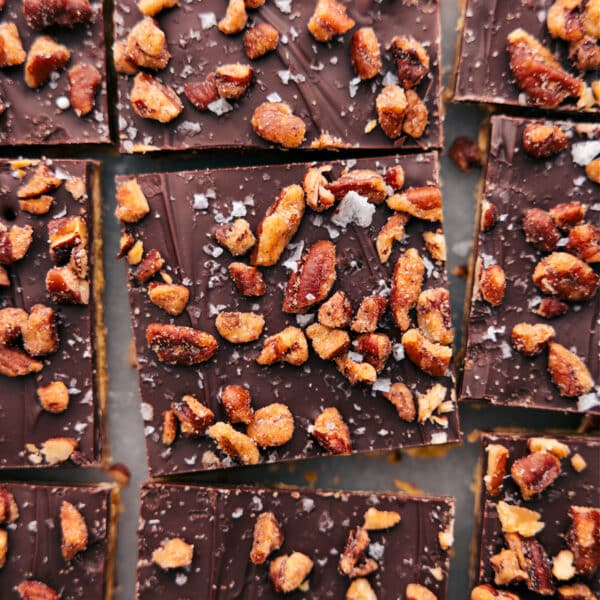
Christmas
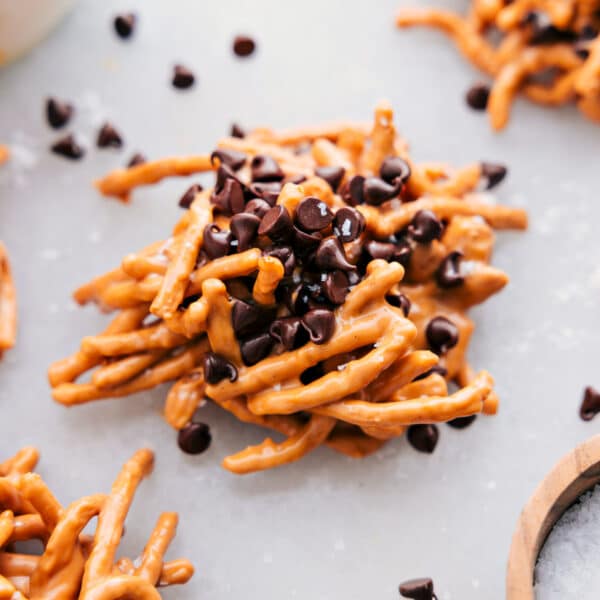
Christmas Crack
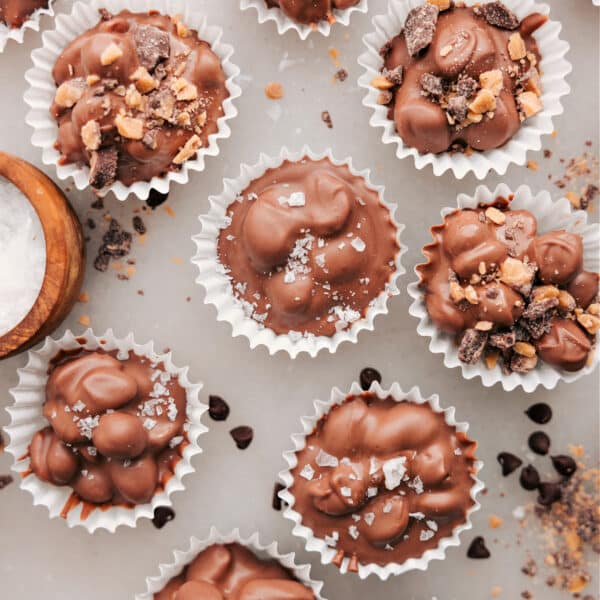
Desserts
Crockpot Candy
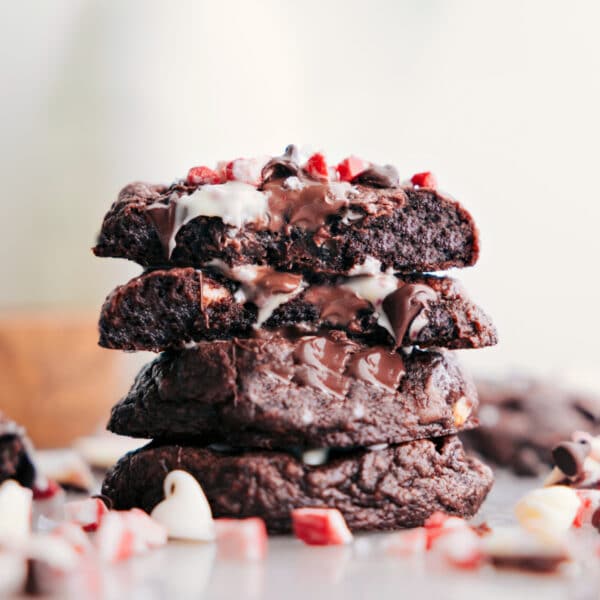
Desserts
Chocolate Peppermint Cookies
Side Dishes


