Dinner
Quick And Easy
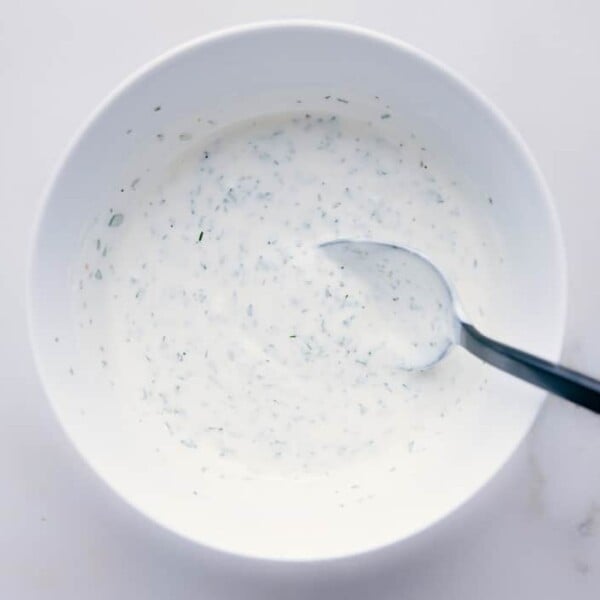
Buttermilk Ranch Dressing Recipe
Dinner
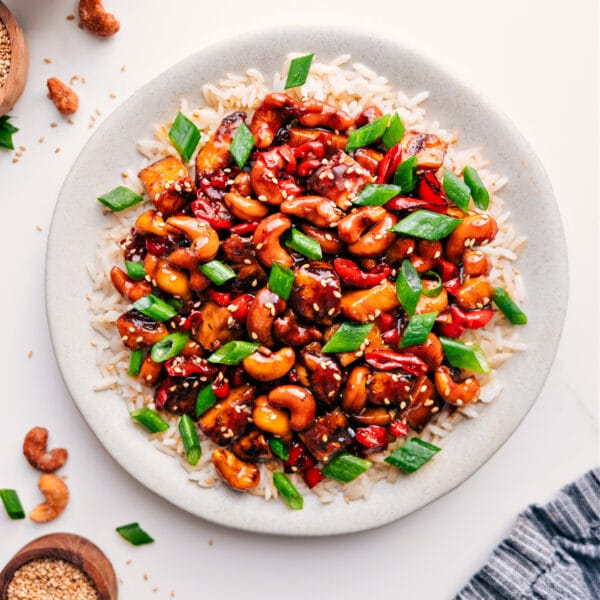
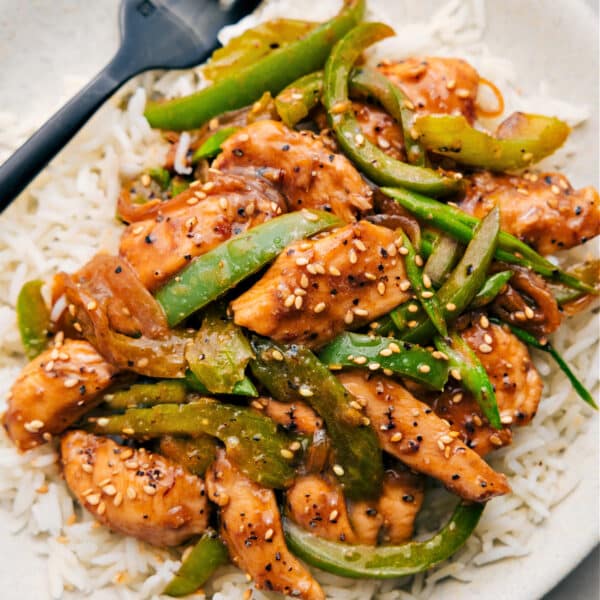
Cashew Chicken Recipe
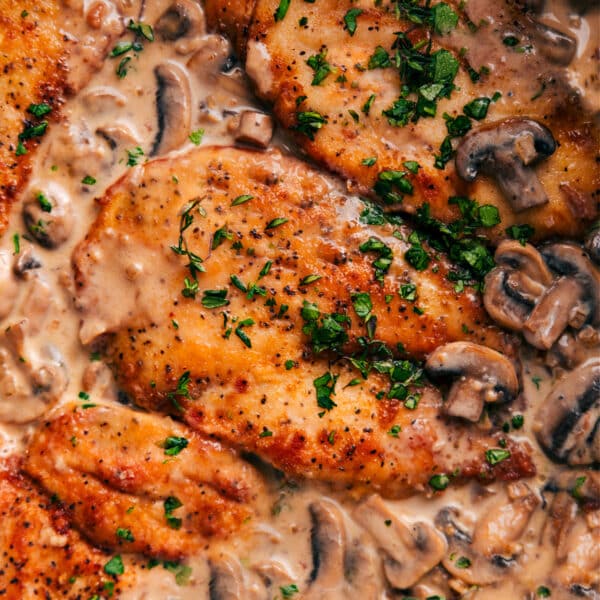
Dinner
Chicken Marsala Recipe
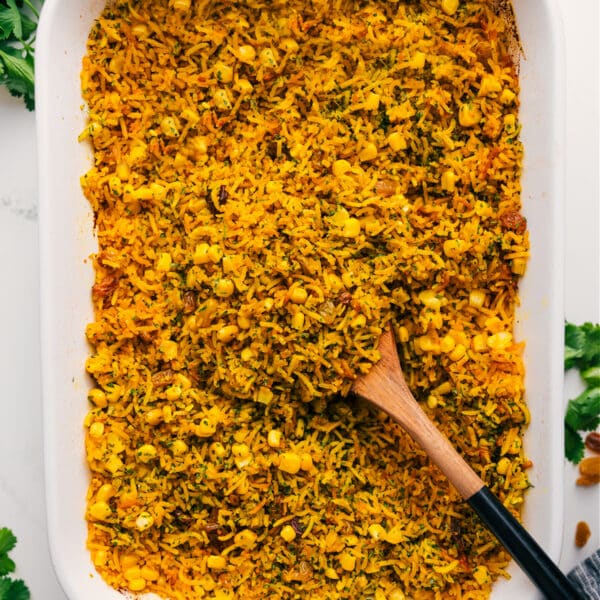
Dinner
Yellow Rice Recipe
Dinner
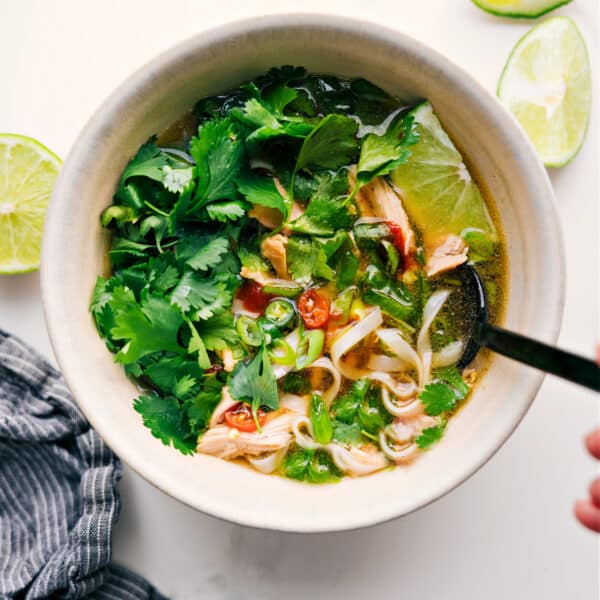
Chicken Pho Recipe
Dinner
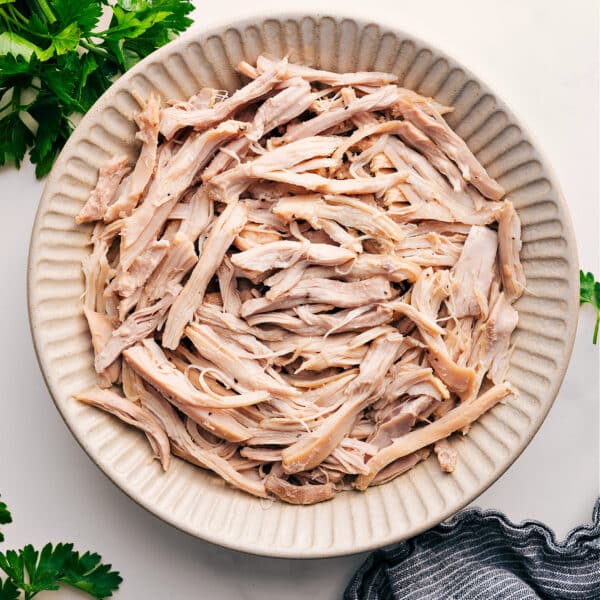
Shredded Chicken Recipes
Dinner
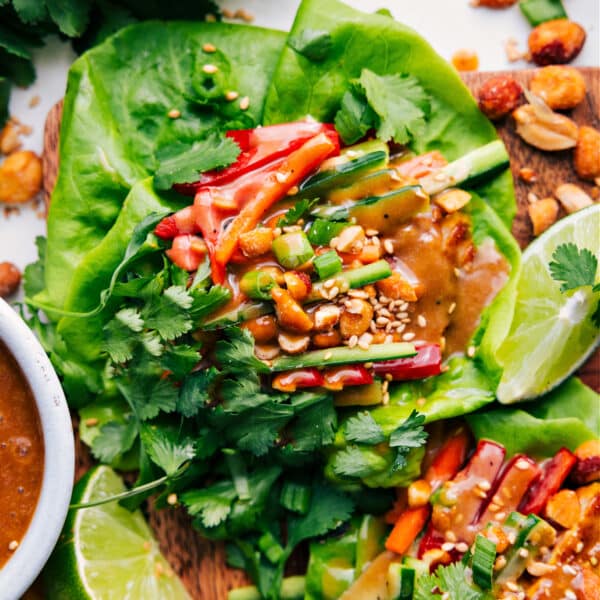
Chicken Lettuce Wraps
Dinner
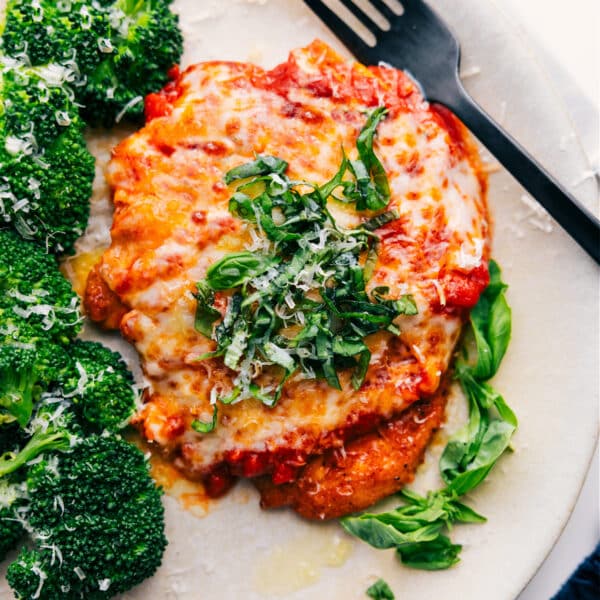
Parmesan Chicken Recipe
Dressings
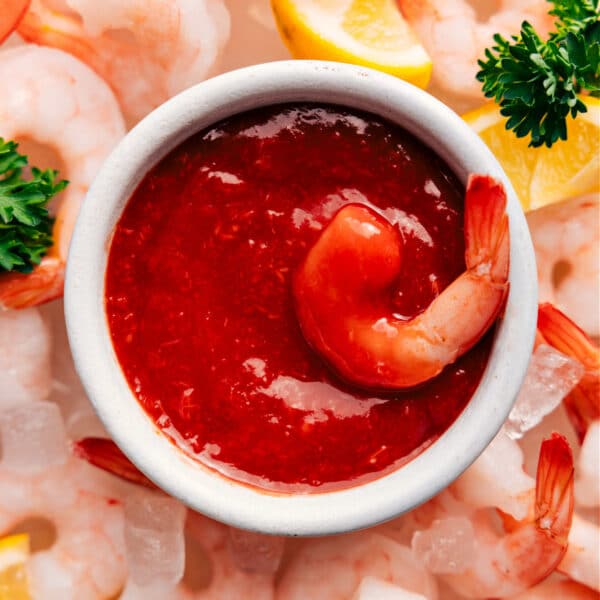
Cocktail Sauce Recipe
Side Dishes
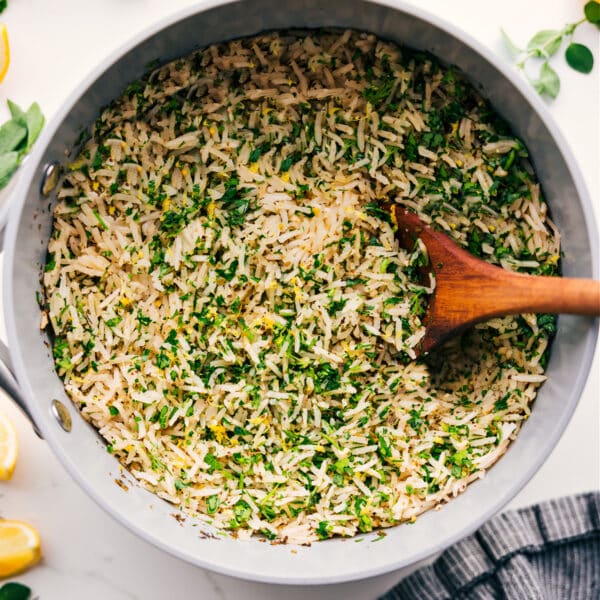
Greek Rice Recipe
Appetizers
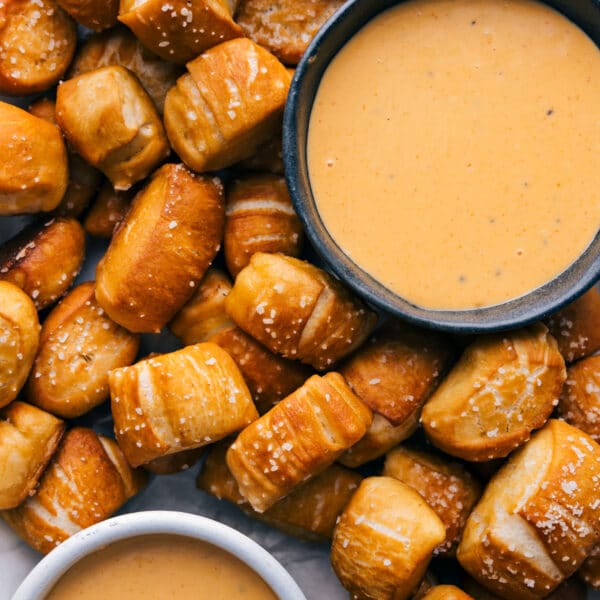
Pretzel Bites Recipe
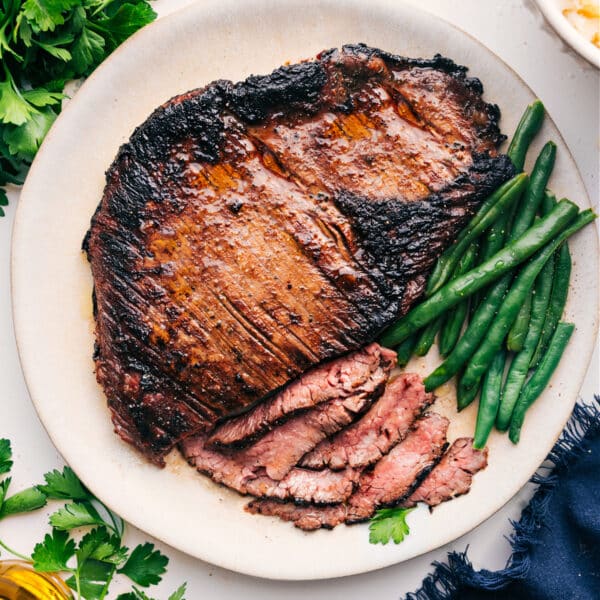
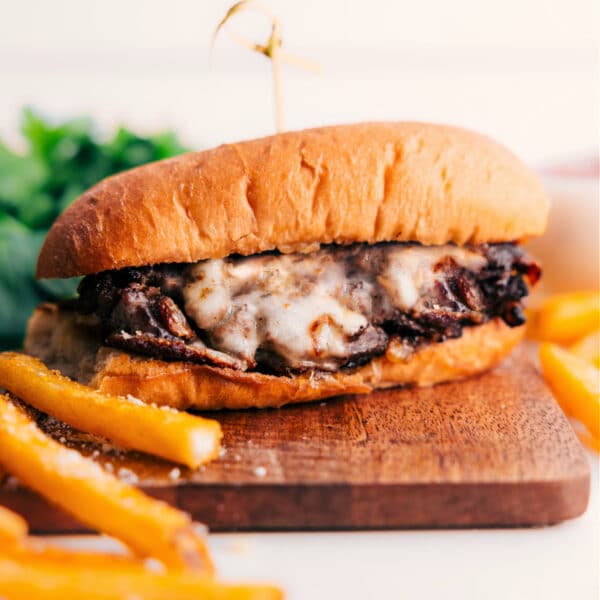
Dinner
London Broil Recipe
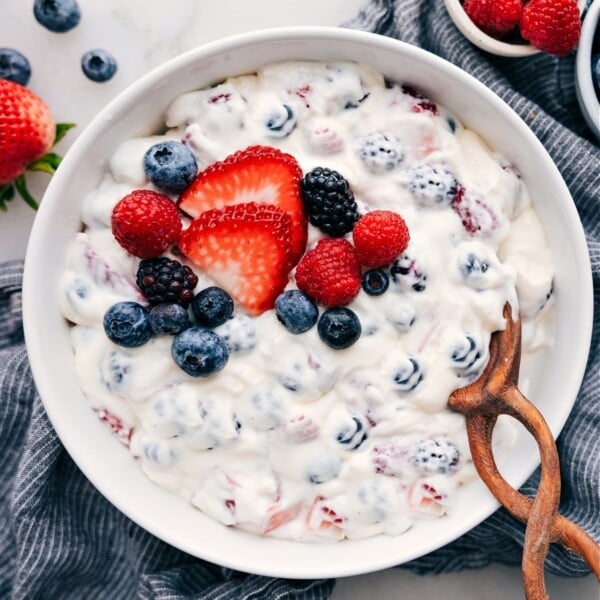
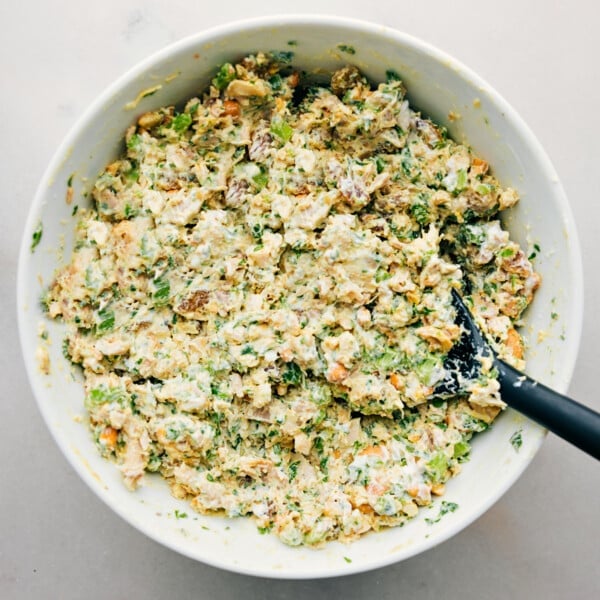
Salads
Cheesecake Fruit Salad
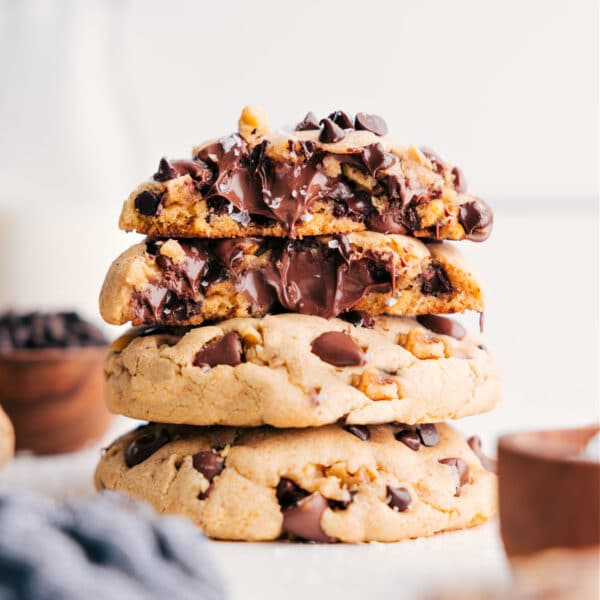
Desserts
Levain Cookie Recipe
Dinner


