The Graham Cracker Pie Crust Recipe that never lets me down. It’s sweet, buttery, and sturdy with the perfect crumbs-to-butter ratio.


author’s note
The Graham Cracker Crust I Swear By
I grew up on my mom’s “famous” ice cream pie. She typically used a store-bought crust, and I always ate around it. Then, one day, she tried a homemade graham cracker crust. I was hooked from the first bite.
Ever since, I’ve been a little obsessed with making my own graham cracker crusts.
After some trial and error in getting the butter-to-crumb ratio just right, dialing in the sweetness, and making sure the crust had the perfect thickness, this Graham Cracker Crust Recipe has become my go-to.
It takes just minutes to make, tastes so much better than anything store-bought, and works perfectly in so many desserts.


Graham Cracker Pie Crust Recipe Ingredients
| Ingredient | Let’s Chat About It |
|---|---|
| Graham cracker crumbs | Crush to very fine, evenly-sized crumbs for clean slices. Gluten-free grahams or digestive biscuits work here too! Measure the crumbs instead of counting crackers since brands vary in size. |
| Sugar | Granulated sugar will give a slightly crispier texture, while light brown sugar adds a slightly deeper sweetness. I like brown sugar best! |
| Salt | A small pinch balances the sweetness and makes the crust taste richer. |
| Butter | Let it cool to room temperature before mixing so the crumbs feel like damp sand and hold together when pressed. Hot butter can make the crust greasy. |

How To Make Graham Cracker Pie Crust Recipe
- Crush: Pulse graham crackers into very fine crumbs. Re-blend any large chunks.
- Mix: Stir together crumbs, sugar, and salt. Add the cooled melted butter and mix.
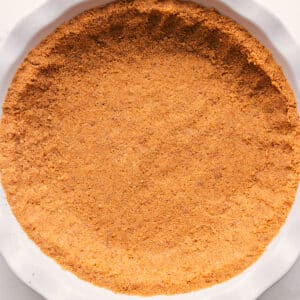
- Press: Firmly press the mixture into the pan. Press up the sides first, then compress the bottom.
- Set: Bake until set, or chill for 20 minutes for a no-bake crust.
- Fill: Let a baked crust cool to room temperature, then add the filling.
Chelsea’s Tip
Pack It Very Firmly
Really compress the crumbs when pressing the crust into the pan. Using the flat bottom of a measuring cup helps pack the crumbs tightly so the crust holds together and slices cleanly.

Storage
Use this crust the same day it’s made or bake it up to a day ahead and store tightly covered at room temperature. Avoid leaving unbaked crust uncovered for more than a few hours to prevent drying.
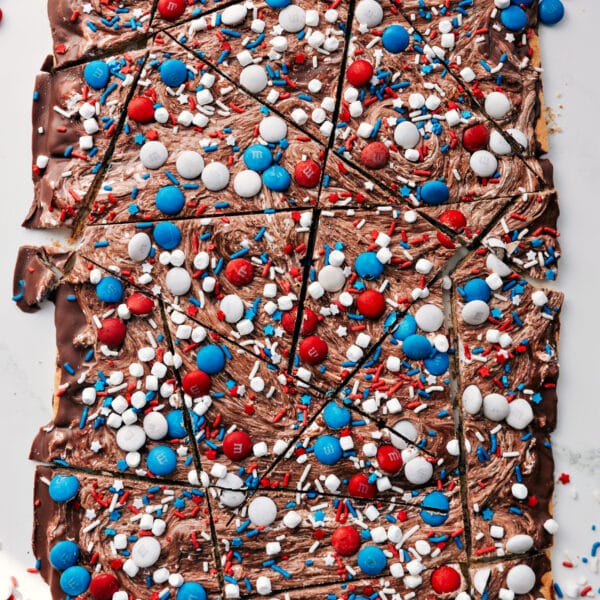
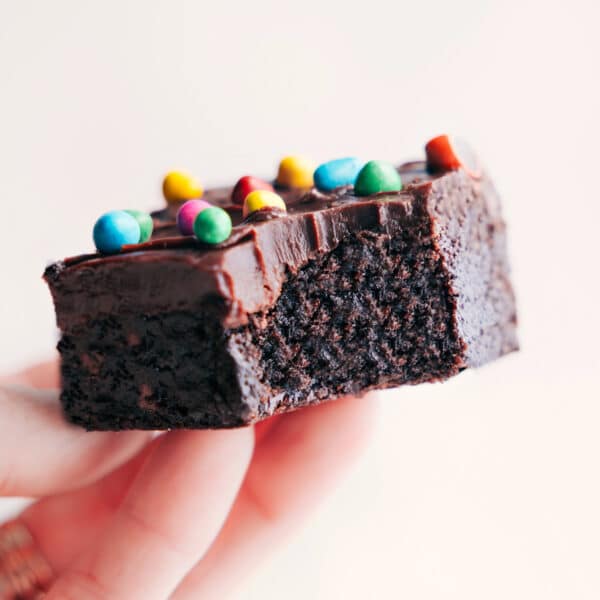
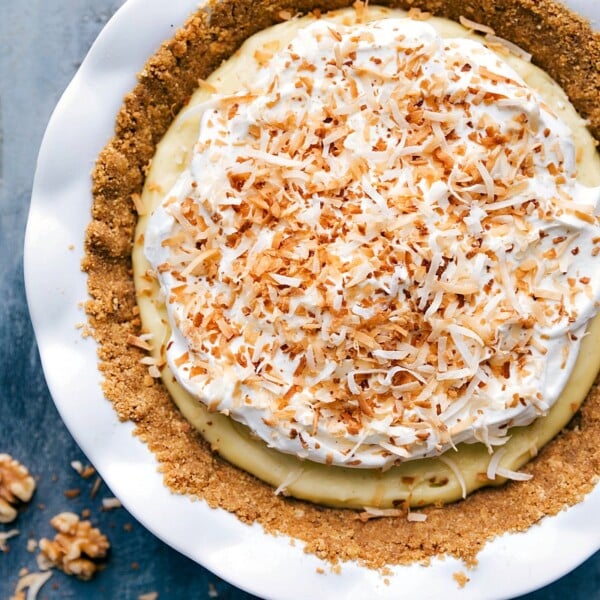
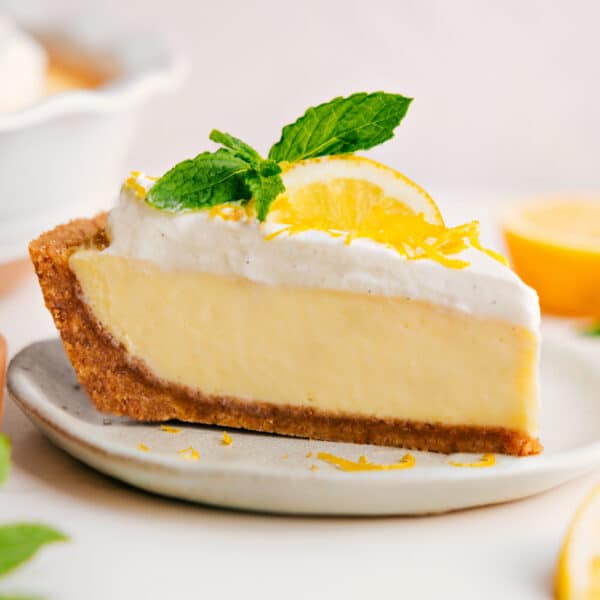
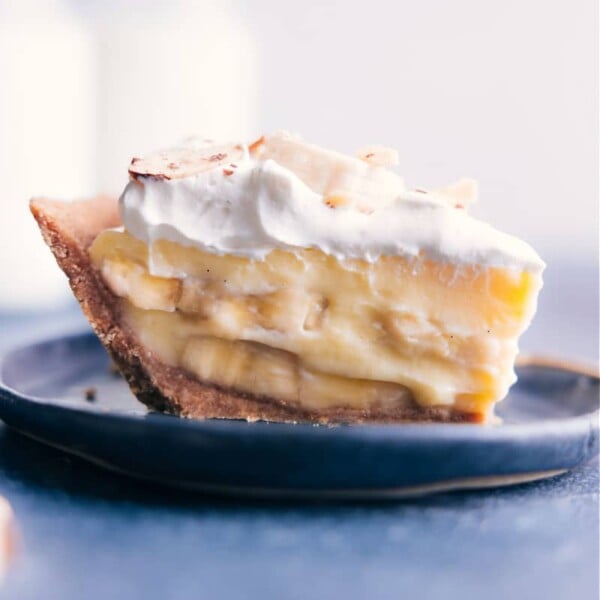
Graham Cracker Crust Desserts:
Graham Cracker Crust
Video
Ingredients
- 1-3/4 cups graham cracker crumbs about 12–13 full graham cracker sheets—see note 1
- 6 tablespoons unsalted butter melted
- 1/4 cup granulated sugar or light brown sugar
- 1/8 teaspoon salt
Instructions
- Melt the butter in a microwave-safe bowl. Once melted, set aside to cool for 5 minutes. (Hot butter will cause a greasy crust.) If you will be baking the crust, preheat oven to 350°F (175°C).
- In a blender or food processor, process the graham crackers until they are all fine crumbs (re-blend any large chunks). Measure to get a level 1 and 3/4 cups of graham cracker crumbs (see note 2) and add to a large bowl.
- Add sugar and salt. Use a spatula to scrape every bit of the melted and cooled butter into the bowl. Gently stir with a wooden spoon until well combined. Spread the mixture into the prepared pan.
- Using your fingers, press the crumbs firmly up the sides of the pan. Use the remaining crumbs to cover the bottom, pressing down firmly. Then use the flat bottom of a 1-cup measuring cup to compress the crumbs into a firm crust.
- Bake or Chill: Bake in the preheated oven for 8 minutes and set aside to cool or chill the crust. (If baking, allow the crust to fully cool before adding the filling.) To chill: Cover formed crust tightly and freeze for 10 minutes or refrigerate for 20 minutes before filling to allow time for the crust to firm up and butter to re-solidify.
Recipe Notes
9×9-inch pan: Double the recipe
9×13-inch pan: Triple the recipe
Jelly roll pan (10.5×15.5): Quadruple the recipe
Half sheet pan (18×13): Quadruple the recipe Mini Crusts (Muffin Tin): Grease or line a mini muffin tin. Add 1 tablespoon crust mixture to each cavity and press into the bottom and slightly up the sides. Use the top of a milk bottle cap to firmly press the base. Bake at 350°F for 10 minutes. Cool completely before removing with an offset spatula. Storage: Store the crust in an airtight container at room temperature for up to 2 days. For longer storage, refrigerate for up to 1 week.
Nutrition
Nutrition information is automatically calculated, so should only be used as an approximation.
Variations
Switch Things Up
- Mini crusts: Grease or line a mini muffin tin. Press 1 tbsp crust mixture into each cavity and up the sides. Use the cap from your milk bottle to compress and flatten. Bake at 350°F for 10 minutes. Cool fully, then gently remove and fill.
- No-bake crust: Freeze for 10 minutes to firm up before filling.
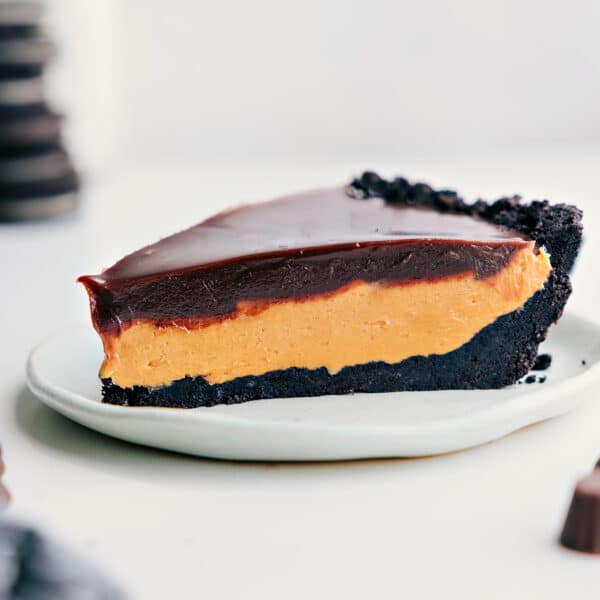
- Chocolate crust: Use chocolate or cinnamon graham crackers or try this Oreo crust.
Graham Cracker Pie Crust Recipe FAQs
To keep the crust from crumbling, here are my top tips:
–Thoroughly crush the graham crackers into fine crumbs (larger pieces will make the crust fall apart).
-Use melted butter.
–Compress the crust tightly (I like to press firmly using the bottom of a flat measuring cup).
Graham cracker crusts can get soggy fast. For wet fillings, bake the crust and let it cool completely first. Also, let the melted butter cool before mixing. It helps prevent a greasy, soggy base.
The method stays the same, only the amounts and bake vs. chill time change based on the pan.
Here’s a quick reference guide for different-sized pans:
–8×8-inch square pan: Double the recipe.
–9×9-inch pan: double the recipe.
–Graham Cracker crust for a 9×13-inch pan: Triple the recipe.
–Jelly Roll Pan (10.5×15.5): Quadruple the recipe.
–Half-Sheet Pan (18×13): Quadruple the recipe.