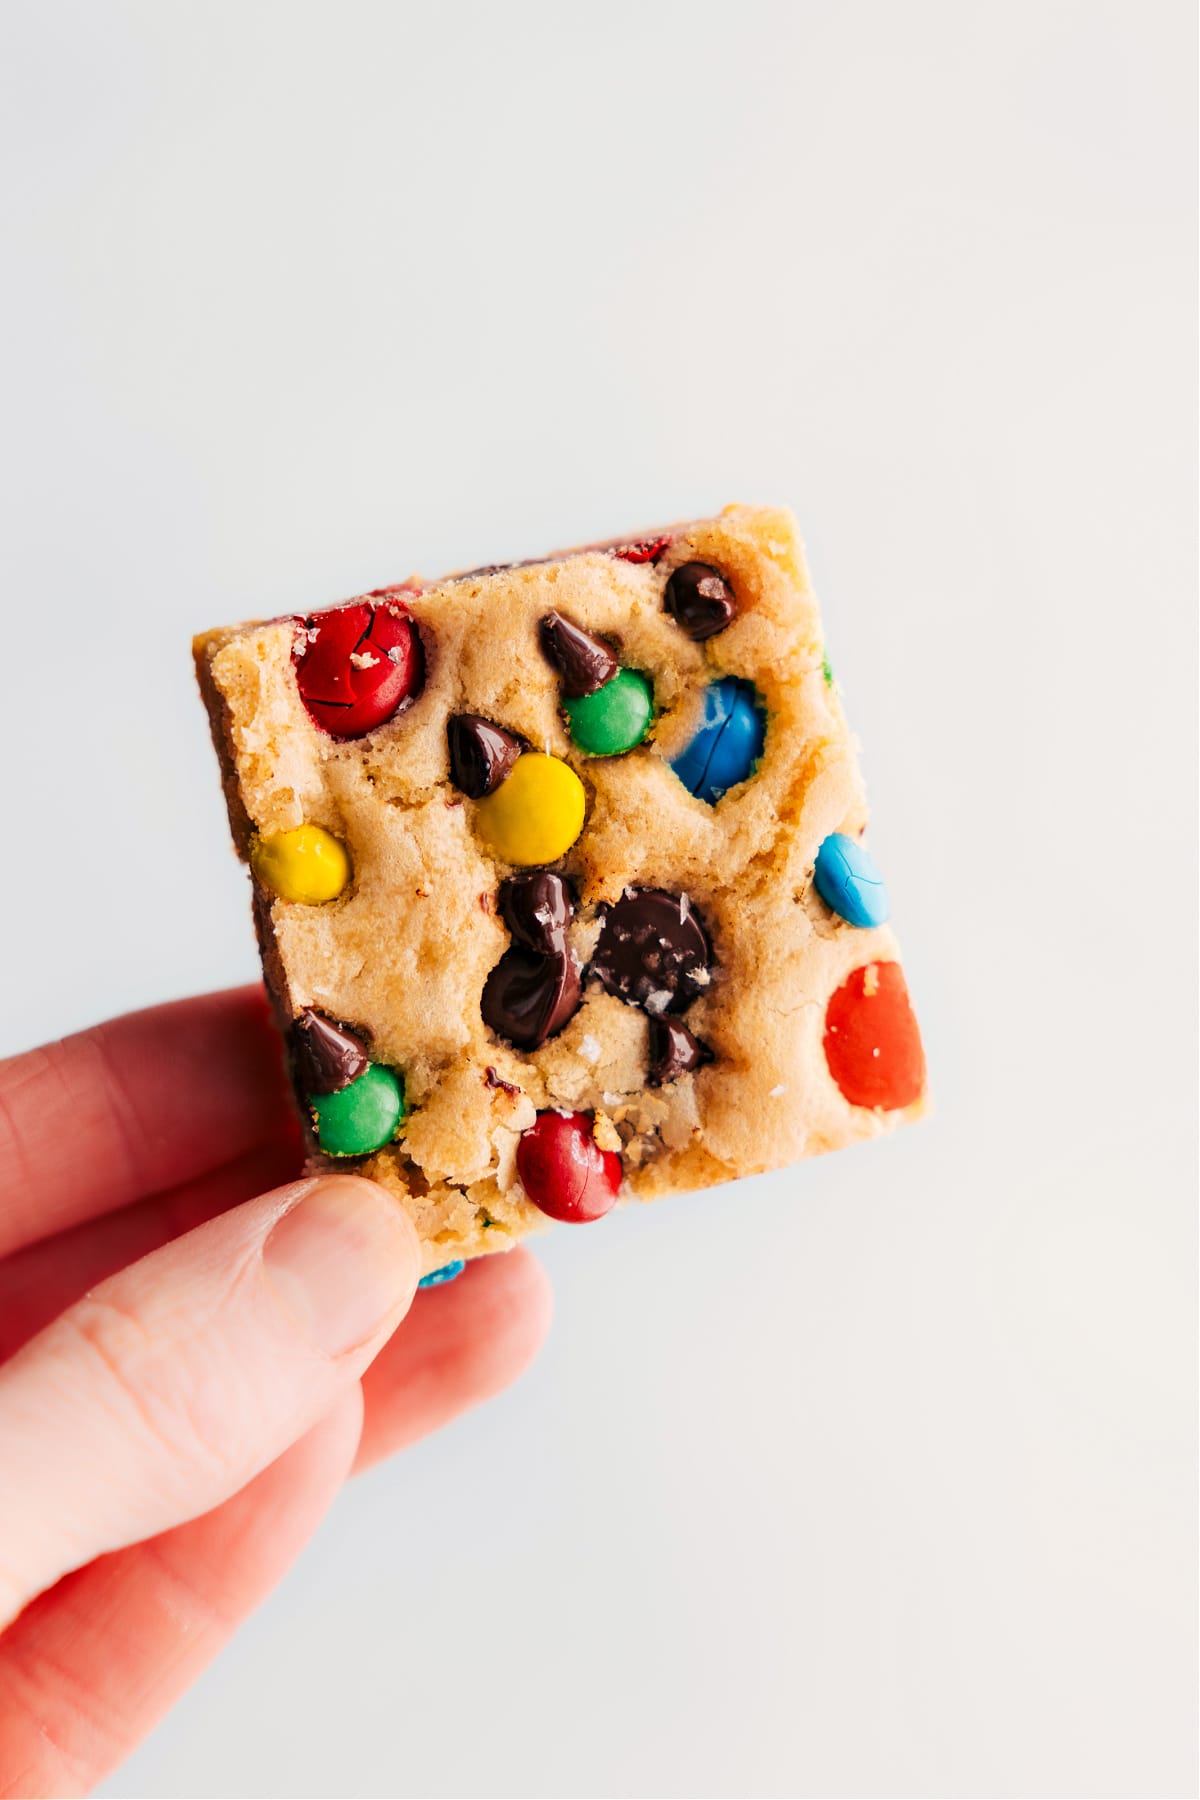
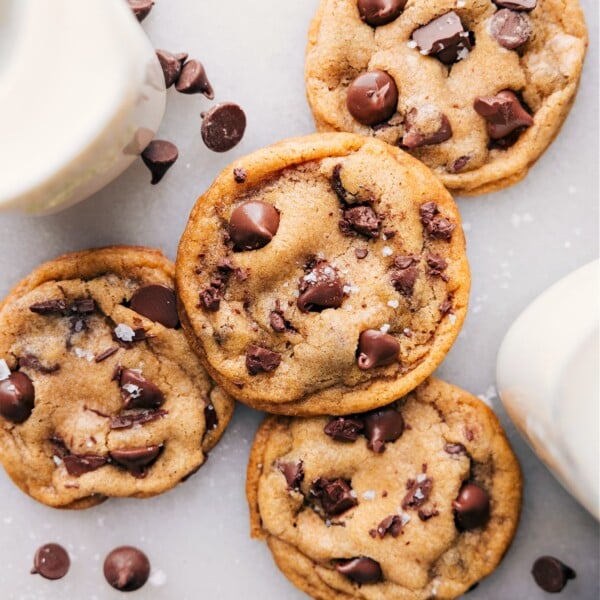
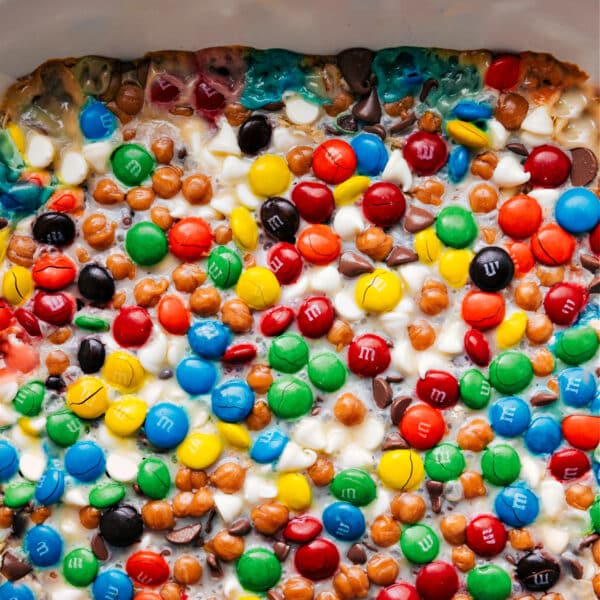
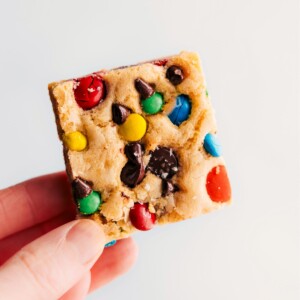
This M&M Cookie Bar Recipe comes together quicker than cookies and is just as tasty. These bars are chewy, tender, and packed with chocolate and M&M’s.

author’s note
M&M Cookie Bars So Easy My Kids Make Them With Me!
After I perfected my classic cookie bars and became fully obsessed with them, I knew I needed an M&M version for my M&M-obsessed kids. And while I love baking M&M cookies just as much as they love eating them, I do not love rolling out ball after ball of dough.
That’s why these bars are my dream shortcut. All the same warm, gooey cookie flavors with none of the scooping or chilling. I just press the dough into a pan, bake, and they’re perfect every time. Plus, you can swap the M&M colors to match any holiday, which makes these even more fun to make year round.
I’ve even started making them with leftover Halloween candy, and it’s become a little tradition. The kids dump their candy on the counter, pick out their “cookie bar candy,” and we make a pan together. It’s chaotic in the sweetest way.


M&M Cookie Bar Recipe Ingredients
| Ingredient | Swap / Tip |
|---|---|
| Butter | Melted butter makes the bars extra chewy. Unsalted is best so you control the salt. |
| Brown Sugar | Light brown is my favorite in these, but dark brown will work. |
| Egg + Extra Yolk | The yolk adds density and richness. Don’t skip it. |
| Maple Syrup | Gives these bars extra sweetness and tenderness. Pure maple syrup is ideal. |
| All-Purpose Flour | Spoon and level to avoid adding too much. Too much flour = dry, cakey bars. |
| Baking Soda | Helps the bars rise just enough. |
| Chocolate Chips | Any variety works: semi-sweet, milk, dark, or white. |
| M&M’s | Regular, mini, peanut butter, holiday colors — whatever you love. |

How To Make M&M Cookie Bars Recipe
- Preheat oven to 325°F and prep a 9×13-inch pan.
- Melt butter, then cool. Mix with sugars, egg, yolk, vanilla, and syrup.
- Combine flour, baking soda, and salt. Then add chips and M&M’s.
- Bake in pan for 23-28 minutes until set.
- Cool, cut into bars, and enjoy!
Cookie Bar Tips
- Cool Butter: Let melted butter cool so the bars aren’t greasy.
- Measure Flour: Spoon and level for accurate, better tasting bars.
- Bake Time: Watch closely; remove when edges are lightly browned.
- Mix Gently: Overmixing can lead to tough M&M cookie bars. Stir until just combined.
- Chocolate Choice: Use quality chocolate so you have the best flavor.
- Pan Lining: Parchment paper simplifies removal and cleanup.
Storage
- Airtight Container at Room Temp: Keep bars fresh for up to 1 week.
- Refrigerate: For extended freshness, refrigerate up to 2 weeks.
- Freeze: Wrap well; freeze this M&M cookie bar recipe for up to 3 months. Thaw at room temp.
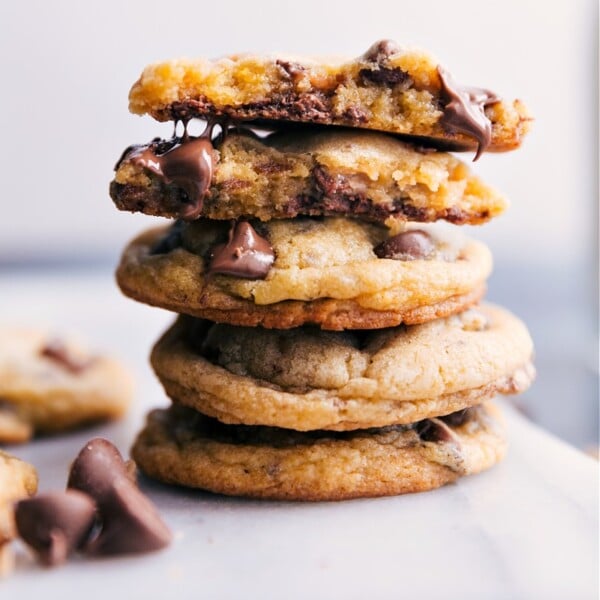
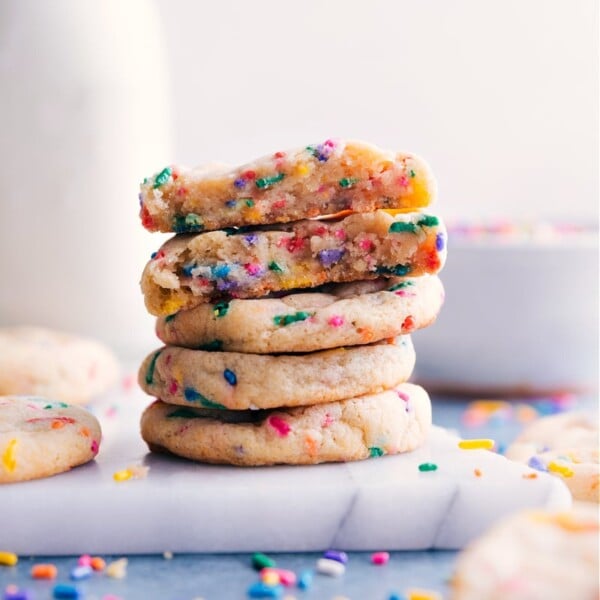
More Irresistibly Good Cookie Recipes:
M&M Cookie Bars
Ingredients
- Cooking spray
- 12 tablespoons unsalted butter melted and slightly cooled
- 1 cup light brown sugar firmly packed
- 1/2 cup granulated sugar
- 1 large egg
- 1 large egg yolk see note 1
- 1/2 tablespoon vanilla extract
- 2 tablespoons maple syrup optional, see note 2
- 2-1/4 cups all-purpose flour
- 1/2 teaspoon baking soda
- 3/4 teaspoon salt
- 1 cup chocolate chips milk, white, semi-sweet, or dark—whatever you prefer
- 1 cup M&M’s or other candy-coated chocolates
Instructions
- Preheat oven to 325°F. Spray a 9×13-inch pan with cooking spray, line with parchment paper (with an overhang for removal). Melt butter in microwave and set aside to cool to room temp. (Hot butter will melt the sugars and cause greasy bars.)
- Whisk melted butter and sugars until smooth. Add egg, yolk, vanilla, and syrup. Whisk until smooth and emulsified.
- Use a wooden spoon to stir in baking soda, salt, and flour until just combined. Fold in chocolate chips plus M&M’s. If needed, switch to a hand mixer, but don’t overmix. Press dough evenly into pan. If desired, press a few more chocolate chips and M&M’s into tops of bars.
- Bake 23–28 minutes until top isn’t glossy and edges are lightly golden. Be careful to not overbake for soft and chewy bars. Optional: top with sea salt right out of the oven. Fully cool in pan, lift out, cut, and serve. Best within 1–2 days.
Recipe Notes
Nutrition
Nutrition information is automatically calculated, so should only be used as an approximation.