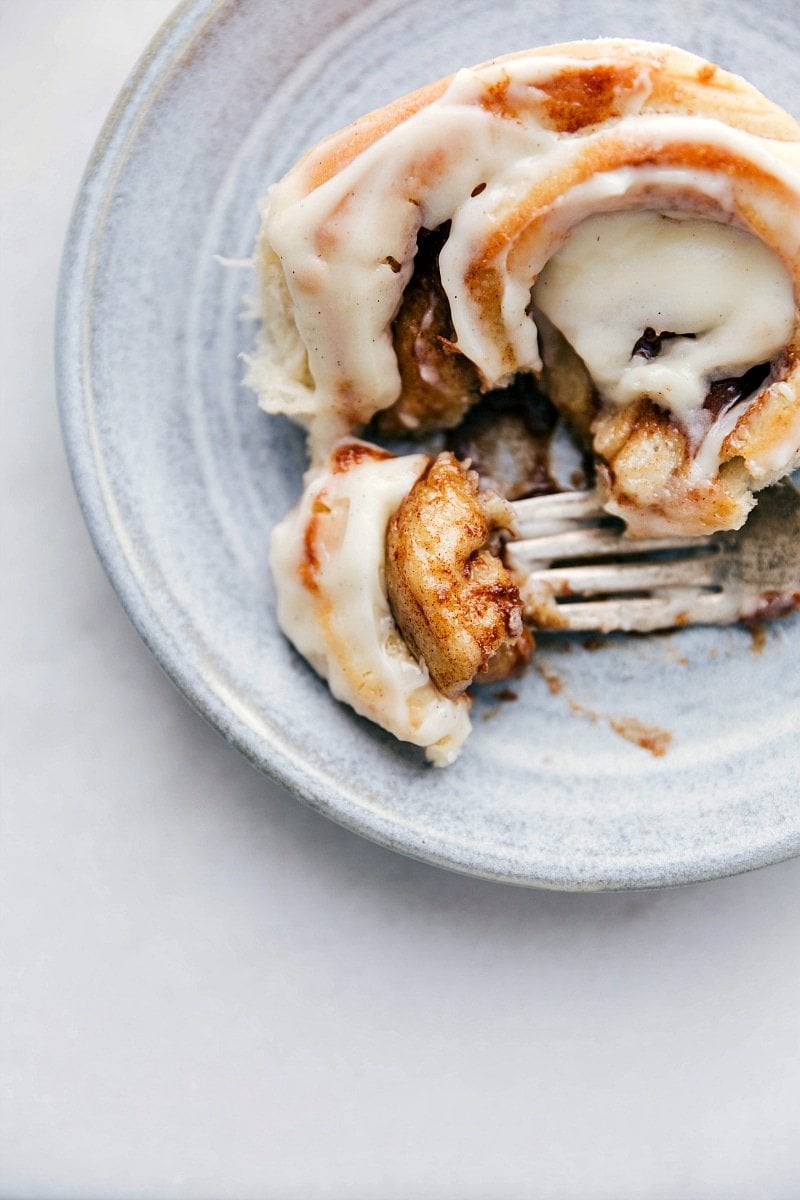
Deliciously gooey Homemade Cinnamon Rolls come with step-by-step photos, detailed instructions, and all my top tips for perfect rolls every single time.

author’s note
I Tested Cinnamon Rolls On Repeat So You Don’t Have To!
If you ask my toddler what his favorite food in the entire world is, he will not even blink before shouting “CINNAMON ROLLS!” at full volume. Because of that very passionate answer, I have found myself in a full blown cinnamon roll era. We have made so many batches that my mixer probably knows the recipe by heart.
All that rolling, kneading, tweaking, and tasting led to this version right here. It is the one that finally made my whole family stop mid bite and say, “Okay… these are it.” I have a feeling you are about to say the same thing.
Keep reading for step by step photos and simple instructions so you can make these even if you have never baked with yeast before. And if you try them, tell me how it went. I love hearing cinnamon roll success stories.


Ingredients
| Ingredient | What It Does / Helpful Notes |
|---|---|
| Whole Milk | Warm the milk to exactly 100°F and remove it from the stovetop. (I use a thermometer for precision.) |
| Active Dry Yeast | Gives the rolls their rise. Make sure it’s fresh. |
| Unsalted Butter | Melted butter enriches the dough and softened butter makes a smooth, spreadable filling. |
| Brown Sugar | Dark brown sugar gives extra depth; light brown works great too. |
| Cinnamon | If you love cinnamon feel free to add even more. |
| Heavy Cream | The game-changing step: pour it over risen rolls before baking for gooey centers. |
| Cream Cheese | Makes your frosting thick, tangy, and spreadable. Don’t skip the room-temperature step. |

How To Make Homemade Cinnamon Rolls
- Warm the milk and proof the yeast: Let it foam so you know your yeast is alive.
- Mix the wet ingredients: Butter, egg yolk, and vanilla.
- Combine wet and dry: Mix into a tacky dough that pulls away from the sides of bowl.
- Knead and let rise: The dough should double in size.
- Roll it out: Spread on the cinnamon sugar filling and roll into a log.
- Cut and let rise again: Slice into twelve rolls and place in a 9×13 pan.
- Use the secret step of warm heavy cream: Pour it evenly over the risen rolls.
- Bake and frost: Let the frosting melt slightly over the warm rolls for the best texture.

Pro Tips For The Softest, Gooeyest Homemade Cinnamon Rolls
- Avoid over-flouring dough: Sticky dough = soft rolls. Too much flour = dense rolls.
- Use room-temp butter for the filling: If it’s too firm, it will tear the dough.
- Check your yeast: If it doesn’t foam, don’t keep going.
- Roll tightly but gently: Loose rolls unravel; too tight squeezes out the filling.
- Bake just until lightly golden: Over-baking dries them out quickly.
Featured Comment
“BEST cinnamon rolls I’ve ever had!!! Made these for friends and everyone went back for another one at least once! The recipe was also really easy to follow, and they turned out perfectly!”
– Shay

Variations
- Orange Homemade Cinnamon Rolls: Add orange zest to the filling and orange juice to the frosting.
- Maple Pecan Rolls: Add chopped pecans inside and maple extract to the glaze.
- Chocolate Cinnamon Rolls: Mix cocoa into the filling for a mocha swirl.

Homemade Cinnamon Rolls FAQs
Warm heavy cream over the rolls and measure your flour carefully so you don’t over flour.
Your yeast may be old or the milk too hot.
Too much flour or overbaking.

Storage
- Room Temp: Store unfrosted homemade cinnamon rolls tightly covered for up to 2 days.
- Refrigerate: Lasts 3–4 days, though the texture is best at room temp.
- Can I make these in advance?: Yes! Freeze the shaped rolls before the second rise. When ready to bake: thaw in the fridge overnight, rise at room temp, pour cream, bake as usual.

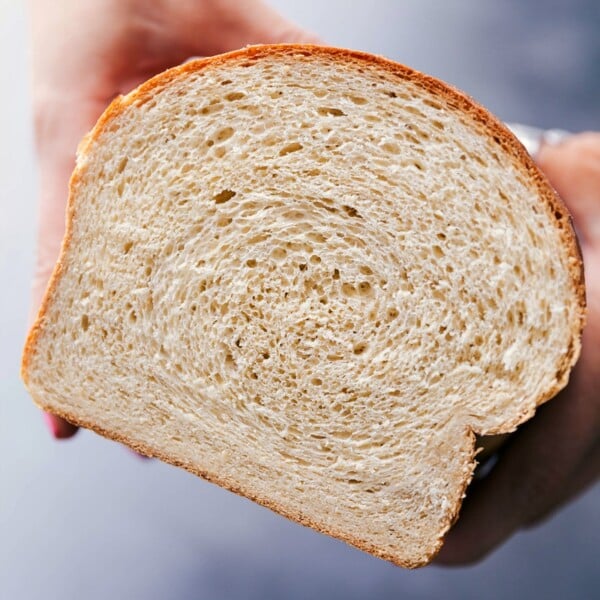
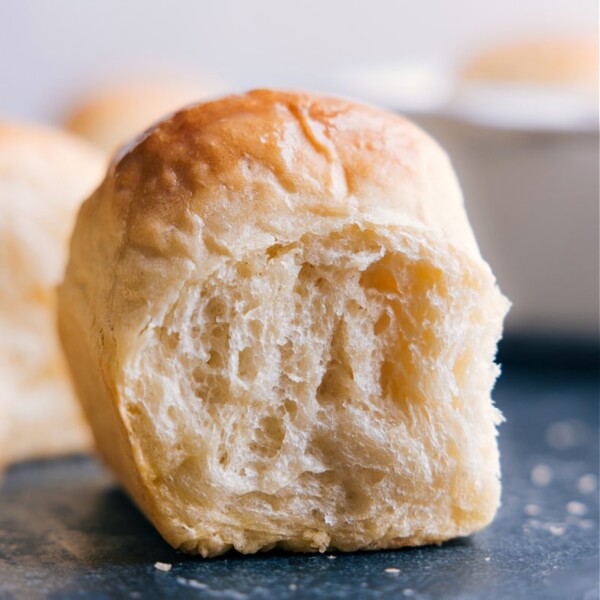
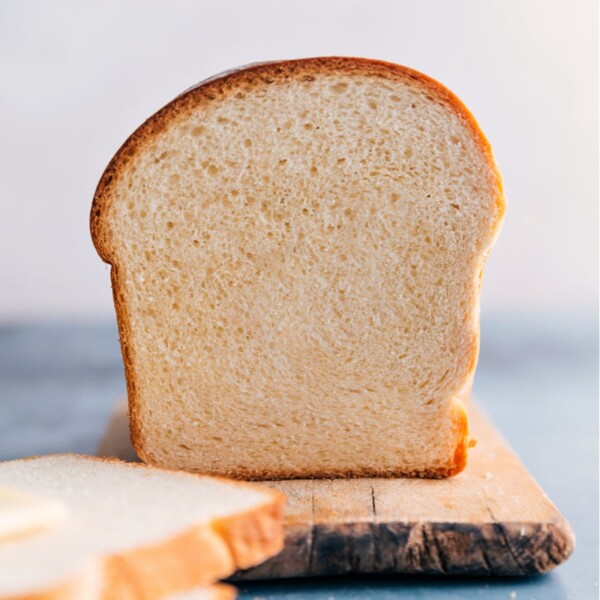
Use Leftover Yeast In:
Sandwiches
Honey Whole Wheat Bread

Muffins And Quick Breads
Fry Bread Recipe
Appetizers
Life-Changing No-Knead Dinner Rolls
Lunch
White Bread Recipe

Homemade Cinnamon Rolls
Video
Equipment
- Stand mixer with dough hook
- 9 x 13-inch baking pan ceramic or glass; avoid metal if possible
Ingredients
- 1 cup whole milk I wouldn’t recommend a lower fat
- 2-1/2 teaspoons active dry yeast not instant or rapid rise
- 1/3 cup + 1/2 teaspoon granulated sugar
- 4 tablespoons unsalted butter melted and cooled to room temperature
- 1/2 tablespoon vanilla extract
- 1 large egg yolk
- 2-3/4 cups all-purpose flour plus some additional flour as needed
- 3/4 teaspoon salt
- 1/2 teaspoon ground cinnamon
- 8 tablespoons butter 1/2 cup, softened
- 1 cup dark brown sugar I like dark, but light works great too; firmly packed
- 2 tablespoons ground cinnamon
- 1/3 cup heavy cream slightly warmed
- 4 ounces cream cheese full-fat, at room temperature
- 1/4 cup unsalted butter at room temperature
- 1 cup powdered sugar
- 1/2 teaspoon vanilla bean paste or 1 teaspoon vanilla extract
- 1/8 teaspoon ground cinnamon
- 1/8 teaspoon salt
Instructions
Make the Dough
- Preheat oven to 170°F. Heat the milk in a medium pot over low heat until it reaches 100°F. Remove the pot from heat and add the yeast and 1/2 teaspoon sugar. Do not stir. Let sit until foamy, about 5–10 minutes. (If the mixture doesn’t foam, you may need new yeast, or the milk could have killed the yeast if it was too hot. Start over or your rolls won’t rise.)
- While the yeast is proofing, melt the butter and let it return to room temperature. Once cooled, whisk in the vanilla extract and egg yolk until smooth. Whisk this mixture into the yeast/milk mixture.
- Using a stand mixer, mix together flour, the remaining 1/3 cup sugar, salt, and cinnamon. Once combined, make an indent in the center and pour the yeast mixture into it. Mix on low speed with the dough hook until thick and slightly sticky (~2 minutes), scraping the sides with a spatula as needed. Knead on medium speed until the dough gathers around the hook, (~5–6 minutes). If the dough isn’t gathering around the hook, you can slowly add more flour (1/4 up to 3/4 cup extra). Aim for a slightly sticky and tacky texture—just enough to gather around the hook without sticking to your fingers. Avoid over-flouring to keep the dough soft.
- Remove the dough and shape it into a ball (it will be a little sticky!). Grease the mixing bowl with cooking spray or butter and return the dough to the bowl, turning to coat with the spray or butter. Cover with plastic wrap or a towel and let rise until doubled. This takes roughly 45 mins to 1.5 hours. Placing the dough in a warm environment will make it rise faster. (I turn off the oven that preheated to 170°F, add the bowl of dough into the oven, and crack the oven open 4–5 inches.)
- Lightly flour a clean surface and roll out the dough. Try to get a rectangle shape that is approximately 15×12 inches (with the 15-inch side facing you). Avoid overworking the dough.
For the Filling
- In a large bowl, combine the softened butter with brown sugar and cinnamon. Beat until you have a thick mixture.
- Use a knife or spatula to spread the cinnamon-sugar mixture over the entire dough rectangle. Starting on the long side (closest to you), tightly roll up the dough jelly-roll style.
- Cut the roll of dough into 12 equal slices and place in a greased 9×13-inch ceramic or glass pan. (Avoid metal pans if possible.)
- Cover the rolls in the pan and allow them to rise until nearly doubled. Again, place in a warm environment to make them rise quicker, about 20–30 minutes.
- Preheat oven to 375°F. Warm the heavy cream for 15–20 seconds in the microwave (you don’t want it hot, just not cold/straight from the fridge).
- Using a pastry brush, spread the heavy cream over the risen rolls and allow it to soak down, in, and around the rolls.
- Bake cinnamon rolls at 375°F for 17–26 minutes, until the rolls are lightly golden brown at the edges and the center of the rolls are cooked through.
For the Frosting/Glaze
- While the rolls are cooling, prepare the frosting/glaze. Combine room-temperature cream cheese and butter in a large bowl and beat until smooth and creamy, about 2–3 minutes. Add in powdered sugar, vanilla, cinnamon, and salt. Beat until smooth.
- Allow cinnamon rolls to cool at room temperature for 10–15 minutes, then spread the glaze evenly over the rolls. Enjoy warm!
Recipe Notes
Nutrition
Nutrition information is automatically calculated, so should only be used as an approximation.


Love this recipe! Definitely not diet food! Haha!
Haha so glad you’re enjoying!
Wow!!!
I woke up this morning craving Cinnabons, and since my partner had a big Zoom meeting, I thought they’d be the perfect snack for him to enjoy with a cuppa tea!
This recipe was fantastic—clear, easy to follow, and absolutely delicious! They were such a hit that they even got a shoutout during his meeting, so I think I’m now officially obligated to make them again for his team! That’s the kind of reaction you hope for when baking something amazing!
Thank you so much for sharing this recipe with such detailed instructions, helpful notes, and photos. I really love your approach—it made everything so easy to follow. I can’t wait to try more of your recipes!
Yay! I am so happy to hear this! Thanks so much for taking the time to write a review!
For those of you who made mistakes like me it’s okay! I accidentally added the whipping cream to the filling. I left them out longer to proof. Like 2 hrs! I got busy. I refrigerated them overnight and warmed them up on the stove as it heated for 1 hr. Allowed the cream cheese to soften during that time too! Then, I realized I was all out of vanilla extract for the frosting. Therefore, I used maple extract. In the end, they were still delicious!!
I’m so glad you were able to make it work! Thanks for your comment Terri!
I followed the recipe exactly and these couldn’t behave turned out
any better. They were soft with a great cinnamon gooey center and
a delicious cream cheese icing. I will definitely make them again!
They were a hit!
YAY! So happy to hear this! Thanks so much Jenny! 🙂
Me encantó esta recetas. Gracias
Gracias Zinna! 🙂
Just pulled these out of the oven! A+ from everyone. So delicious!
I am so thrilled to hear! Thanks Allison! 🙂
These cinnamon rolls were so good and so worth the effort!!! My whole family loved them!! They will be my go to cinnamon roll recipe from now on!
Yay! So thrilled to hear that! 🙂 Thank you so much for taking the time to comment 🙂
In step 4, you say to let the rolls rise for 20 – 30 minutes. Can I let them rise longer? I want to prepare them b4 my guests come. Then cook them once they arrive. Suggestions?
How long can they sit on counter for before baking them? Or can I prepare them , refrigerate, then
bake? Any suggestions are greatly appreciated.
THANK YOU!!!!!!!
Long time follower.
Laura Nelke, mom of 3 boys and a teacher from Nutley, NJ (15 min outside of NYC).
I don’t have a stand mixer and my hand held mixer does not have a dough hook. How do I adapt this because these look fantastic.
You can knead by hand!
The dough is excellent; followed recipe exactly. Would be nice to have raisins or walnuts in filling. Not enough “yeasty” flavor like the ones from Cinnabon. Kids didn’t care for cinnamon in icing.
WAY too much time and effort for end results. Sorry; I really wanted to love these!