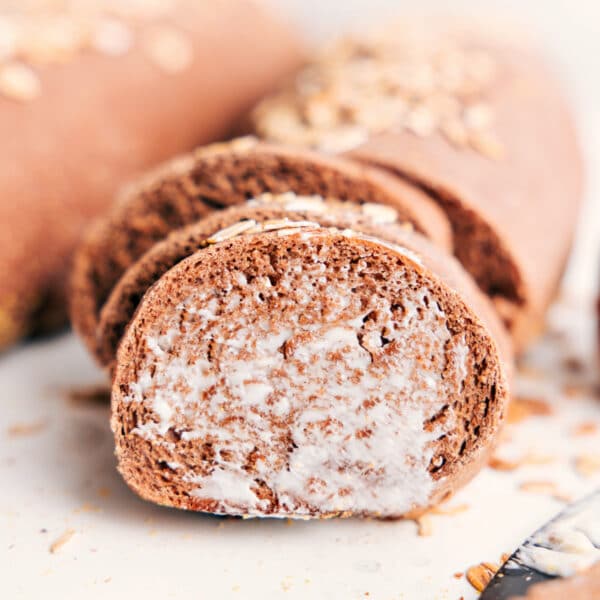
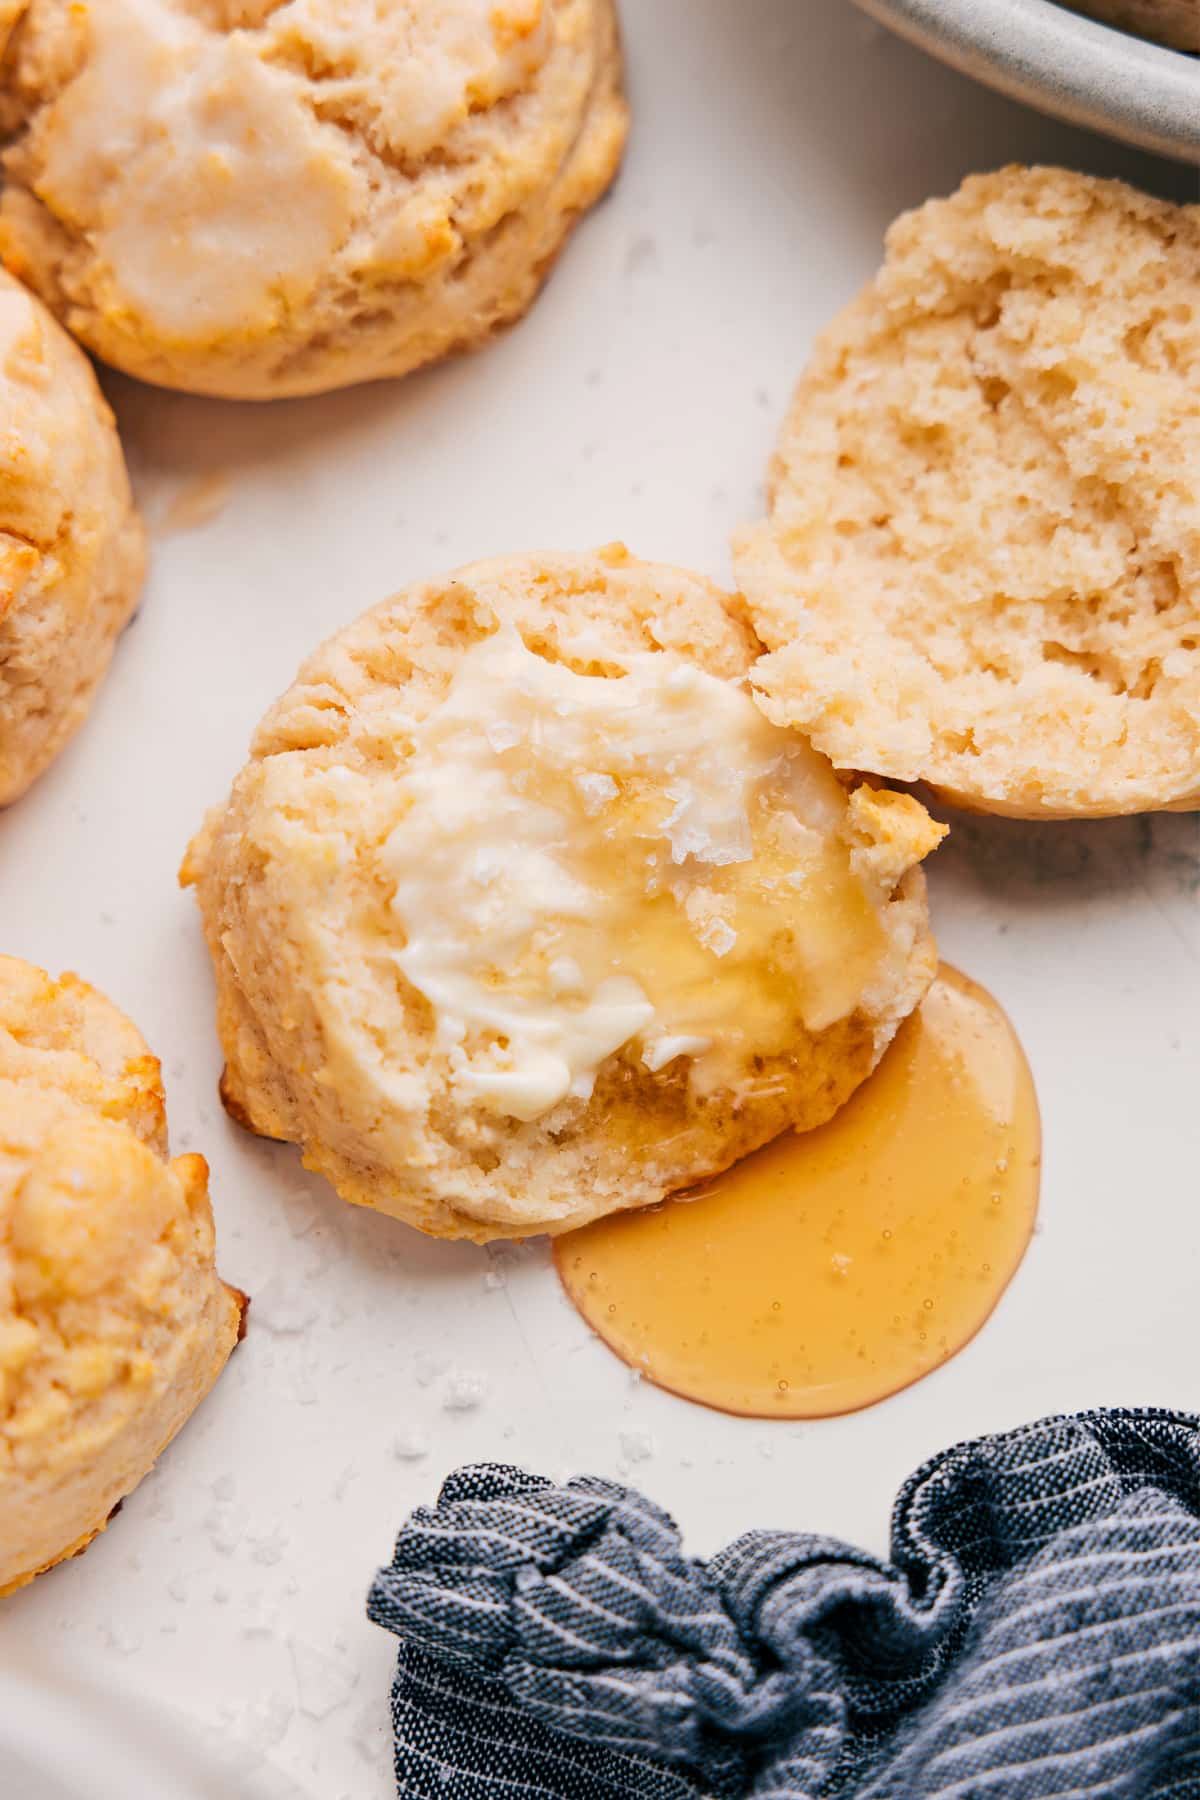
This easy Drop Biscuit Recipe makes buttery, flaky biscuits with hardly any work. Just mix the dough, scoop it onto the pan, and bake. No rolling or cutting needed!

Author’s Notes
The Beauty of a Drop Biscuit!
Most classic American-style biscuits are rolled out, cut, and baked so they rise nice and tall with straight sides and a flatter top. They’re so delicious, but they usually take a little more time and precision to get just right.
Drop biscuits are the easier version. The dough has more liquid, so it’s too soft to roll or cut. You simply scoop it onto the baking sheet and bake.
The name really is the perfect description. Just mix, drop, and bake! They may not be quite as picture-perfect as a rolled biscuit, but they’re ridiculously good with a fraction of the work. I can’t wait to hear what you think of this recipe!

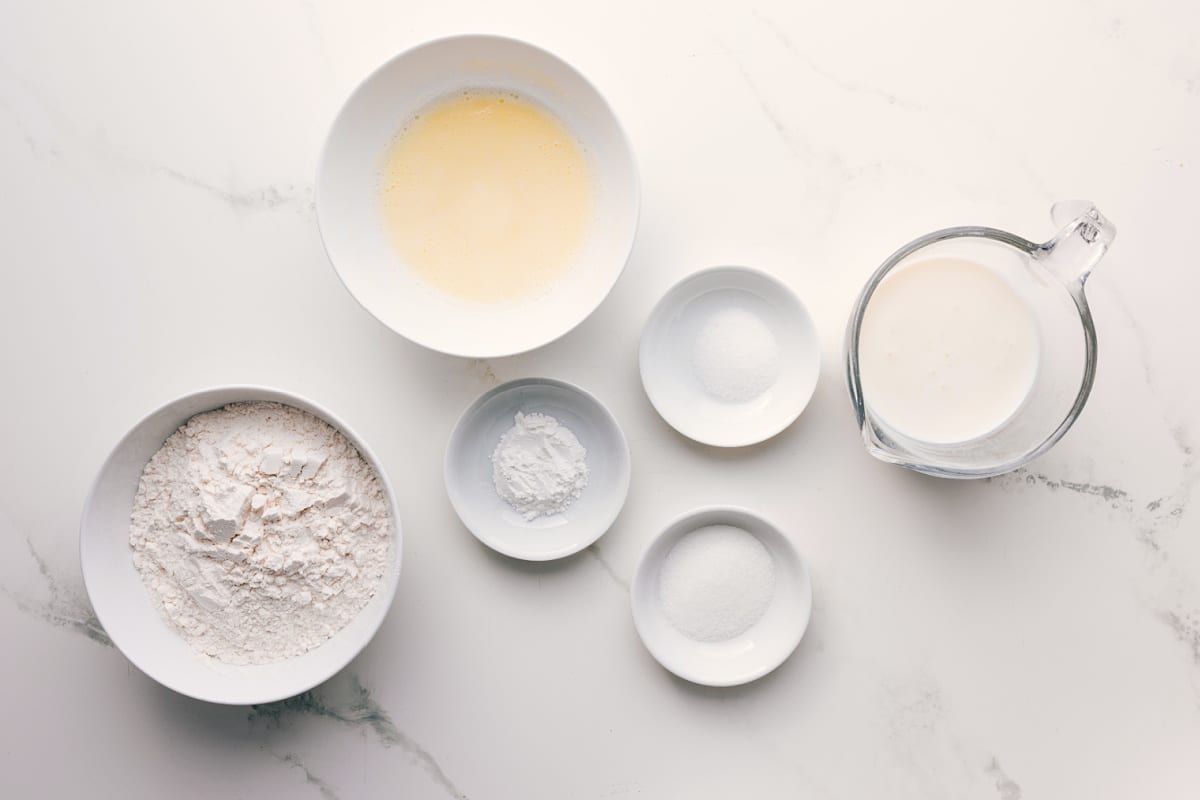
Drop Biscuit Recipe Ingredients
| Ingredient | Let’s Chat About It |
|---|---|
| Unsalted Butter | Let the melted butter cool for a few minutes before adding the cold buttermilk. |
| All-Purpose Flour | Spoon & level the flour, or weigh it for the most accurate measurement. |
| Baking Powder & Salt | Make sure your baking powder is fresh for the best rise. |
| Granulated Sugar | I like the subtle sweetness the sugar adds to this drop biscuit recipe, but feel free to leave it out. |
| Buttermilk | Use it straight from the fridge. You want it nice & cold when it hits the melted butter. |
Chelsea’s Tips
Drop Biscuit Recipe Tips
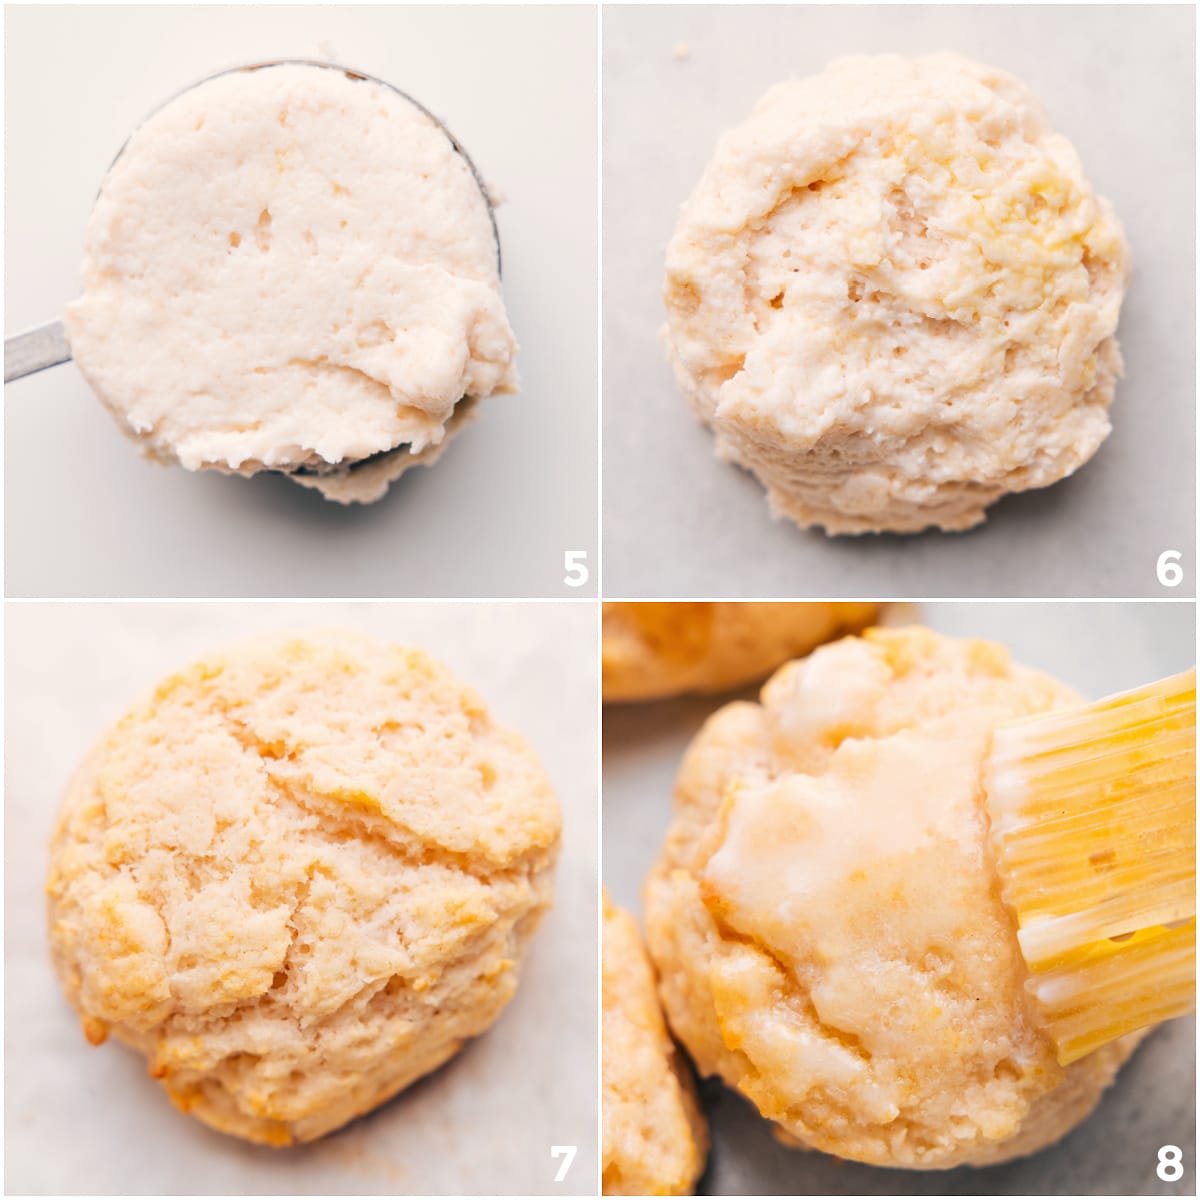
- Don’t flatten the dough: Leave each scoop nice & craggy. Those uneven tops get especially golden, crisp, and delicious!
- Bake right after chilling: You want those little bits of butter to stay cold going into the oven.
- Easy release tip: Spray a little nonstick spray on the measuring cup to help the dough drop easily onto the pan.
- Reheat before serving: A few minutes in a warm oven brings back that fresh-baked texture so much better than the microwave.
Variations
Switch Things Up
Make this drop biscuit recipe your own!
- Parmesan and Bacon: Add cooked, chopped bacon (4-6 slices) and finely shredded Parmesan cheese (1/2 cup) to the base recipe.
- Cheddar: Try this Red Lobster Biscuits copycat recipe.
- Garlic-Herb: Add 1 tbsp of Italian seasoning and 1 teaspoon garlic powder to the dry ingredients.
Storage
These biscuits are best fresh, especially within the first few hours of baking. Once completely cooled, store leftovers in an airtight container or bag for a few days.
More Recipes Without Yeast
Desserts
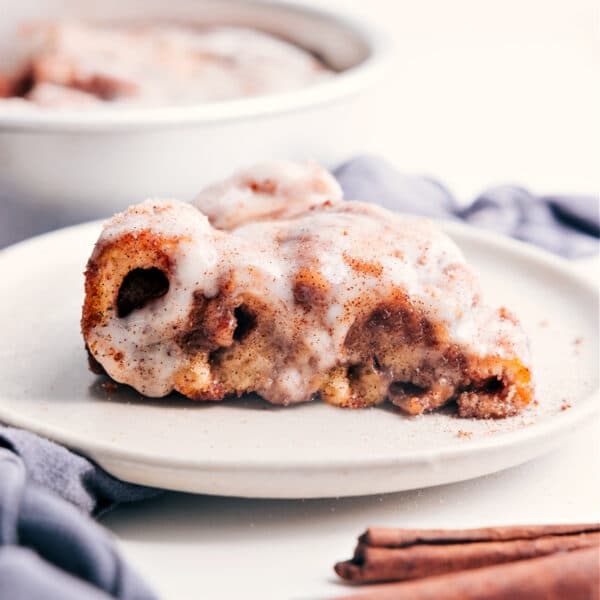
Cinnamon Roll Cake Recipe
Muffins And Quick Breads
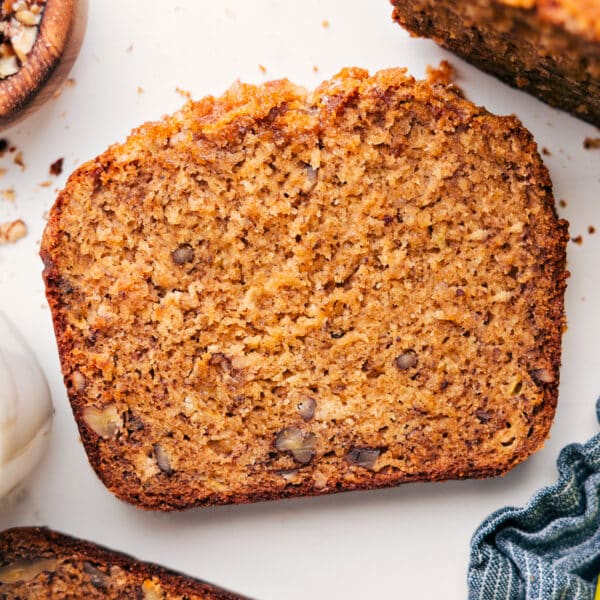
Banana Nut Bread Recipe
Muffins And Quick Breads
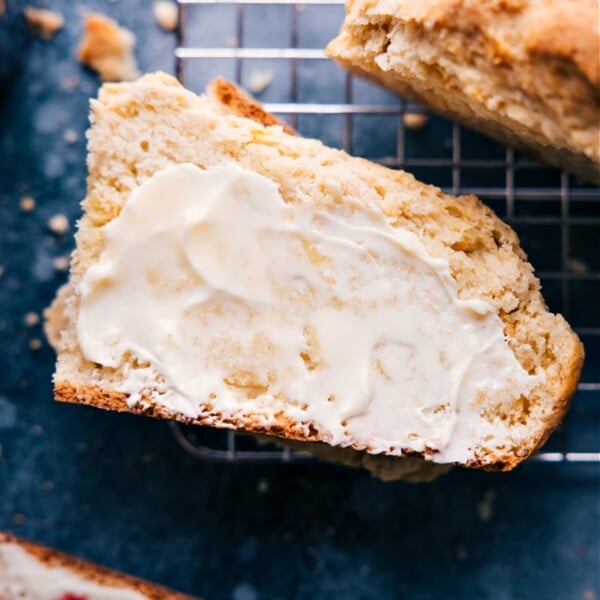
No Yeast Bread
Breakfast
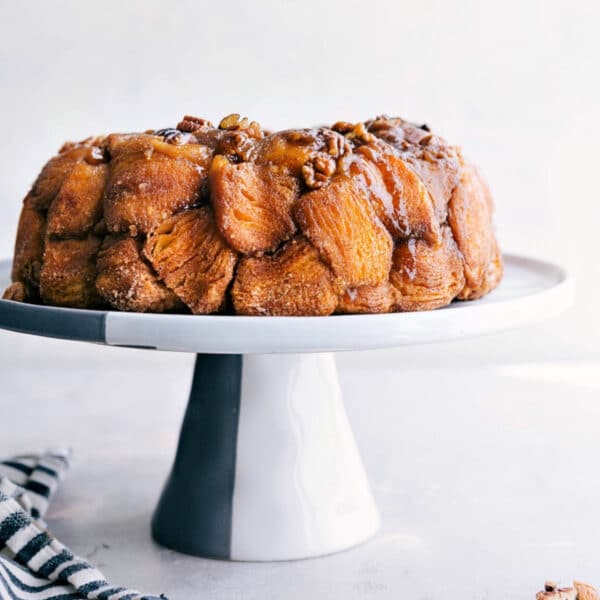
Monkey Bread Recipe

Drop Biscuit Recipe
Video
Equipment
- Large sheet pan (15" x 21") or large cast-iron (oven-safe) skillet
- Parchment paper or a silicone baking mat
Ingredients
- Cooking spray
- 8 tablespoons unsalted butter melted, plus 2 tablespoons for topping biscuits
- 2 cups all-purpose flour see note 1
- 1 tablespoon baking powder
- 1 tablespoon granulated sugar optional
- 1 teaspoon salt
- 1 cup buttermilk cold
- Serving suggestions see note 2
Instructions
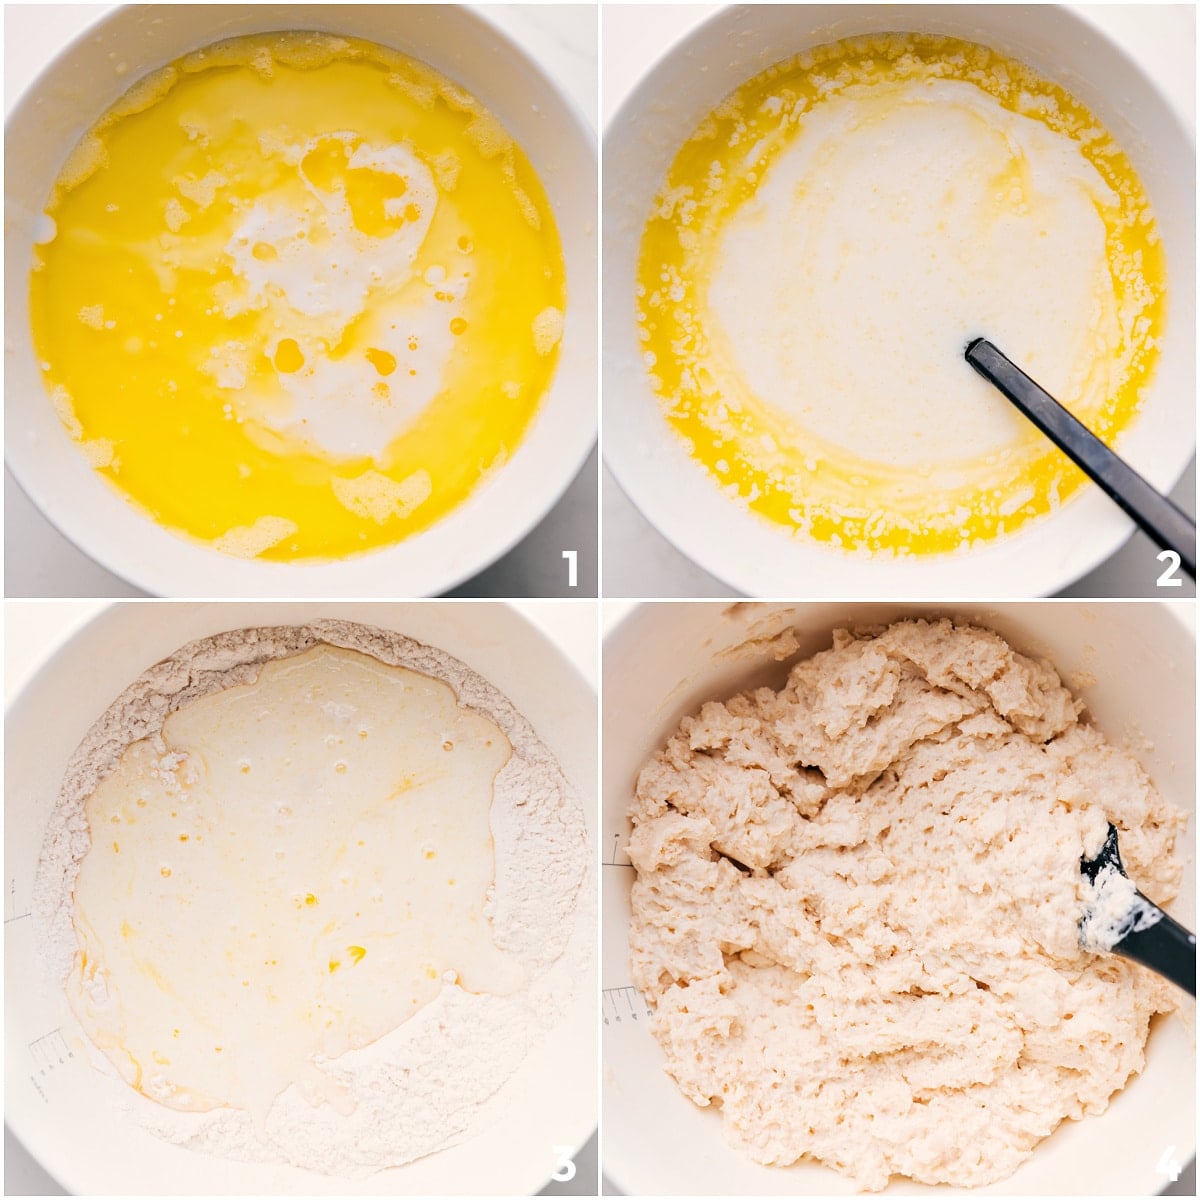
- Adjust the rack to the middle position in the oven and preheat to 450°F (232°C). Line a large sheet pan with parchment paper OR generously butter a large cast-iron (oven-safe) skillet. Melt butter in microwave and set aside to cool for 3–4 minutes.
- Pour the cold, straight from the fridge buttermilk into the melted butter. Stir with a spoon until small clumps of butter form. Set aside.
- In a large bowl, whisk together the flour, baking powder, sugar, and salt. Make a well in the center and use a spatula to scrape every bit of the butter-buttermilk mixture from the spoon and bowl into the dry ingredients. Use a wooden spoon to mix the dough together just until ingredients are incorporated. Don’t overmix.
- Lightly spritz a 1/4 cup (66g) measuring cup with cooking spray and scoop the batter into the measuring cup and drop onto the prepared sheet pan. Repeat with all the batter, leaving 1-1/2 inches of space between each biscuit. Place in the fridge for 10 minutes.
- Bake for 12–15 minutes, or until the tops and bottoms are lightly golden and the biscuits sound hollow when gently tapped on top. Remove from the oven and immediately brush with melted butter, if using. A sprinkle of salt is also nice!
- Let the biscuits sit on the pan for 5 minutes so the steam can finish cooking the centers, then transfer to a wire rack. Enjoy warm with softened butter, jam, or honey. These are best fresh!
Recipe Notes
Nutrition
Nutrition information is automatically calculated, so should only be used as an approximation.