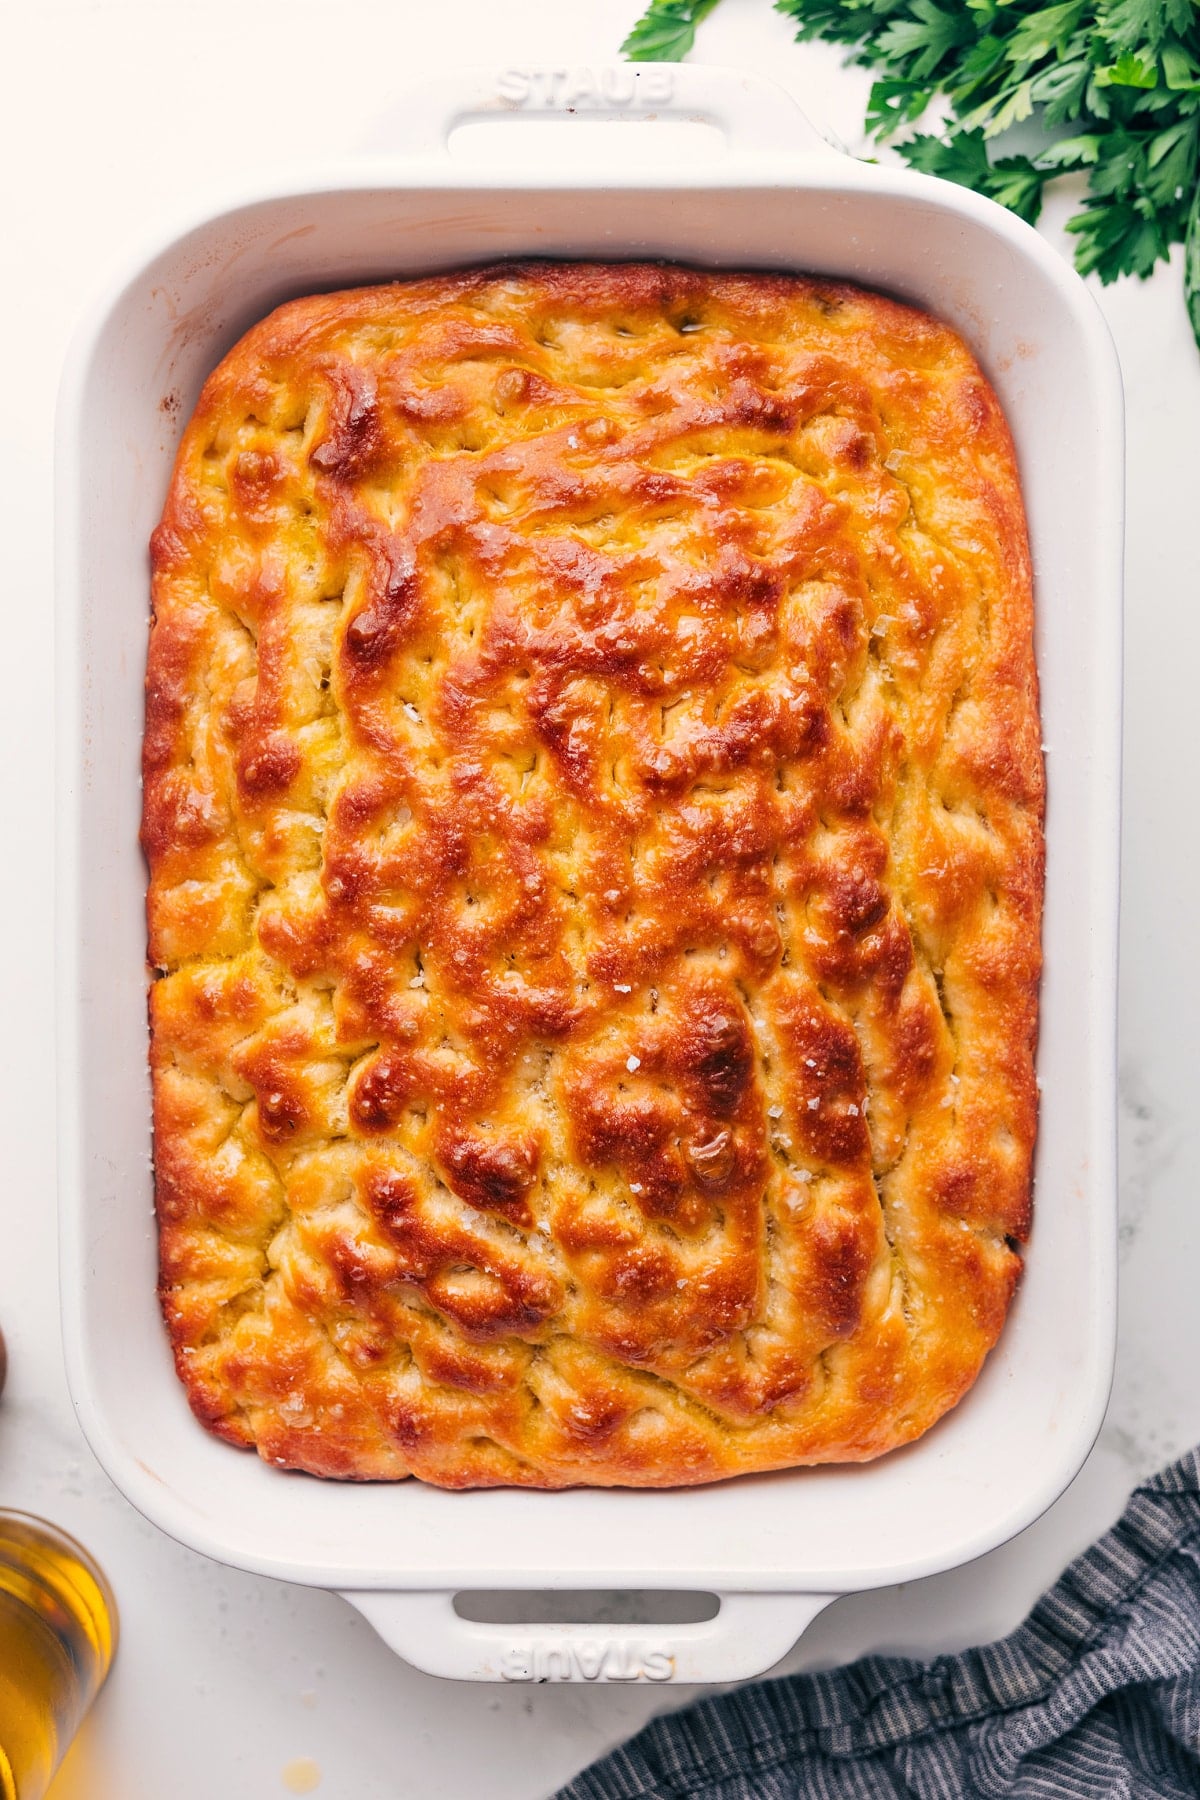
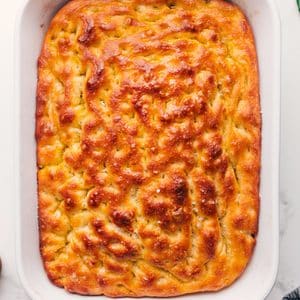
This Easy Focaccia Recipe has a crisp, salty crust and a soft, chewy center. Best of all, there’s no kneading or special equipment needed.

author’s note
The EASIEST Way To Make Focaccia
This past summer, I spent a whole day shadowing one of the UK’s top bakers while I was in London. He even won second place in all of the UK for his baguette! I’ve been working on my baguette and ciabatta game ever since.
Those breads are deceptively complicated. There are only a handful of ingredients, but a lot goes into getting them right, especially since they’re sourdough-based. I have his exact recipes, but adapting them for a home kitchen has been trickier than I expected. I’m still working on converting everything from grams to cups, finding comparable ingredients here in the U.S., and trying to get similar results without all the professional baking equipment. I hope to share recipes for both eventually!
All of my bread testing has made me appreciate this easy focaccia recipe even more because it’s SO much simpler to make. No stand mixer, bread maker, or kneading required. You don’t need any special tools or ingredients, and most of the recipe is completely hands-off.
But easy does not mean boring because this focaccia is INCREDIBLY good. The salty, crisp edges, soft middle, and all that olive oil shimmering over the top…ugh, SO good!! It’s the kind of bread that tastes like you put way more work into it than you actually did.

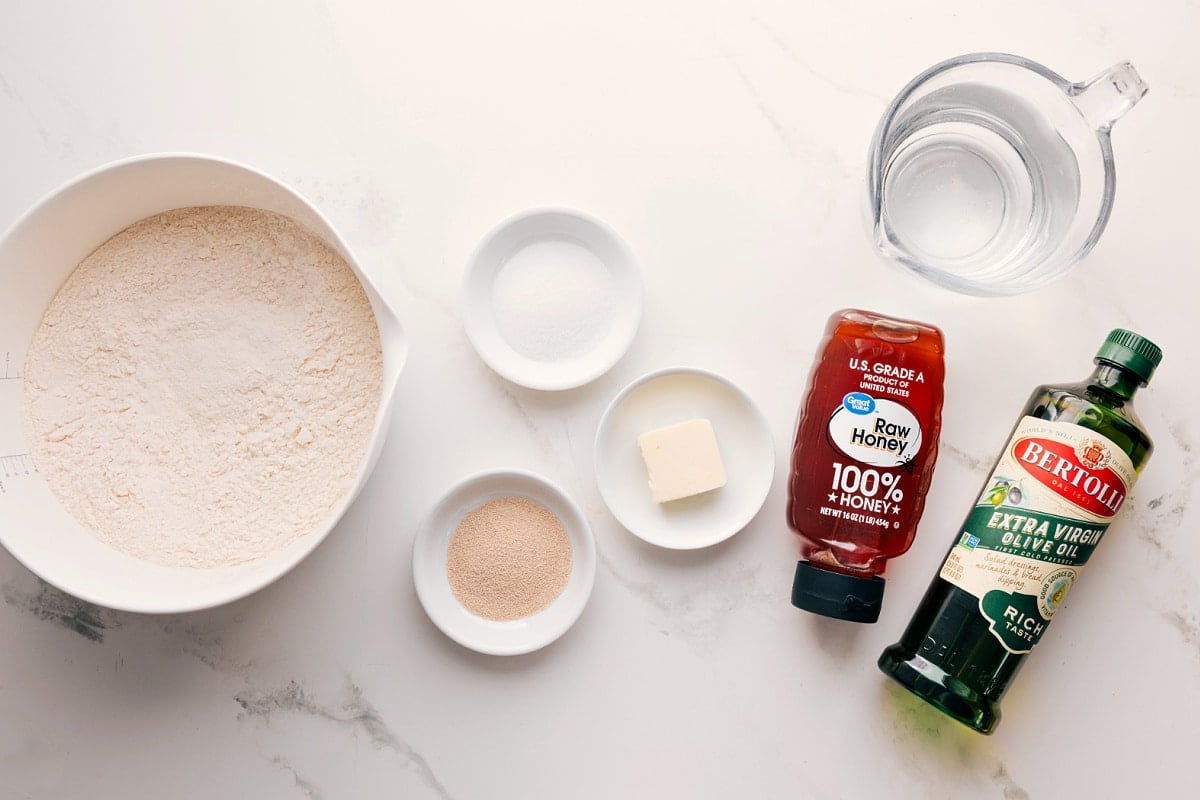
Ingredients In My Easy Focaccia Recipe
| Ingredient | Let’s Chat About It |
|---|---|
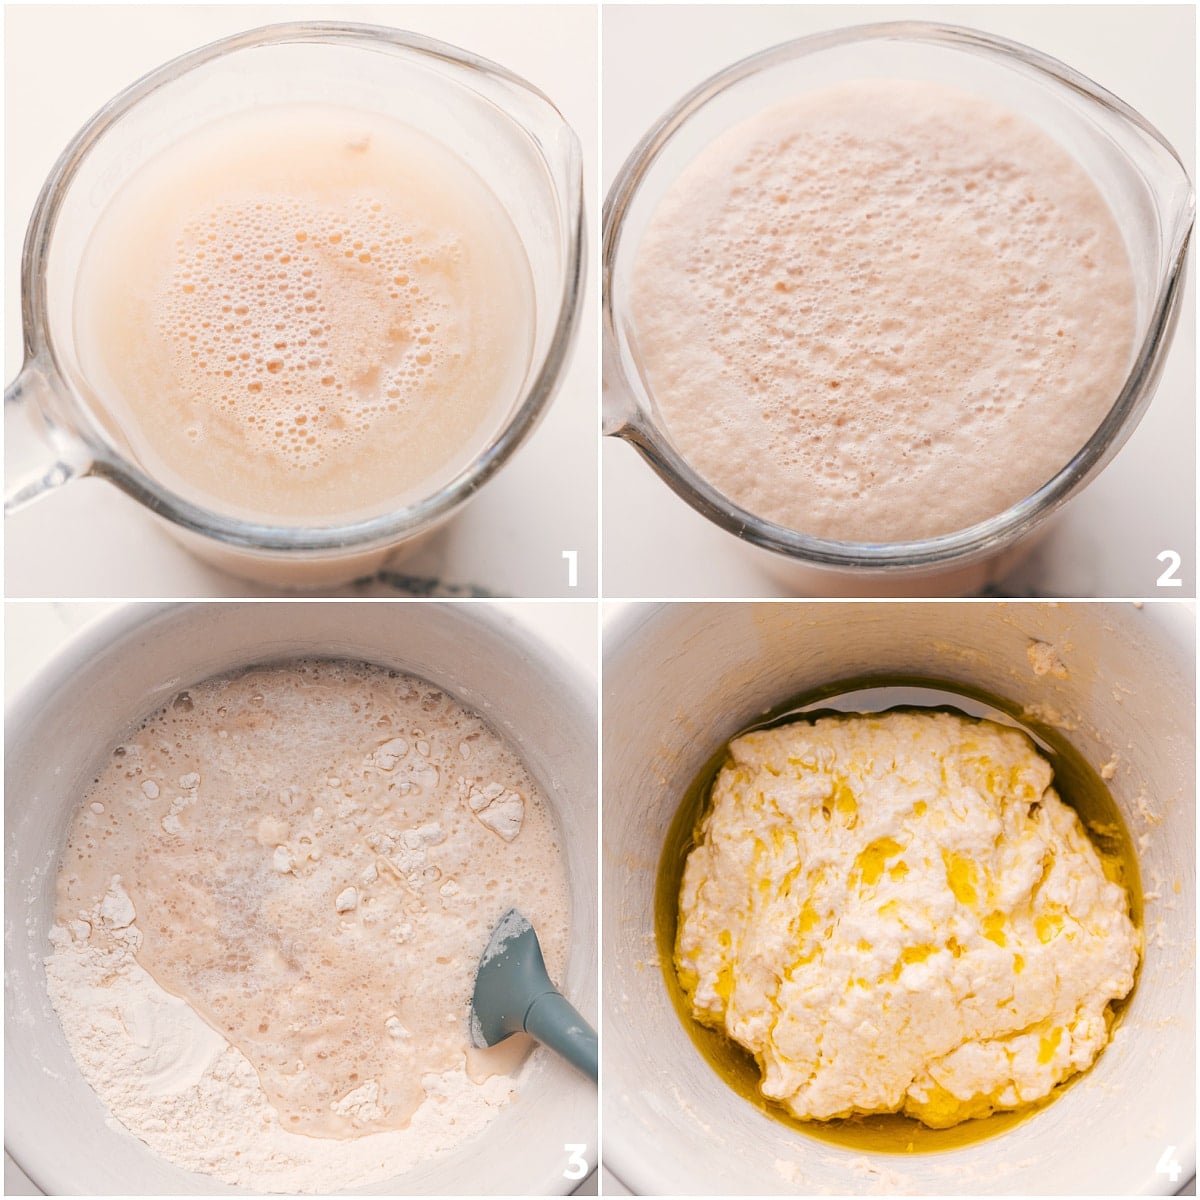
| Yeast, warm water & honey | Keep the water around 110°F. Too-hot water can kill the yeast. After 5 minutes, the mixture should look creamy and foamy. |
| All-purpose flour & salt | For the most accurate flour measurement, use a kitchen scale. One of the most common bread-making mistakes is adding too much or too little flour, and everyone measures cups a little differently. |
| Olive oil | This is a recipe where really great olive oil truly makes a difference, especially since plenty ends up on the outside of the bread. |
| Butter & flaky sea salt | Brushing the warm focaccia with melted butter and finishing with flaky salt makes the top especially good. |
| Garlic, thyme, rosemary & pepper | For herbed focaccia, gently warm these in the olive oil, then let the oil cool completely before adding it to the dough. |
All About Yeast
Proofing the yeast tells us if it’s still alive and active, which is especially important for getting this easy focaccia recipe to rise properly.
It’s helpful to make sure the yeast activates before moving forward. If it doesn’t, the focaccia won’t rise properly. Better to catch that early!
Activated yeast will foam and look creamy.
Why didn’t it activate? The yeast might be old, the water too hot, or the environment too cold. If it’s too cold, the yeast can release a substance that affects gluten formation.
Quick Tip
Check the water temp by dropping a few drops on your wrist. If it feels warm, it’s perfect. Too hot? The yeast won’t activate. Too cool? Same result.
Chelsea’s Notes
Recipe Tips
- Refrigerate dough: Chilling slows fermentation and deepens the flavor, making the bread even tastier. It also gives the dough time to develop structure on its own, which is why there’s no kneading needed.
- Grease pan generously: Use cooking spray, butter, and olive oil to prevent sticking and add extra crispiness and flavor to the base.
- Don’t force the dough to the corners: If it keeps springing back, let it rest for 10–15 minutes, then stretch it again.
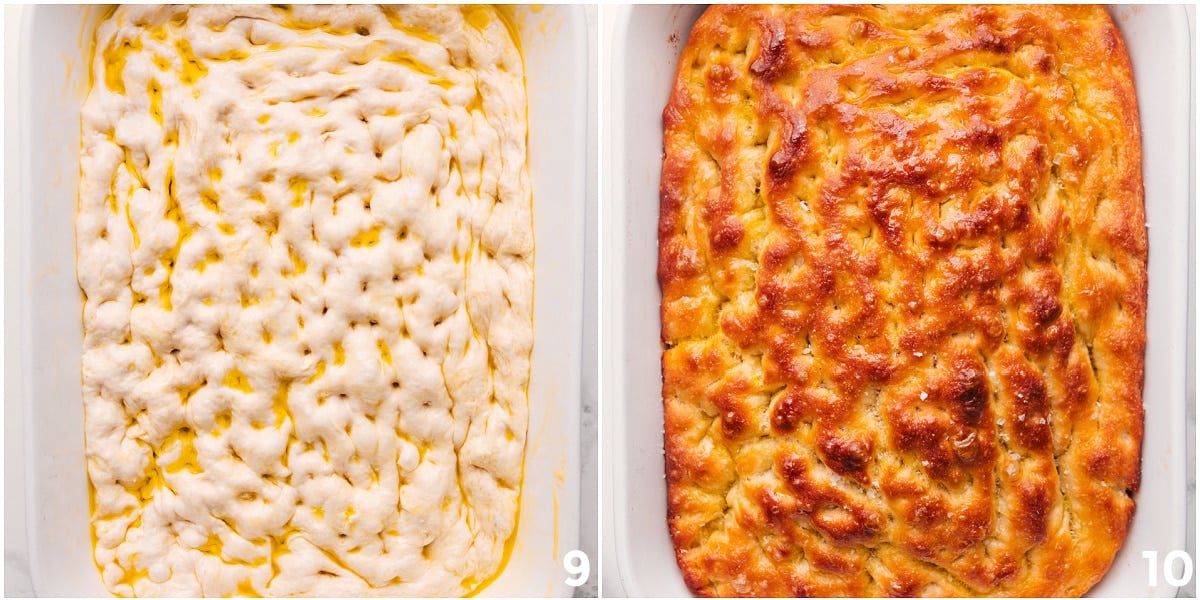
- Dimple deeply: Press your fingers all the way down to create those signature focaccia pockets, like you’re aggressively playing the piano!
Easy Focaccia Recipe Toppings
Focaccia is all about good olive oil and plenty of flavor on top. In the recipe card below, I’ve included two versions: a simple, classic focaccia and an herbed version.
For the herbed focaccia, this is my favorite combination:
- Olive oil
- Fresh thyme
- Fresh rosemary
- Cracked black pepper
- Minced garlic
Storage
- Focaccia is best eaten the same day it’s made. It’s amazing fresh from the oven! I love eating a few pieces warm, then turning the rest into focaccia grilled cheese later in the day.
- Individually wrap sliced pieces in plastic wrap, then place them in a freezer-safe bag or container. Freeze for up to 3 months.
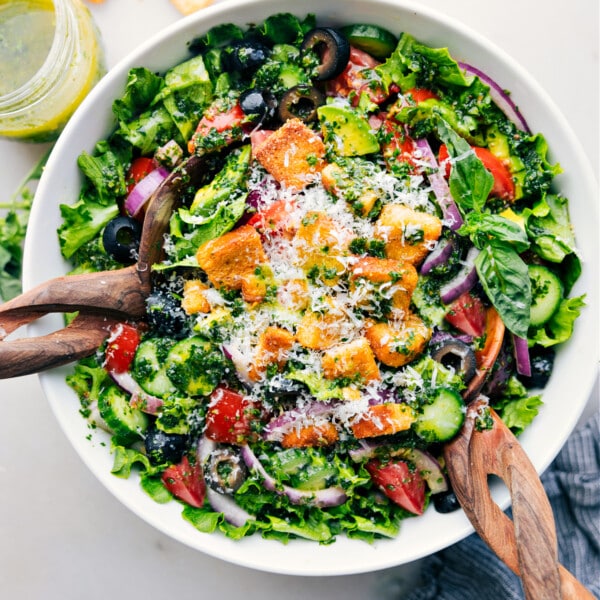
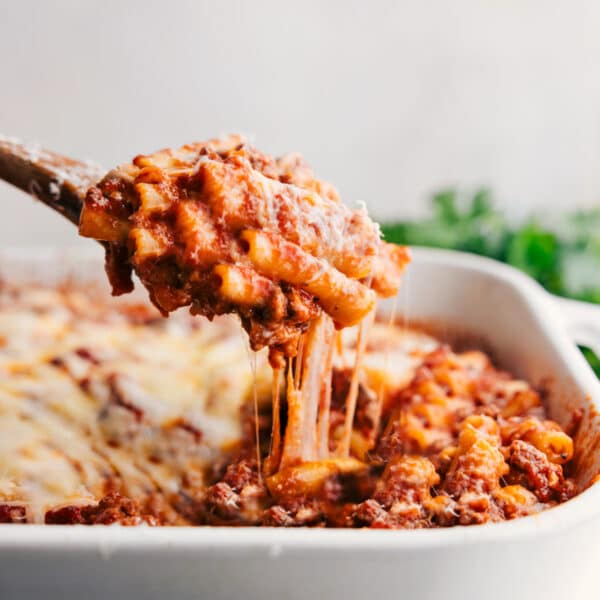
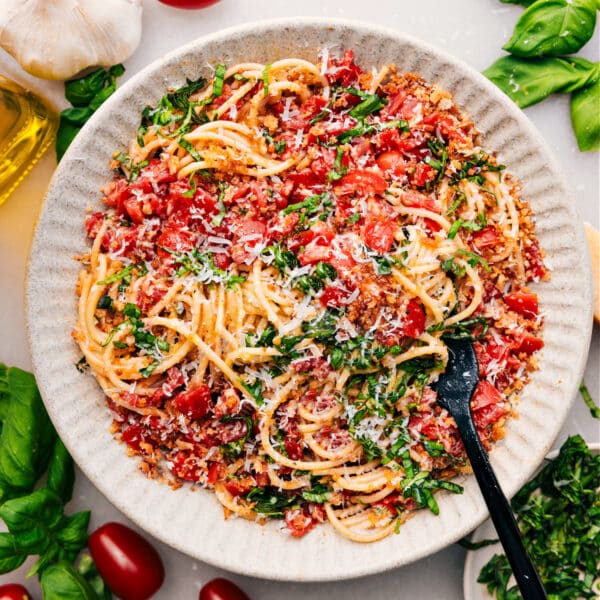
Recipes That Pair Great with Focaccia:

Easy Focaccia Recipe
Video
Equipment
- 9 x 13-inch baking pan or 13×18-inch pan, see note 1
Ingredients
- 6 tablespoons olive oil divided
- 2-1/2 cups water warm (110℉)
- 2-1/4 teaspoons instant yeast or active dry yeast
- 1 tablespoon honey
- 5 cups all-purpose flour
- 1 tablespoon salt
- 3 tablespoons unsalted butter divided
- Flaky sea salt for topping bread, optional
- 2 teaspoons minced garlic
- 1 tablespoon chopped fresh thyme or 1 teaspoon dried
- 1 tablespoon chopped fresh rosemary or 1 teaspoon dried
- 1/4 teaspoon pepper
Instructions
- Tip: It might be helpful to watch the tutorial video before starting.Whisk the yeast, honey, and warm water in a medium bowl. Let sit for 5 minutes until creamy/foamy.
- Optional Herbed Oil: Skip this step for plain focaccia. For herbed focaccia, heat 6 tbsp olive oil, minced garlic, thyme, rosemary, and pepper on low for 5–10 minutes or until very fragrant. Set aside to fully cool before using.
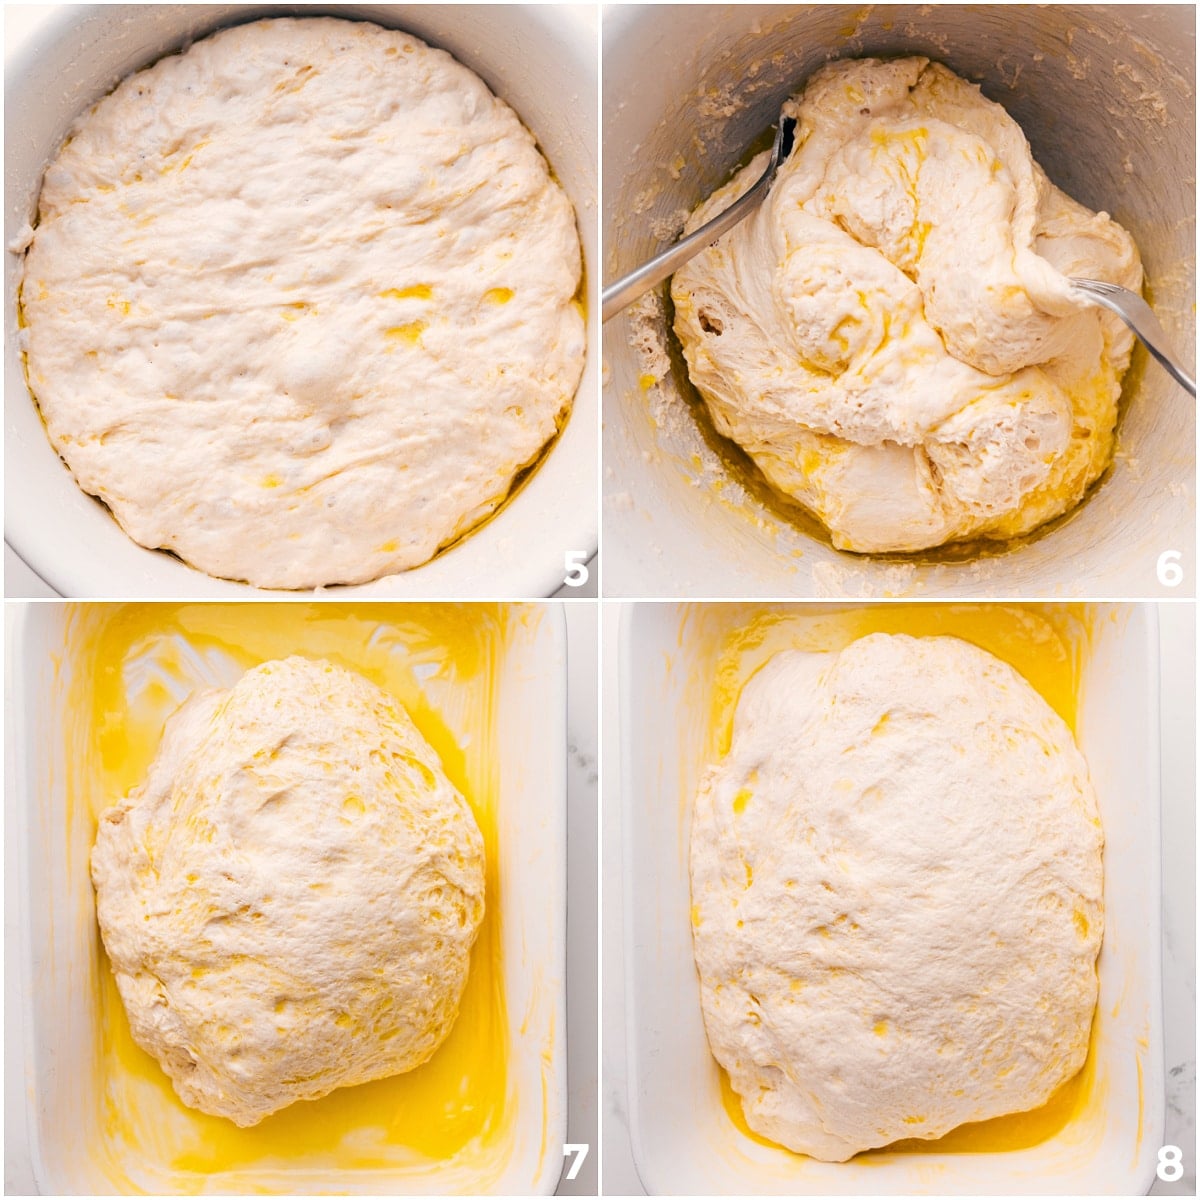
- In a large bowl, mix the flour and salt. Add the yeast mixture and stir until a shaggy dough forms. Use a spatula to press the dough to one side of the bowl and pour in 4 tbsp plain (or cooled herbed) olive oil.Using both your hands, pick up all the dough (it’s very sticky and wet!) and turn it around twice to fully coat in oil.
- Cover the dough with plastic wrap and chill in the fridge for 8–24 hours. (See note 3 to bake sooner.) Dough should be bubbly and wobbly in the morning.
- See note 1. Grease the pan by rubbing 1 tbsp softened butter all over, then lightly spray with cooking spray. Drizzle 1 tbsp herbed or plain oil, smoothing it evenly across bottom of pan.
- Remove dough from the fridge. Using 2 forks, gather up the dough farthest from you and lift it up and over the center of the bowl. Give the bowl a quarter turn and repeat the process. Repeat 2 more times (4 total folds). Gently let the dough slide from bowl into prepared pan. Let it rise (uncovered) in a warm spot for 1.5–3 hours.You’ll know the dough is ready when if poked, it springs back slowly, leaving an indentation (if it springs back quickly, it isn’t quite ready).
- Preheat oven to 450°F (230°C). Lightly oil your hands with 1 teaspoon oil and press/stretch the dough to fill the pan. Dimple the focaccia with your fingers (pretend you’re aggressively playing the piano!). For plain focaccia, drizzle 1 more tablespoon olive oil over bread. Bake for 20–30 minutes (13×18-inch pan) or 25–35 minutes (9×13-inch pan) or until puffed and deeply golden brown all over. Remove from oven and let stand for 10–15 minutes (steam is still cooking bread). For herbed focaccia, brush with remaining 1 tablespoon herbed oil after baking.
- For plain focaccia: right before serving, melt remaining 2 tbsp butter and use a pastry brush to brush over bread. Sprinkle with sea salt if desired. Cut into squares and enjoy warm. For sandwiches, slice each square in half.
Recipe Notes
Nutrition
Nutrition information is automatically calculated, so should only be used as an approximation.
Easy Focaccia Recipe FAQs
Definitely! You can add sliced olives, cherry tomatoes, onions, or cheese on top before baking for extra flavor.
All-purpose flour works great, but bread flour can be used for a chewier texture.
Yes, but use less dried herbs since they’re more concentrated. About 1 teaspoon of dried herbs replaces 1 tablespoon of fresh.
This could be from overworking the dough or not letting it rise long enough. Be gentle and give the dough time to proof.