
A Brownie Recipe that’s fudgy, chocolatey, and perfectly rich! Made in one bowl with less than 10 ingredients, and you’ll never want a boxed mix again.
author’s note
My Idea Of The Perfect Brownie Recipe!
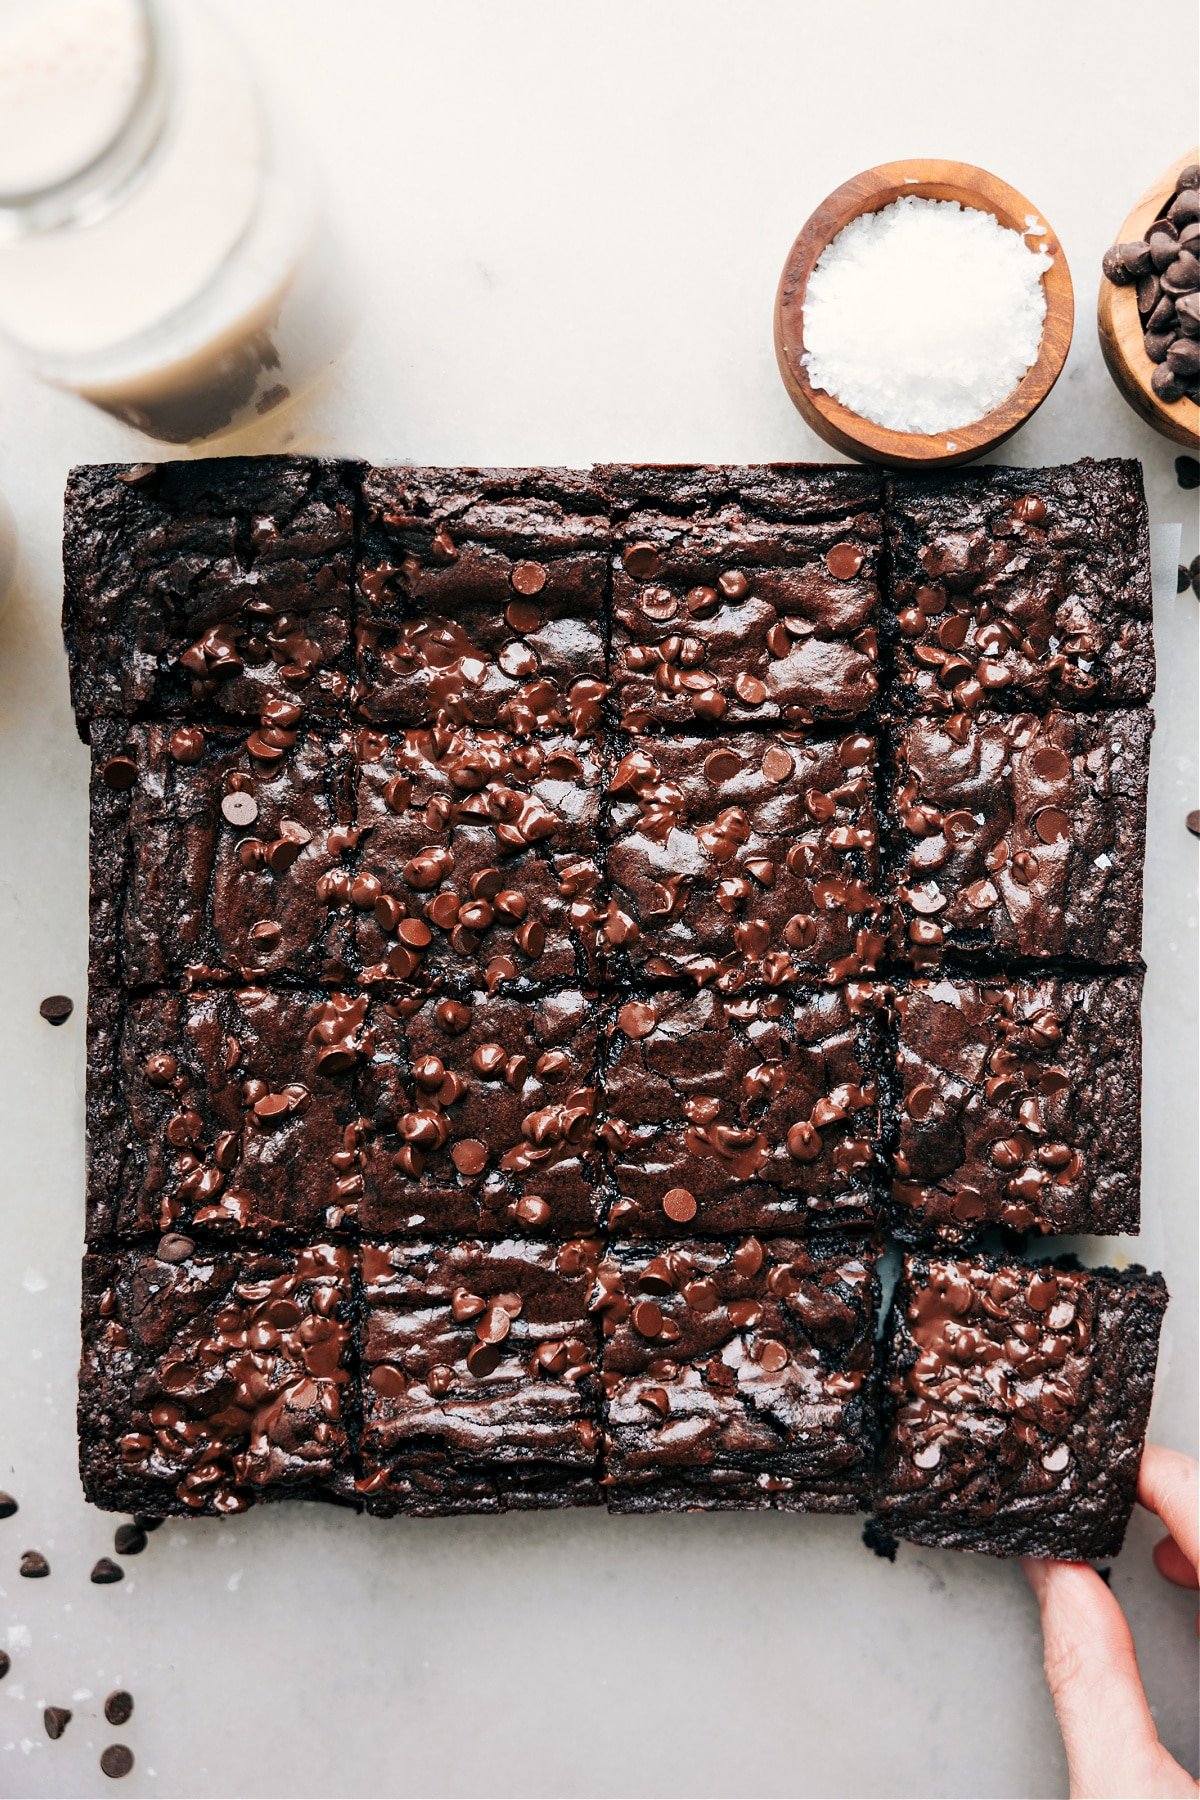
After years of testing and tweaking, this is the ultimate Brownie Recipe! These brownies are rich, sweet, and extra fudgy with a crinkly top and plenty of chocolate in every bite.
Everyone has different brownie preferences, so here’s what to expect:
These bars are ultra-rich and sweet—perfect for true chocolate lovers. They’re fudgy, slightly gooey, and dense, not cakey. Every bite is packed with chocolate chips.
Homemade brownies beat boxed ones in flavor and texture, but I get it—mixes are easier. While these take a little more effort, they’re still simple—one bowl, less than 10 ingredients, and totally worth it!

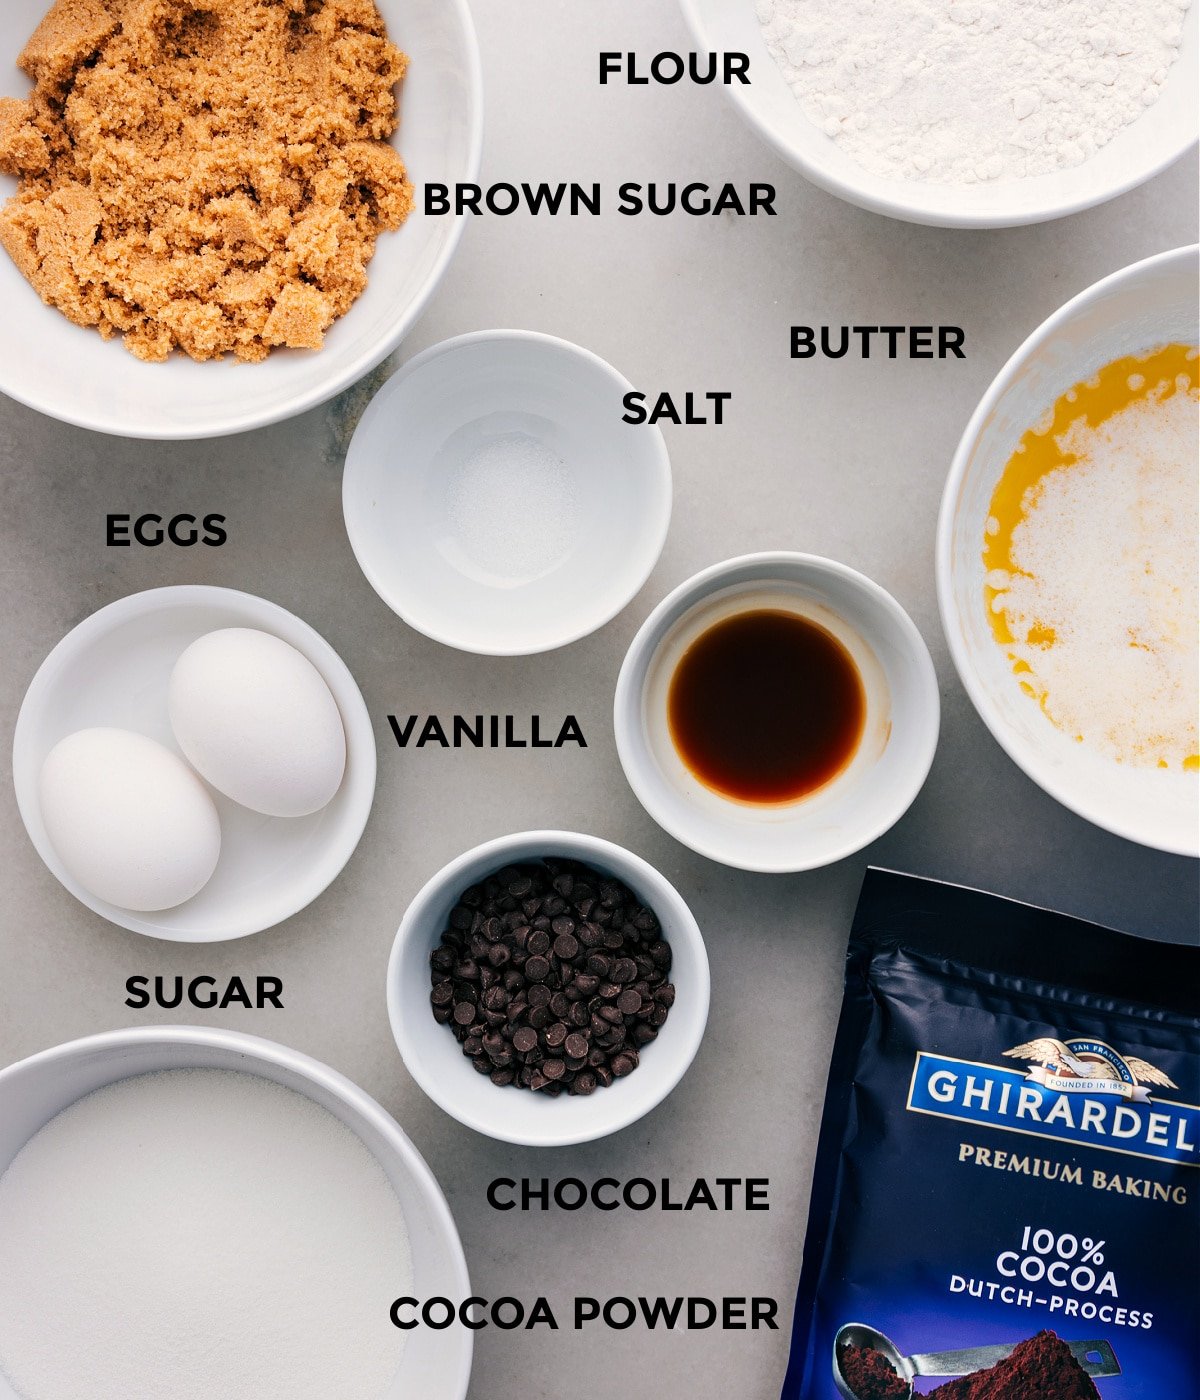
Brownie Recipe Ingredients
The key to incredible brownies is quality ingredients—the better they are, the better your brownies will taste!
| Ingredient | What it does & tips |
|---|---|
| Unsalted butter | Melt, then let cool to help prevent greasy brownies. |
| White sugar | Helps create a shiny, crinkly top. |
| Light brown sugar | Adds moisture & a deeper flavor. |
| Eggs | Use room-temperature eggs for a smoother batter. |
| Vanilla extract | Brings out the chocolate flavor. |
| White flour | Gives the brownies structure while keeping them soft. |
| Dutch-processed cocoa powder | Adds rich chocolate flavor. |
| Salt | Balances sweetness & boosts flavor. |
| Mini chocolate chips | Add extra chocolate to every bite! |
Quick Tip
For an accurate cocoa powder measurement, spoon it into the measuring cup until slightly overfilled, then level it off with the back of a knife. Too much cocoa powder can cause dry brownies.
Brownie Recipe Pans & Baking Tips
| Factor | Why It Matters | Quick Tips |
|---|---|---|
| Pan Type | Metal heats faster than glass; dark metal gets hotter than light metal. | Pick a light-colored metal pan for even baking. Dark pans can scorch edges; glass needs extra baking time. |
| Oven Temp | Many ovens run 25 °F off, changing bake time. | Use an oven thermometer, preheat fully, and bake a single pan on the center rack. Start testing 5 mins early. |
| Lining the Pan | Helps brownies cook evenly and lift out cleanly. | Line with parchment, leaving handles to lift. Skip wax paper or foil—heat and release aren’t the same. |
chelsea’s recipe tips
How To Know This Brownie Recipe Is Done
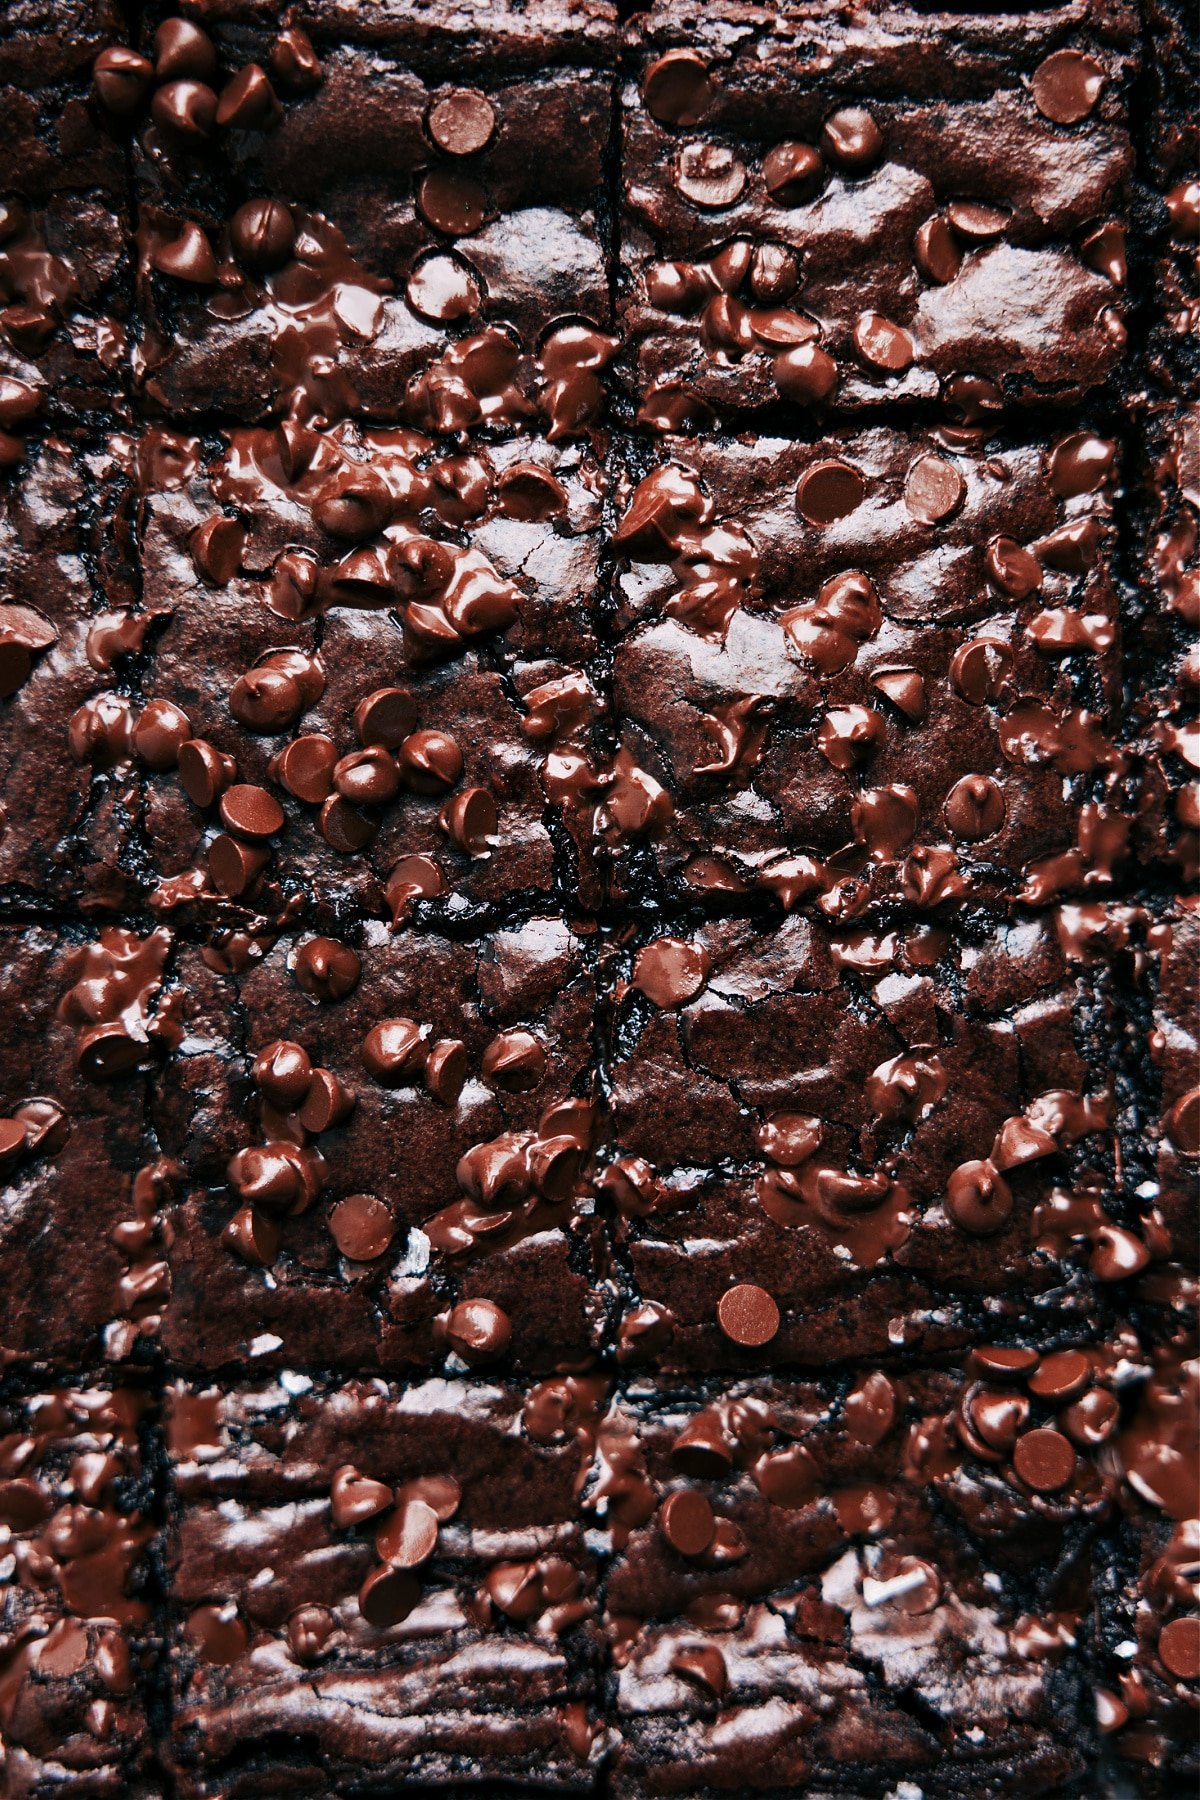
- Edges should look baked, and the center should be set with a shiny, crackly top. It shouldn’t jiggle when moved.
- Insert a toothpick in the center—it should have a few moist crumbs, not wet batter. If it’s wet, bake longer.
- Undercooked, this brownie recipe looks glossy, while fully baked brownies turn darker and matte.
Variations
Switch It Up
- Gluten-free? Try these Gluten-Free Brownies or Healthy Brownies.
- Add a topping: Spread ganache or Chocolate Buttercream Frosting on top and add some sprinkles for a cosmic brownie.
Storage
- Room temp: Store this brownie recipe in an airtight container, up to 4 days.
- Fridge: Airtight container, up to 1 week.
- Freezer: Wrap and freeze up to 3 months. Thaw at room temp or microwave briefly.
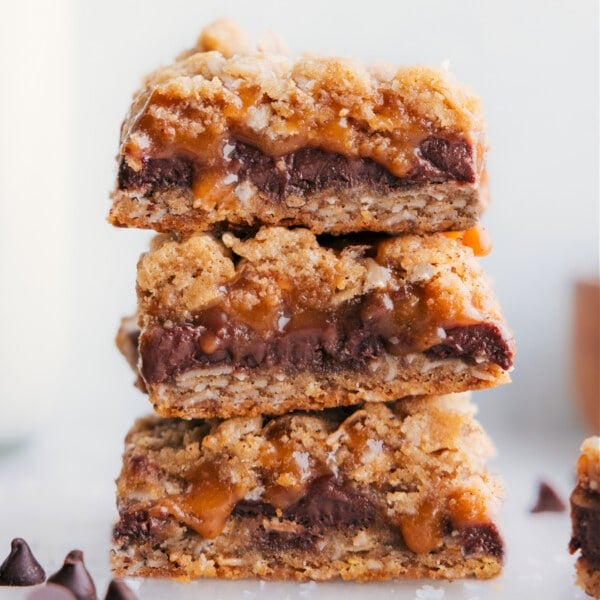
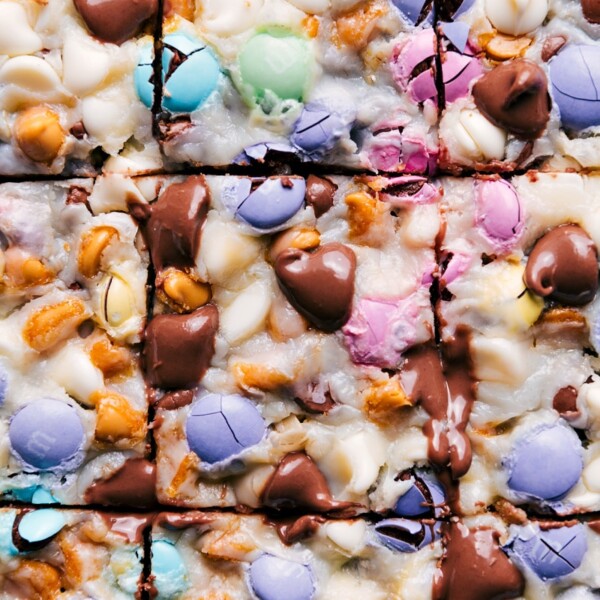
More Popular Dessert Recipes:
Brownie Recipe
Video
Equipment
- 8 x 8-inch baking pan light-colored
Ingredients
- Cooking spray
- 11 tablespoons unsalted butter melted and cooled
- 1 cup granulated sugar
- 1/2 cup light brown sugar lightly packed
- 2 large eggs
- 2 teaspoons vanilla extract
- 2/3 cup all-purpose flour
- 2/3 cup Dutch process cocoa powder see note 1
- 1/4 teaspoon salt
- 3/4 cup mini chocolate chips divided
Instructions
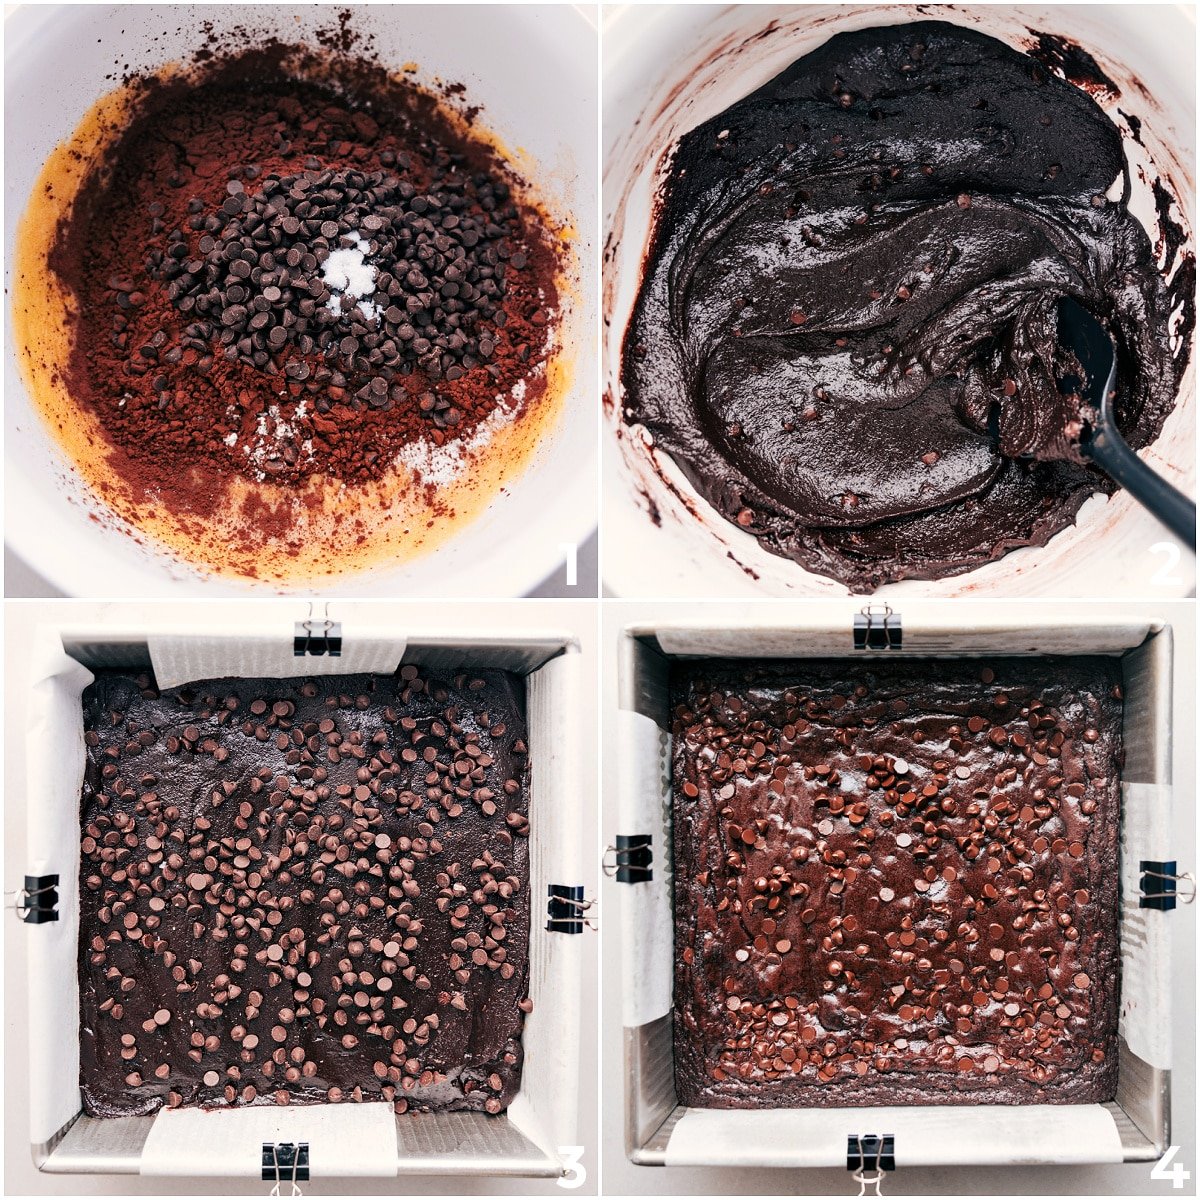
- Preheat oven to 350°F. Lightly grease a light-colored 8×8-inch metal pan with cooking spray. Line with parchment paper, leaving an overhang for easy removal. (Avoid foil or wax paper.)
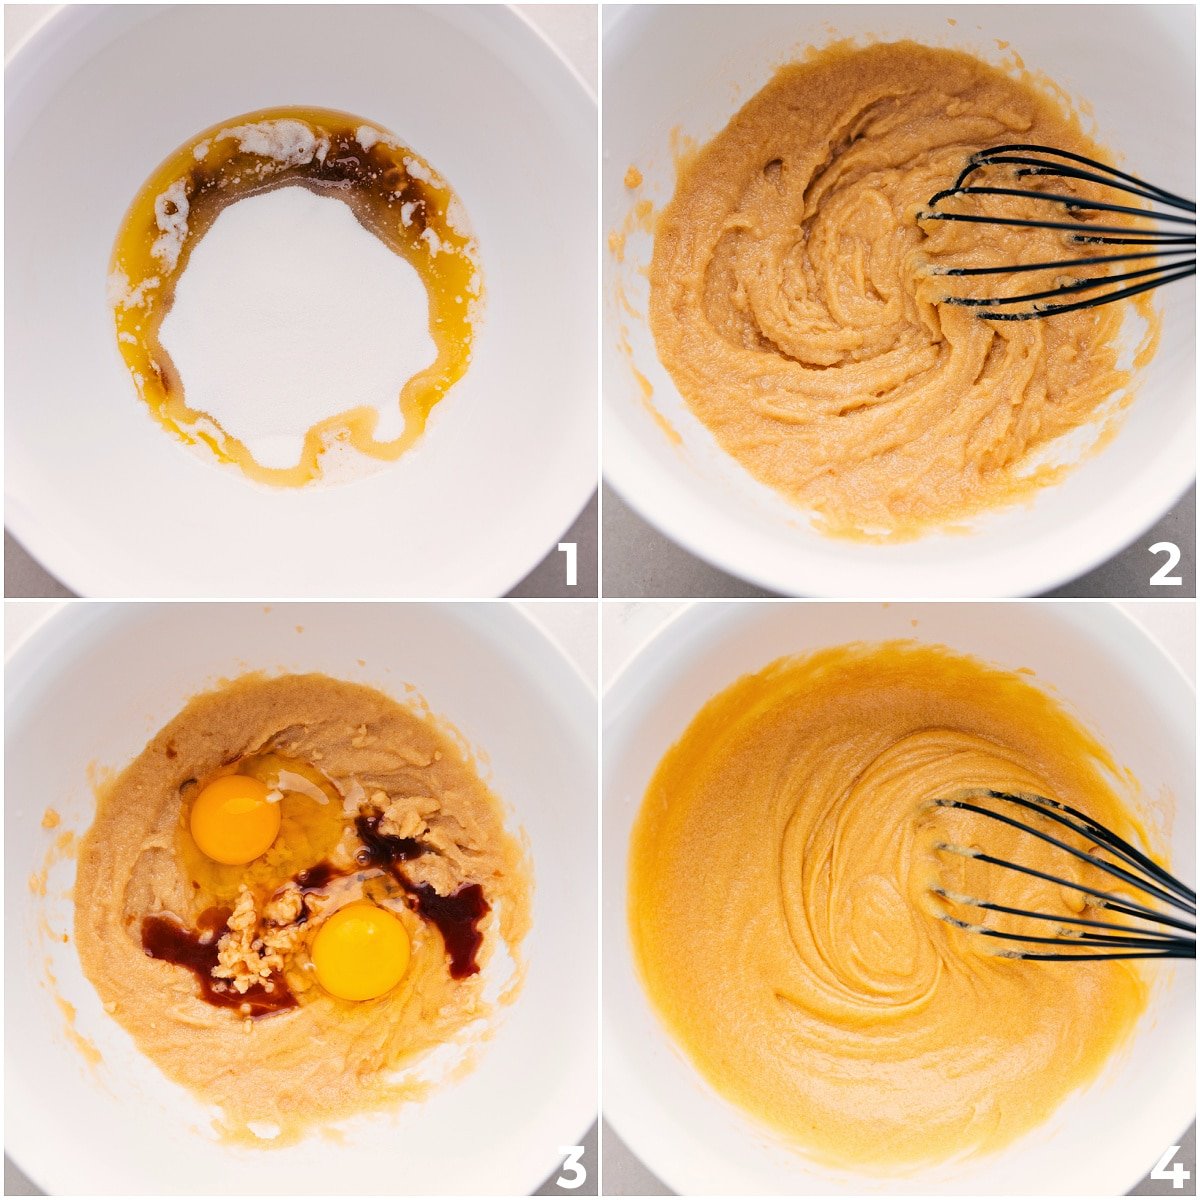
- In a large mixing bowl, whisk together melted butter, granulated sugar, and brown sugar until the sugar dissolves. Add eggs and vanilla, whisking until smooth and creamy.
- Add flour, cocoa powder, and salt to the bowl. Switch to a wooden spoon and mix until just combined. Stir in 1/2 cup mini chocolate chips—do not overmix.
- Scrape the batter into the prepared pan and smooth the top. Sprinkle the remaining 1/4 cup mini chocolate chips evenly over the surface.
- Bake on the middle rack for 25 to 30 minutes, or until the brownies are just set to the touch. Do not overbake; they will firm up as they cool. The centers are meant to be fudgy and gooey!
- Let brownies cool completely. Using the parchment overhang, lift them from the pan. Cut into squares using a sharp knife. For clean cuts, run the knife under warm water, wipe dry, and repeat between cuts. Sprinkle with flaky sea salt if desired. Enjoy!
Recipe Notes
Nutrition
Nutrition information is automatically calculated, so should only be used as an approximation.











leavening Agents are not required for this recipe?
Yes, they turn out amazing!
Love the recipe
Thanks so much Tonya!
Can you recommend an egg substitution for these brownies? My 5 year old grandson is allergic to eggs and flax and I’m always looking for a treat he can indulge in. These brownies would thrill him!
Oh, I would love for your grandson to be able to enjoy these brownies! I haven’t tested this recipe with an egg substitute, so I can’t confidently recommend one. Brownies can be a little tricky since eggs play such a big role in the texture. I’m sorry I can’t be more helpful, but if you do experiment with an egg-free substitute, I’d love to hear how it turns out!
These are delicious! How do I make a double batch, using one pan?
I wouldn’t recommend doubling the batch in one pan. You can double the recipe, but pour the batter into two separate pans and bake them separately.
These brownies are so delicious! Great recipe!
So thrilled these were a hit! Thanks Sheila!
I made these yesterday and they are amazing! Had my neighbors over and they were a big hit
So thrilled to hear this! Thanks Sharon!
Super easy and delicious! I melted my butter right in a microwave safe glass mixing bowl to save washing an extra dish. So much better than box mix!
Love it! I’m so happy these were a hit! Thanks Briana!
Hi Chelsea! I love the thorough directions throughout the recipe, baking brownies is definitely a science 🤓.
I usually follow Alton Brown’s recipe where he bakes for 15 minutes at 300.. rests for 15.. then finishes in the oven for another 30 minutes or so. Have you tried resting the brownies mid-bake 🤔
Excited to test out your recipe later this week 🙂
Thanks Zack! It definitely is a science! 🙂 I haven’t ever tried that with this recipe! Sorry, wish I could be of more help! I’d love to hear what you think of the recipe if you do try it! 🙂
I am a big fan of your blog and though I like to only reply AFTER I make a recipe, Man oh man, I had to say something after seeing these brownies ;-). They look like dark chocolate heaven brownies!! Chelsea, out of curiosity, what is the brand of dark chocolate chips 53% cacao you tend to use? Thanks for this awesome recipe and your always detailed/thorough instructions.
Awe thank you Eva! 🙂 I appreciate your support over the years and trying so many recipes! I typically use Nestle’s dark chocolate in this recipe!
will be making this soon can i use flax eggs and vegan butter as am a vegan i love brownies and chocolate soooooooooo much perfect for my birthday on 19 September and office snacks and home snacks while i work on the computer and phone will dm you if i make this and let you know how it goes Thanks Ramya
Hope you love it! 🙂
This says 4 hours and 5 mins
In the directions it doesn’t specify where the waiting time is. Do we let the batter sit?
Can you let me know thanks a ton can’t wait to try
Thanks so much for catching that! The extra time is for letting the brownies cool completely before slicing. You don’t need to let the batter rest at all! You can bake it right after mixing. Hope you love these!