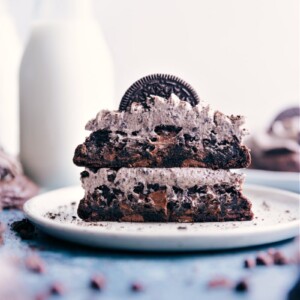
Chocolate Oreo Cookies are thick and gooey, chocolate-studded, and Oreo®-loaded treats topped with the best cookies and cream frosting.

Chocolate Oreo Cookies
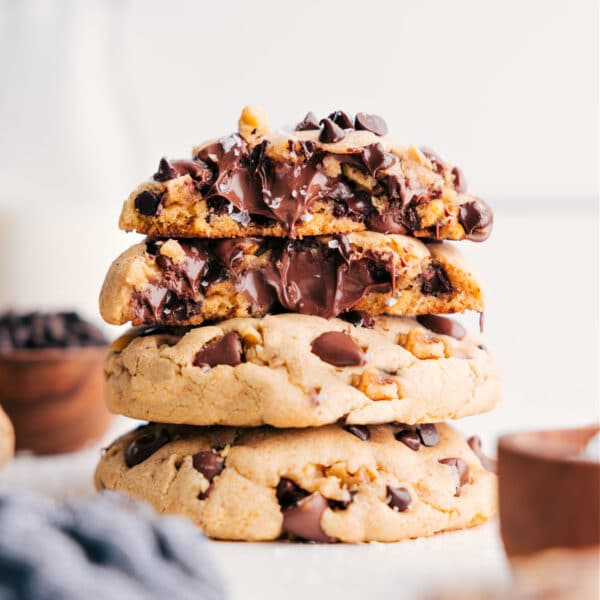
I’m obsessed with cookies, and bakery-style cookies are the best. I love big, thick, gooey cookies with slightly under-baked centers. Add some sweet frosting with cookie crumbs on top? Yes, please!
Bakery-style cookies need a few special ingredients and more effort than regular chocolate chip cookies, but it’s worth it! These Chocolate Oreo Cookies look amazing and taste incredible—definitely as good as, if not better than, your local cookie shop!

Chocolate Oreo Cookies: Special Ingredients
As with most baking recipes, this cookie recipe requires some attention to detail and precision. While I’d love to say you don’t have to use certain ingredients or “x” ingredient will substitute nicely for another, the recipe simply won’t produce the same results if you make changes or substitutions.
I highly recommend using the exact ingredients called for to achieve the best results in re-creating these Chocolate Oreo Cookies. So wait for a grocery store run if you don’t have the right cocoa powder or flour — the wait will be worth it so you don’t end up with lackluster cookies!
With that said, there are two ingredients in particular that aren’t super common in cookie recipes that you’ll want to pay close attention to for this recipe: cake flour and Dutch-process cocoa powder. Depending on how often you bake, you may already have them in your pantry, but if not, both ingredients can be found in grocery stores.

Special Ingredient #1: Dutch-process Cocoa Powder
The cocoa powder really sets these cookies apart; Dutch-process cocoa powder offers a more robust and intensely deep chocolate flavor, as well as a darker color. It also produces a softer and more moist cookie. Regular cocoa powder will create a less flavorful and drier texture.
Here’s my all-time favorite Dutch-process cocoa powder (affiliate link) — it is amazing! Hershey’s® “Special Dark” cocoa powder is another Dutch-process cocoa powder that is also delicious in these Chocolate Oreo Cookies and readily found at most grocery stores.
I’ve also had a lot of luck finding Dutch cocoa powder made by Ghiradelli® in local grocery stores. You’ll know you have a Dutch-process cocoa powder because the container will say either “Dutch-process” or “Dutched” cocoa. The cocoa powder shouldn’t be sweetened.

Special Ingredient #2: Cake Flour
The other “special” ingredient in these Chocolate Oreo Cookies is cake flour which isn’t a typical ingredient in cookies but is integral to the structure and flavor of these.
First things first, cake flour is flour that has been milled to a finer consistency. It’s a low-protein flour which essentially means less gluten is formed when mixing the cookie batter. Less gluten is going to produce a softer, gooier cookie texture. For reference, cake flour has about 7-9% protein while all-purpose flour clocks in at about 10-12%, and bread flour has an even higher protein content.
I tested all kinds of ratios in this cookie and found the “sweet” spot (pun intended) of how much cake flour to all-purpose flour would produce the softest and gooiest cookies while still ensuring plenty of structure and lift.
Quick Tip
For best results, use a store-bought cake flour which can be found near all-purpose and other types of flour in the grocery store.

Chocolate Oreo Cookies: Tools
- Silpat liner: Cookies bake evenly and avoid crispy bottoms with a silicone liner.
- Food scale: Helps you make cookies the same size for even baking and a neat look.
- Piping tip: Use a 1M Open Star tip to pipe frosting; you’ll need piping bags. Or, spread frosting with a knife instead.

Chocolate Oreo Cookie Tips
- Measure flour correctly. Spoon flour into the measuring cup and level it with a knife to avoid packing in too much.
- Use fresh ingredients for the best cookies, including soft brown sugar and fresh baking agents.
- Leave space on the baking sheet. These large cookies spread out, so bake only 2-3 at a time.
- Slightly under-bake the cookies. Look for firm edges and a set center; they’ll continue baking on the pan after being taken out of the oven.
- Chill the dough to prevent thin cookies. Don’t skip the chilling time.

Frosting Tips
- Set out the butter to get it to room temperature about an hour before making the frosting. This ensures an ultra-smooth frosting that whips together nicely.
- Add the heavy cream slowly. The heavy cream not only adds a nice richness to this frosting, but it’s also responsible for thinning the frosting to a pipe-able consistency. Add gradually until the frosting consistency reaches your preference. While you can use milk instead of cream, it’s not a 1-to-1 substitution. Milk is thinner than cream so it will thin the frosting much quicker than cream will (so, overall, you’ll likely add less milk to the frosting).
- Frosting the cookies. Wait for the cookies to fully cool and firm up before frosting them, so the frosting doesn’t melt or change consistency.
- Garnish. For the perfect finish touch, add a couple of mini Oreos, halved regular-sized Oreo cookies, or some coarse Oreo crumbs to the top of the cookies.
Quick Tip
This recipe makes a good amount of frosting. I love tons of frosting on these cookies (They are indulgent, bakery-style cookies after all!), but if you prefer less frosting, I recommend halving the frosting recipe.

Storage
Chocolate Oreo Cookie Storage
Frosted cookies don’t store well. Keep frosting in the fridge and cookies at room temperature. Let frosting sit out for 30 minutes before using.
Freezing: Freeze dough balls on a sheet pan, then transfer to an airtight container. Freeze for up to three months. Bake from frozen, adding extra time until edges are golden and centers are soft.
More Cookie Recipes
- Maple Cookies with a maple glaze
- Magic Cookie Bars with a graham cracker crust
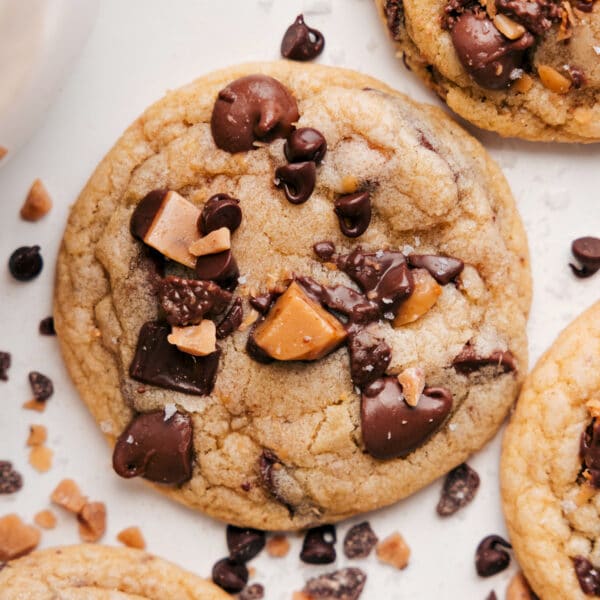
- Salted Caramel Cookies with a cream cheese frosting
- Avalanche Cookies no baking required!
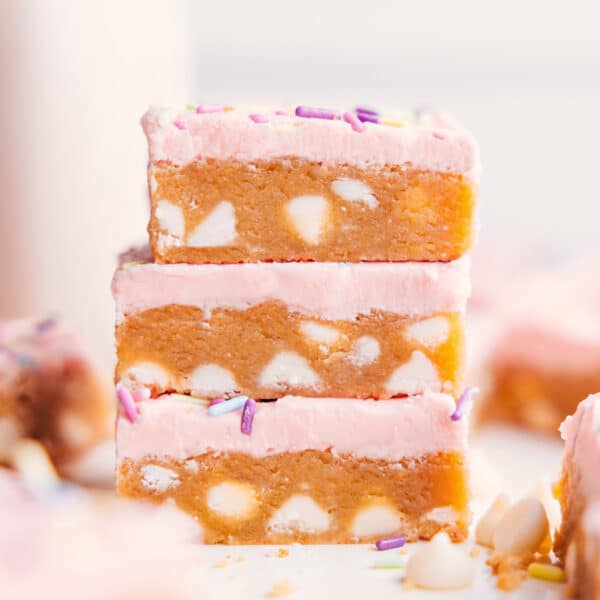
- Funfetti Cookies with sprinkles
Chocolate Oreo Cookies
Video
Equipment
- Piping bag open star tip
- Sheet pan (15" x 10") 15 x 21-inch, lined
- Blender or food processor
Ingredients
- 1/2 cup unsalted butter
- 3/4 cup light brown sugar firmly packed
- 1 large egg
- 1 teaspoon vanilla extract
- 1/2 teaspoon cornstarch
- 1/2 teaspoon baking soda
- 1/2 teaspoon salt
- 1/4 cup Dutch process cocoa powder see note 1
- 1/2 cup cake flour see note 2
- 3/4 cup all-purpose flour
- 1/4 cup mini chocolate chips
- 1/2 cup chocolate chips milk or semi-sweet
- 8 whole Oreos coarsely chopped
- 1/2 cup unsalted butter room temperature
- 2 cups powdered sugar
- 1/2 teaspoon vanilla extract
- 1/16 teaspoon salt
- 3 tablespoons heavy cream
- 6 whole Oreos blended
Instructions
- Take 8 Oreos and coarsely chop them into small bite-sized pieces. Measure to get 1 cup of cookie pieces and set aside. For the frosting, take 6 Oreos and blend in a blender or food processor until you have fine crumbs. Set aside.
- Cut butter straight from the fridge into small cubes. In a large bowl, or stand mixer fitted with whisk attachment, add in the cubed butter and brown sugar. Beat with a hand mixer until completely combined and ultra creamy, about 3–4 minutes.
- Add the egg and vanilla, and beat until combined. Then, mix in the cornstarch, baking soda, salt, and cocoa powder, beating until just combined and scraping down the sides as needed. Next, add the cake flour and regular flour, mixing again until just combined—be careful not to overmix. Gently fold in the mini and regular chocolate chips, along with the coarsely chopped Oreos, using a spatula. Cover the bowl tightly and refrigerate for 45 minutes to 2 hours.
- After chilling, remove the bowl from the fridge and form cookie dough balls. Each ball should be just over 4 ounces. You should get 6 equal-sized balls from the dough. Place rolled balls on a parchment-paper-lined sheet pan or plate and return to the fridge or freezer to chill for 15 more minutes.
- Meanwhile, preheat the oven to 325℉. Line an extra-large sheet pan with a silicone baking mat or parchment paper. Add 3 cookie dough balls to the pan, leaving plenty of space in between each cookie. Bake for 13–18 minutes, erring on the side of slightly under-baking. Remove from the oven and immediately press the edges of the cookie inwards with the back of a metal spatula to get the perfect round bakery-style cookie. Let cookies stand on the pan for 10–15 minutes before removing them to a cooling rack. Allow cookies to cool and finish firming up here. Repeat process with the last 3 cookies.
- In a large bowl, or stand mixer fitted with whisk attachment, beat the butter until smooth, creamy, and light, about 3–4 minutes. Add in 1 cup of powdered sugar and beat until combined. Beat in the remaining 1 cup powdered sugar, vanilla, and salt, and then just enough heavy cream to get the frosting to a pipeable consistency, about 3 tablespoons. Stir in the crushed Oreo crumbs until integrated. Transfer to a piping bag fitted with an open star tip and generously pipe frosting on each cookie. Alternatively, spread on frosting with a knife.
- For the perfect finishing touch, add a couple of mini Oreo cookies, halved regular-sized Oreos, or some coarse Oreo crumbs (just break with your hands) to the top of the cookies.
Recipe Notes
Nutrition
Nutrition information is automatically calculated, so should only be used as an approximation.


Such a good cookie. I’m considering even using the cookie base and adding in different toppings. 10/10
YUMM! So happy you’re enjoying! Thanks Emmie! 🙂