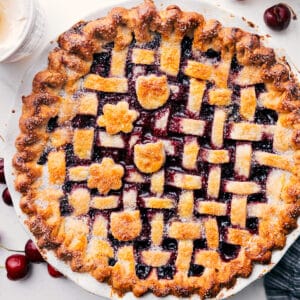
Cherry Pie Recipe with a rich, jammy filling, golden flaky crust, and just the right amount of crunch from a sparkling sugar topping.


Author’s Notes
The Pie I Make Every Summer…And You Should Too
Every summer, I make at least one cherry pie, and in my husband’s words, “it’s the best part of the summer.” Somehow, I’ve never actually shared the recipe here! Probably because my family INHALES it before I can even grab a photo, ha!
Over the years, I’ve tweaked the filling a bit and, of course, I use my forever pie crust recipe. So I figured this was finally the summer to share it, just in time for cherry season!


Cherry Pie Recipe Ingredients
| Ingredient | Helpful Notes |
|---|---|
| Fresh cherries | I like using a 50/50 mix of dark sweet cherries and Rainier cherries |
| Granulated sugar | Adjust based on cherries; increase if using sour cherries |
| Lemon juice | Adds brightness and balances sweetness |
| Cornstarch | Thickens the filling so it sets up nicely |
| Butter | Stir in at the end for richness and a glossy finish |
| Homemade pie crusts | Check out my post for all my best tips on making an all-butter pie crust |
| Egg & milk wash + sparkling sugar | The egg wash adds golden color to the crust, while the sugar gives it a crunchy, sparkly finish |

Cherry Pie Recipe Tips
- Cherry texture: Cut half in halves and half in quarters for a better set and bite.
- Cool first: Let filling cool before adding to the base crust (prevents soggy dough).
- Keep it cold: Chill crusts and then the whole pie before baking for best texture.
- Shield the edges: Add a pie shield after 20 minutes to prevent over-browning.
- Set before slicing: Let pie cool at least 3–4 hours so filling can fully set.

Quick Tip
How do I know when this Cherry Pie Recipe is done? Look for a deep golden brown crust and filling that’s bubbling through the lattice or edges for at least 5 minutes.
Storage
- Store: Cover and refrigerate leftover cherry pie for up to 5 days.
- Freeze: Wrap the fully baked and cooled pie tightly and freeze for up to 3 months.
- Reheat: Warm slices in the oven or enjoy cold straight from the fridge.
More Summer Desserts
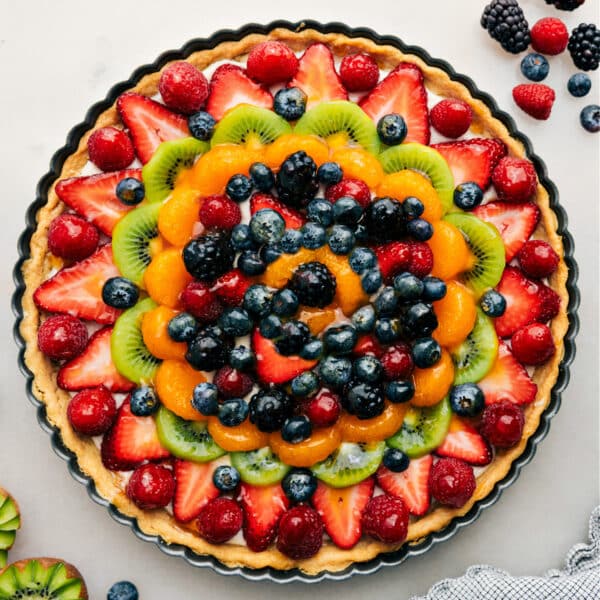
Desserts
Fruit Pizza Recipe
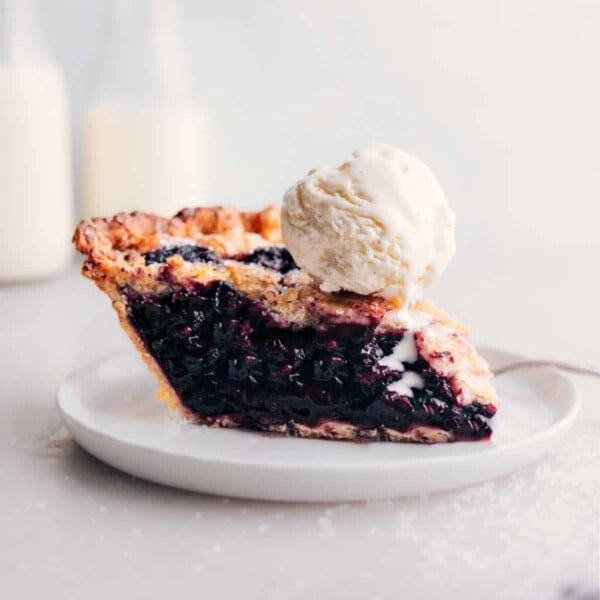
Desserts
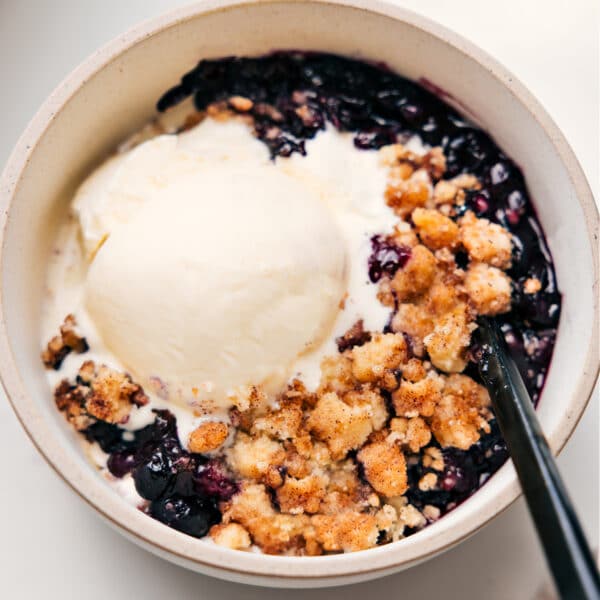
Blueberry Cobbler Recipe
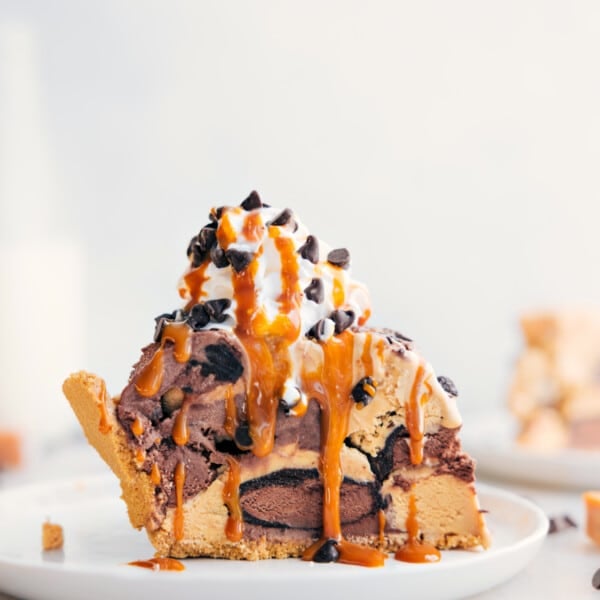
Desserts
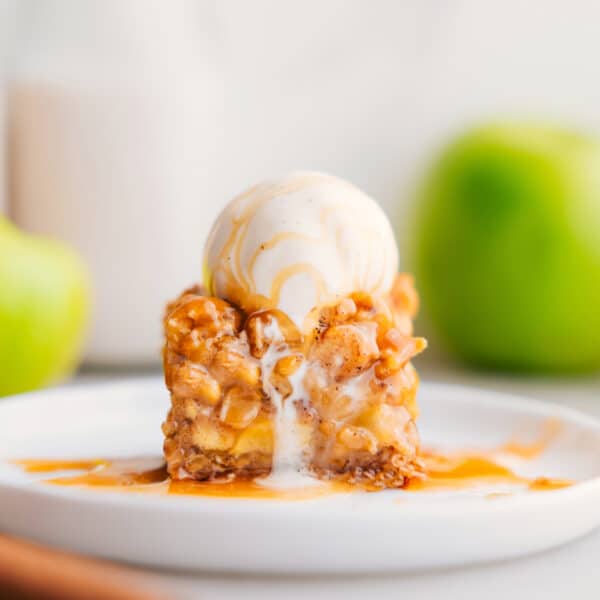
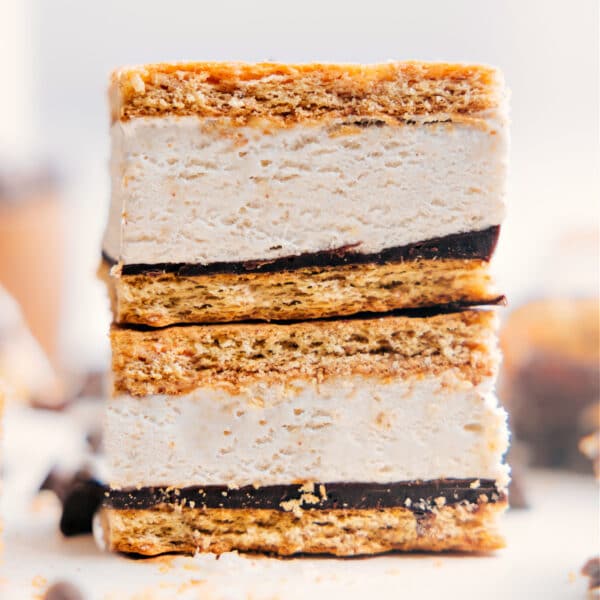
Frozen Protein S’mores
Desserts
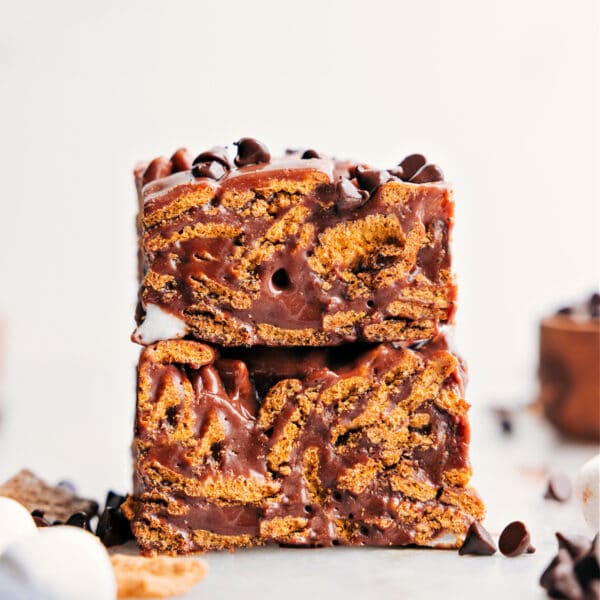
S’mores Cereal Bars
Cherry Pie Recipe
Equipment
- Pie pan 9-inch
Ingredients
- 5 cups fresh cherries pitted, see note 1
- 2/3 cup granulated sugar
- 1 large lemon (1-1/2 tablespoons juice)
- 1/8 teaspoon salt
- 1/4 cup cornstarch
- 2 tablespoons unsalted butter
- 1 teaspoon vanilla extract
- 1/8 teaspoon almond extract optional
- 2 homemade pie crusts
- 1 large egg plus 1 tablespoon milk
- 2 tablespoons coarse sparkling sugar
Instructions
- If possible, make the pie crusts the day before. Cold dough = better pie! Follow pie crust recipe and chill thoroughly.
- Wash and fully dry the cherries. Remove stems and pits. Cut half the cherries in half, and the rest into quarters. Add cherries to a medium pot with sugar and lemon juice. Cook, stirring occasionally, over medium heat for 3–5 minutes until juices are released. Use a slotted spoon to transfer cherries to a large bowl, leaving the juices in the pot on the stovetop.
- In a separate small bowl, add the cornstarch. Remove 2 tablespoons of the hot cherry juice and whisk it into the cornstarch until smooth. Gradually pour the cornstarch mixture back into the pot with the remaining juice, whisking constantly to prevent lumps. Cook, whisking constantly, over medium heat, until thick and smooth, about 3-5 minutes. Pour over the cherries and gently toss to coat. Stir in butter until melted. Add vanilla and almond extract, if using. Refrigerate the filling while you roll out the pie crust. Filling should be cold before adding to the base crust.
- Lightly grease a 9-inch pie pan with cooking spray. Roll out one chilled pie crust to a 12" circle. Fit into the pan and spoon in the cooled cherry filling. Preheat oven to 400°F. Roll out the second crust and cut into 1/2-inch strips. Arrange over the filling in a lattice pattern. Seal and crimp the edges as desired (see note 2).
- Whisk egg and milk in a small bowl. Brush over the top crust, then sprinkle with coarse sugar. Bake at 400°F for 20 minutes. Lower oven to 375°F and bake an additional 30-40 minutes, or until the top is golden and juices bubble through the crust for at least 5 minutes. Check the pie after 30 minutes and cover the edges with a pie crust shield if browning too quickly.
- Let the pie cool on a wire rack for at least 3-4 hours before slicing. The filling sets as it cools. Cutting too early will result in a runny pie. Once fully cooled, slice and serve, or cover and refrigerate to serve the next day.
Recipe Notes
Nutrition
Nutrition information is automatically calculated, so should only be used as an approximation.
What To Serve With This Cherry Pie Recipe
- Vanilla ice cream: Classic and creamy. My favorite topping for a warm pie!
- Whipped cream: Light and fluffy topping that complements the rich filling.
- Fresh cherries: Serve on the side or scattered over the top.
FAQs
Yes! Halve or quarter them while still frozen and follow the recipe as written. Bake time may be a few minutes longer.
Nope! The filling goes into a raw crust, and the full bake time cooks everything through.
It likely didn’t bake long enough. Make sure the filling bubbles through the crust for at least 5 minutes to fully activate the cornstarch.
The filling was likely too warm or the strips were too thin. Chill the pie before baking and use sturdy strips for better structure.
Make sure the filling is fully cooled before adding it to the crust, and bake long enough for the bottom to cook through. You can also preheat a baking sheet and place the pie on it for better bottom heat.