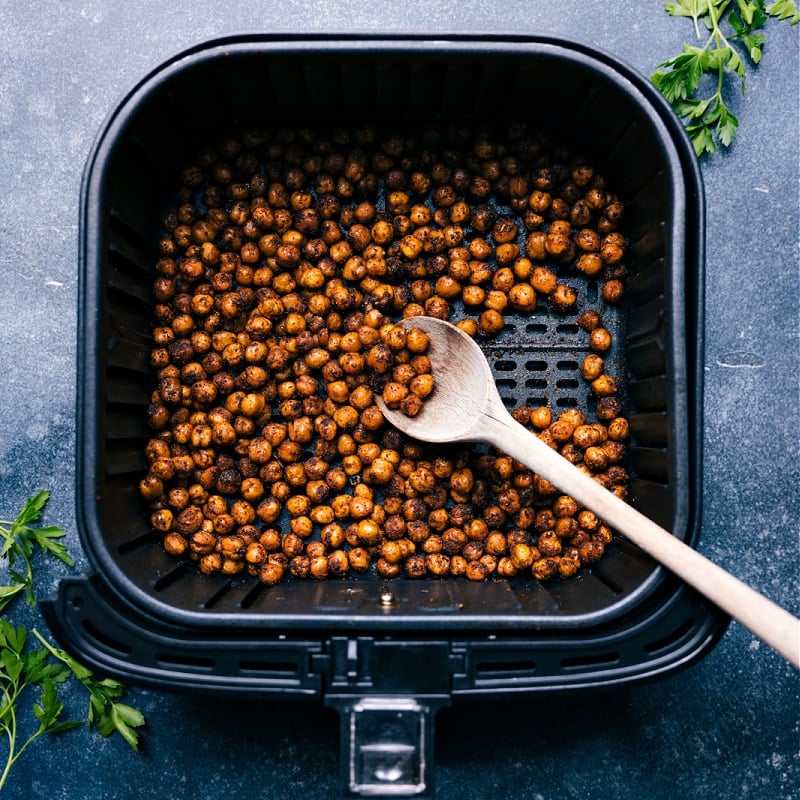
These Air Fryer Chickpeas are generously seasoned with a delicious savory flavor! They’re quick to prep and crisp up beautifully in the Air Fryer.
Not sure about Air Fryers? Check out our Air Fryer Guide!
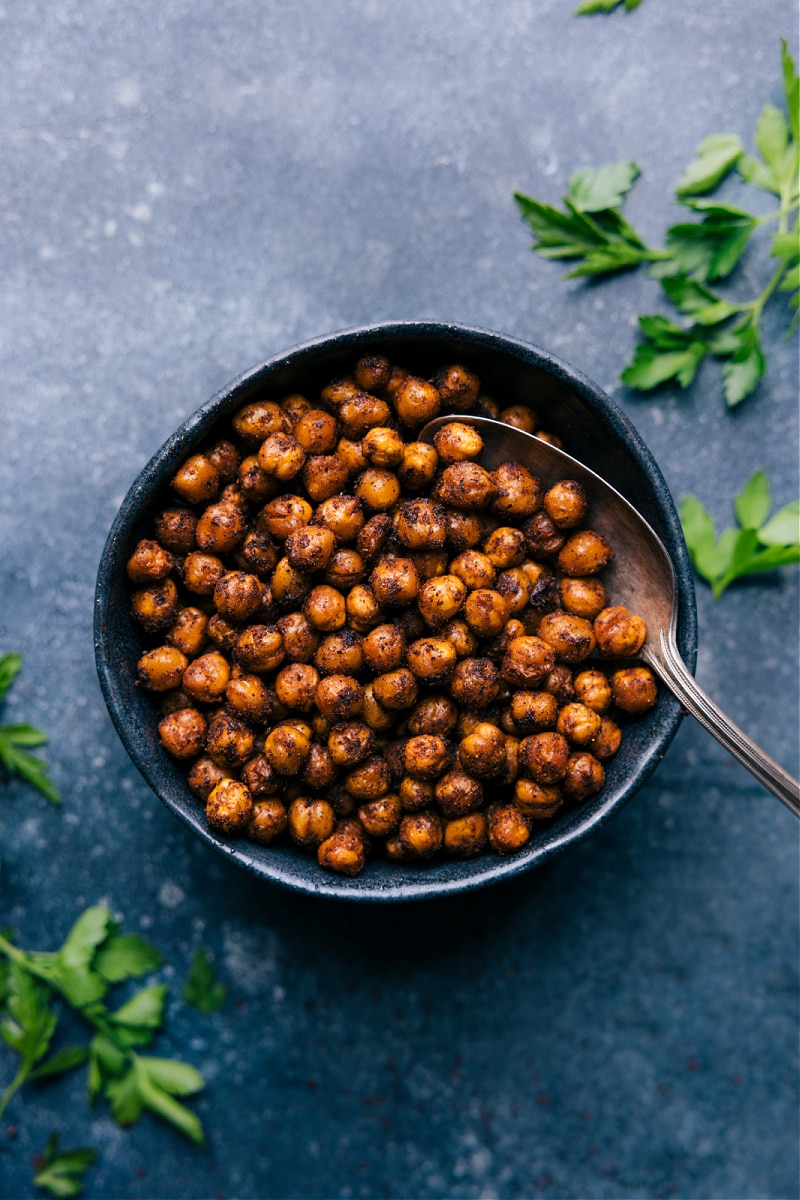
Air Fryer Chickpeas Seasoning
I’ve made plenty of roasted and air-fried chickpeas over the years, and my biggest complaint is always the same: not enough flavor! I love chickpeas that are well-coated and heavily seasoned, and this recipe delivers exactly that.
With these chickpeas, you won’t lose their flavor when tossing them into salad, wrap, sandwich—they hold their own! The seasoning works well with all kinds of dishes but starts with a Mexican-inspired blend. Win-win!
[quickitp] Chickpeas are also called Garbanzo Beans (they’re one and the same) or sometimes cici beans. [/quicktip]
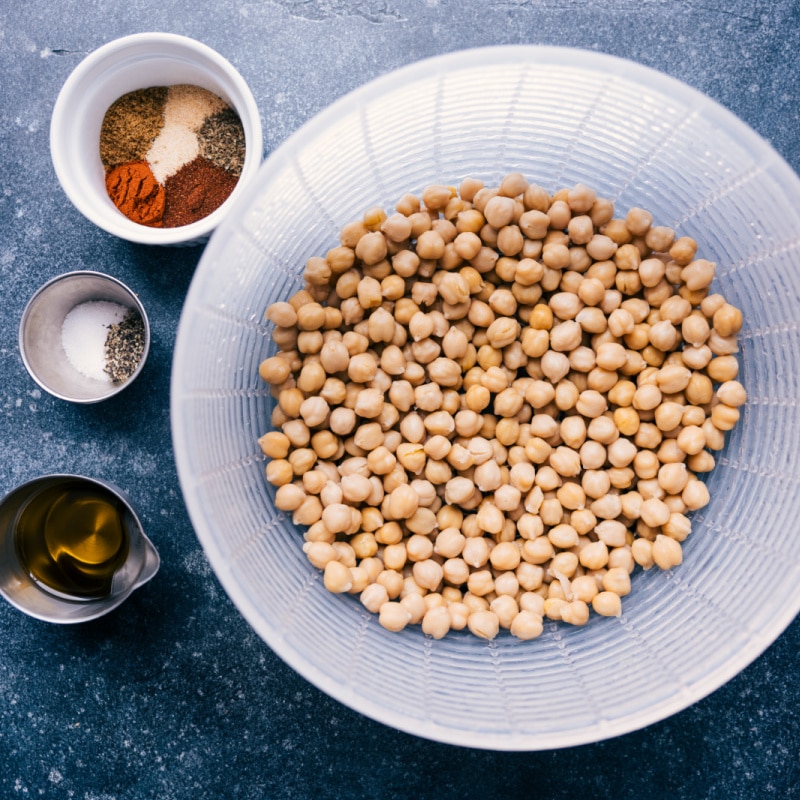
Variations
Switch Things Up
- No Oil Option: Use olive oil spray instead of oil to prevent chickpeas from getting too dry or crispy.
- Flavor Variations: Swap spices to create different profiles like Mediterranean, Indian, Italian.
Quick Tip
Love chickpeas? Try some other favorite vegetarian meals filled with chickpeas like this Chickpea Soup, Pesto Chickpea Sandwiches, Mexican Chickpeas, or Chickpea Curry!
How To Cook Chickpeas In Air Fryer
This is one of my favorite ways to prepare chickpeas—they’re so quick and easy in the air fryer!
Air fryers roast chickpeas faster, and there’s no waiting for the oven to preheat.
I use and love this air fryer. Timing can vary by brand, so taste a chickpea at the minimum cook time and add more if needed to reach your desired crispiness.
Why Are My Chickpeas Not Crispy?
The key to crispy chickpeas: make sure they’re very dry before tossing with oil and spices.
Wet chickpeas won’t keep the spices on and will steam, not roast.
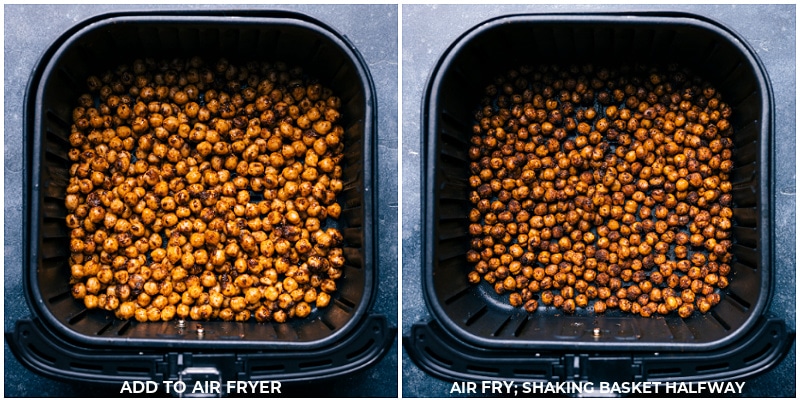
Don’t crowd the air fryer—keep the chickpeas in a single layer so they don’t touch too much. For best results, make them in batches instead of doubling the recipe.
Storage
How Do You Store Air Fryer Chickpeas?
These legumes are best right out of the air fryer– they will soften as they stand/sit.
Store leftovers in an airtight container in the fridge and then just pop them back in the air fryer for a few minutes to re-crisp the next day!
Serve Air Fryer Chickpeas With:
- Nourish Bowls with a hot honey sauce
- Garden Salad with a simple vinaigrette
- Pesto Vegetable Bowls roasted vegetable-couscous bowls
- Mexican Chickpeas with a cashew-cilantro sauce
- Chopped Chicken Salad with a lemon-Dijon dressing
Air Fryer Chickpeas
Equipment
Ingredients
- 1 (15.5-ounce) can chickpeas well-dried, see note 1
- 1-1/2 tablespoons olive oil
- 1-1/2 teaspoons chili powder
- 1/2 teaspoon ground cumin
- 1/2 teaspoon paprika
- 1/4 teaspoon onion powder
- 1/4 teaspoon garlic powder
- 1/4 teaspoon dried oregano
- 1/2 teaspoon salt
- 1/4 teaspoon pepper
Instructions
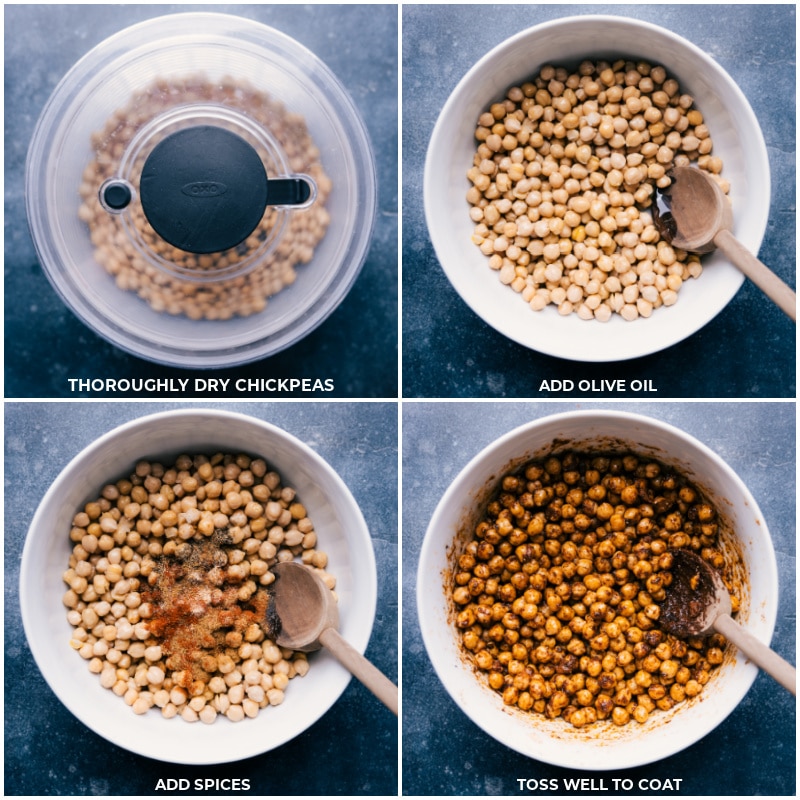
- Drain and rinse chickpeas, then thoroughly dry. I like to add them to a salad spinner and spin until very dry. The drier the chickpeas, the better they’ll crisp up!
- In a medium bowl, add all remaining ingredients to the completely dried chickpeas and toss well.
- Transfer chickpeas to the air fryer basket in an even layer. If they’re overlapping, they won’t fry as nicely—fry in batches if needed. Air fry at 390°F for 10–15 minutes (see note 2) or until crisp, but not hard. Shake the air fryer basket at the halfway point to ensure even frying.
Video
Recipe Notes
Nutrition
Nutrition information is automatically calculated, so should only be used as an approximation.




As Chelsea’s sister and employee I LOVE this recipe! So easy and they come out perfectly every time!!
Hi Chelsea, I make many of your recipes and enjoy each and every one of them. I just saw this recipe and would like to make them in a conventional oven. Would I just use the same temp and keep them in a little longer? I know….there’s always one that has to ask ;-). If you incorporate these in recipes, do share. Thanks for all the yumminess you share!
Hey Eva! Thanks so much, that means a lot to me 🙂 Yes you can do them in the oven for sure! Roast at 400 degrees F for 18-22 minutes, shaking the tray at the halfway mark. (We like them best at 20 minutes.) Enjoy!