
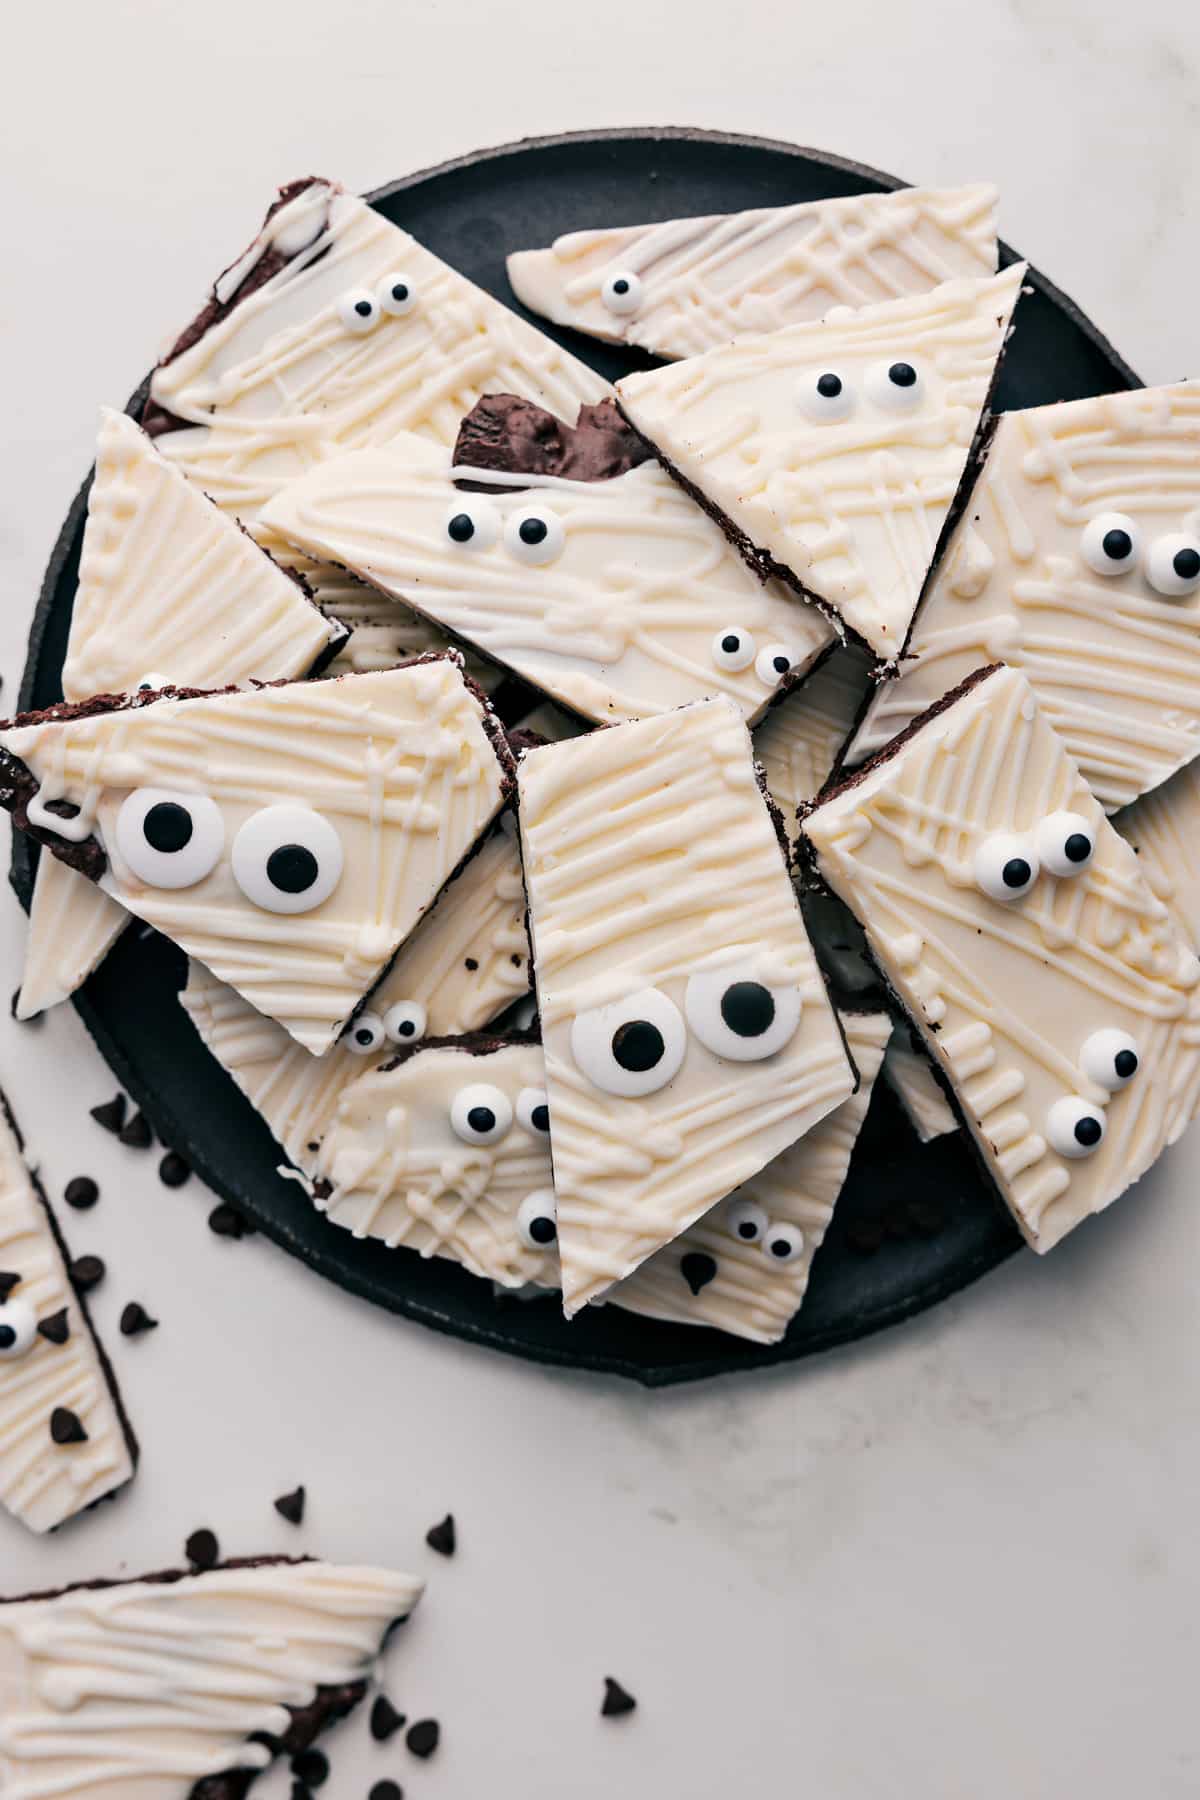
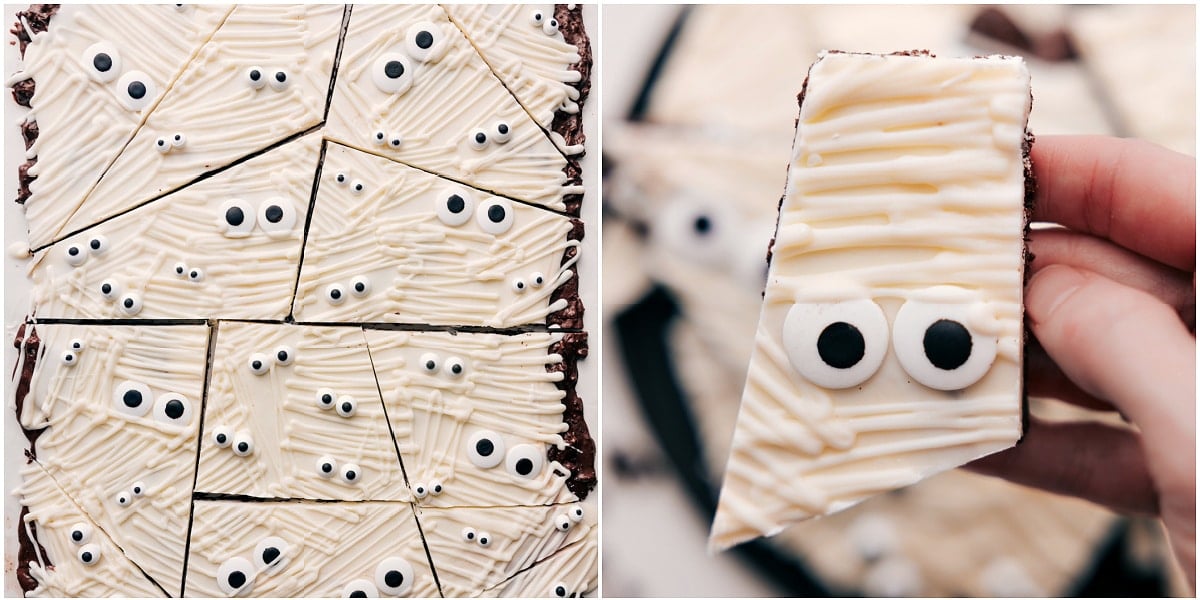
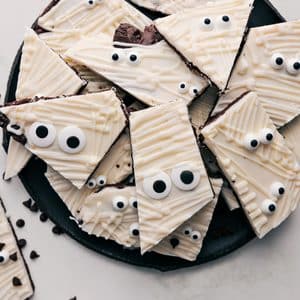
This Mummy Treat combines Oreos and two kinds of chocolate in an easy Halloween bark. Candy eyes and chocolate “bandages” make it the cutest 4-ingredient dessert!

Author’s Notes
The Cutest Halloween Bark With Just 4 Ingredients!
It’s no secret Halloween is my favorite holiday. I look forward to it all year long! I’m not really into the scary, creepy side of Halloween, but the cute stuff? Totally my jam. And that definitely includes Halloween treats. I’ve shared so many over the years, and they’re some of my very favorite recipes to create.
This mummy bark is one of those treats I absolutely love. My rule with Halloween recipes is they can’t just be cute, they have to actually taste really good too, and this one definitely checks that box. It’s sweet, crunchy, chocolatey, and loaded with crushed Oreos, milk chocolate, and white chocolate. It actually reminds me a little of the Hershey’s Cookies ’n’ Creme bars I loved growing up.
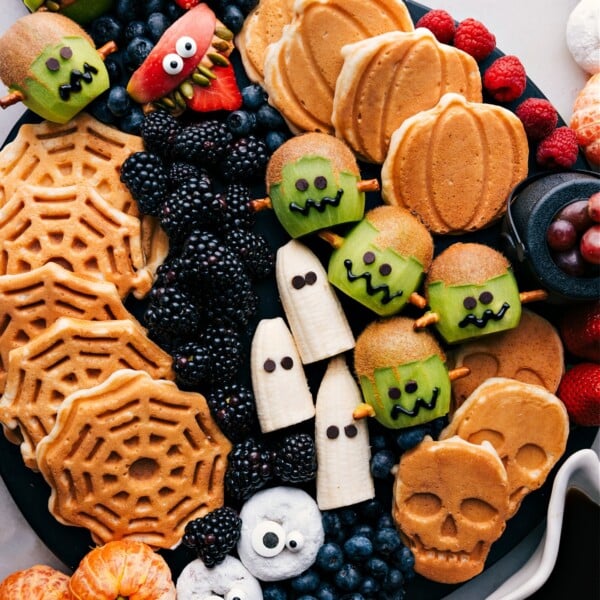
This mummy treat is perfect for Halloween parties, gifting, or setting out as part of a fun Halloween spread!

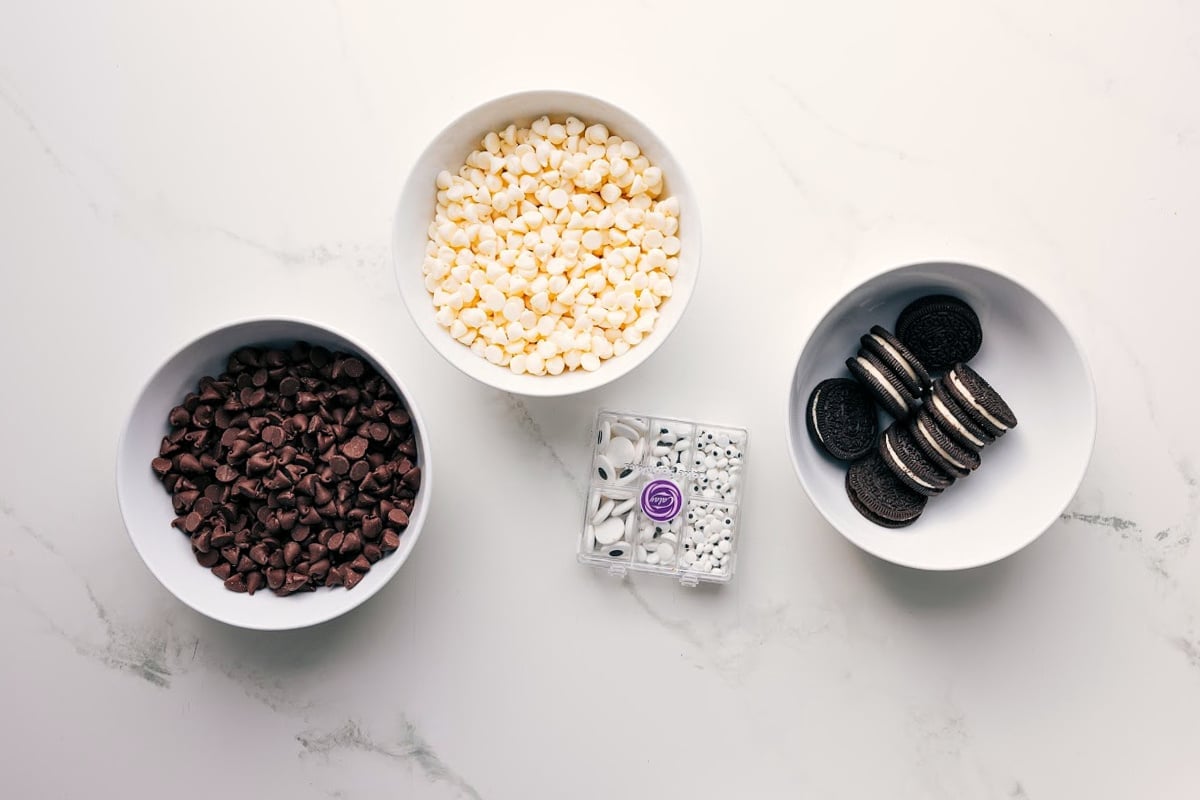
The Mummy Treat-Making Lineup
| Ingredient | Tips & Swaps |
|---|---|
| Oreos | Keep the cream filling and crush into small chunks for plenty of cookie crunch. |
| Milk chocolate chips | Use milk chocolate for a sweeter base or semi-sweet chocolate for less sweetness. |
| White chocolate chips | I love Ghirardelli or Guittard! Reserve about 1/4 cup of melted chocolate for the mummy bandages. |
| Edible candy eyes | Mix small and large eyes for fun little faces. Press them in before the white chocolate sets. Here’s the kit I use! |
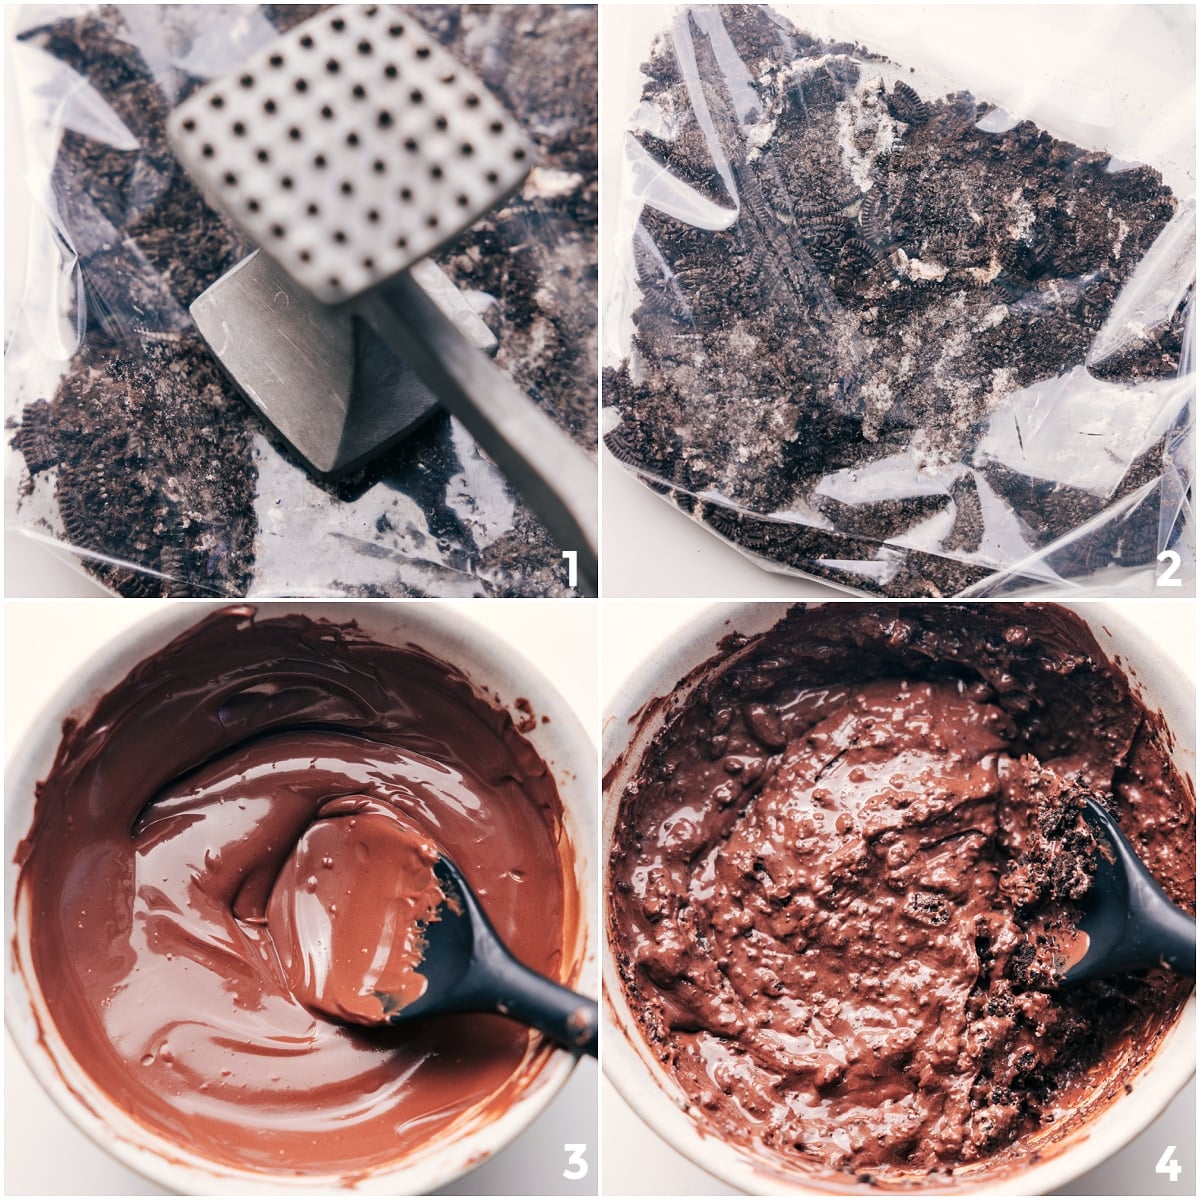
How To Make This Mummy Treat
- Prep: Line a pan with parchment paper and coarsely crush the Oreos.
- Base: Stir Oreos into melted milk chocolate. Spread in the pan and chill until firm.
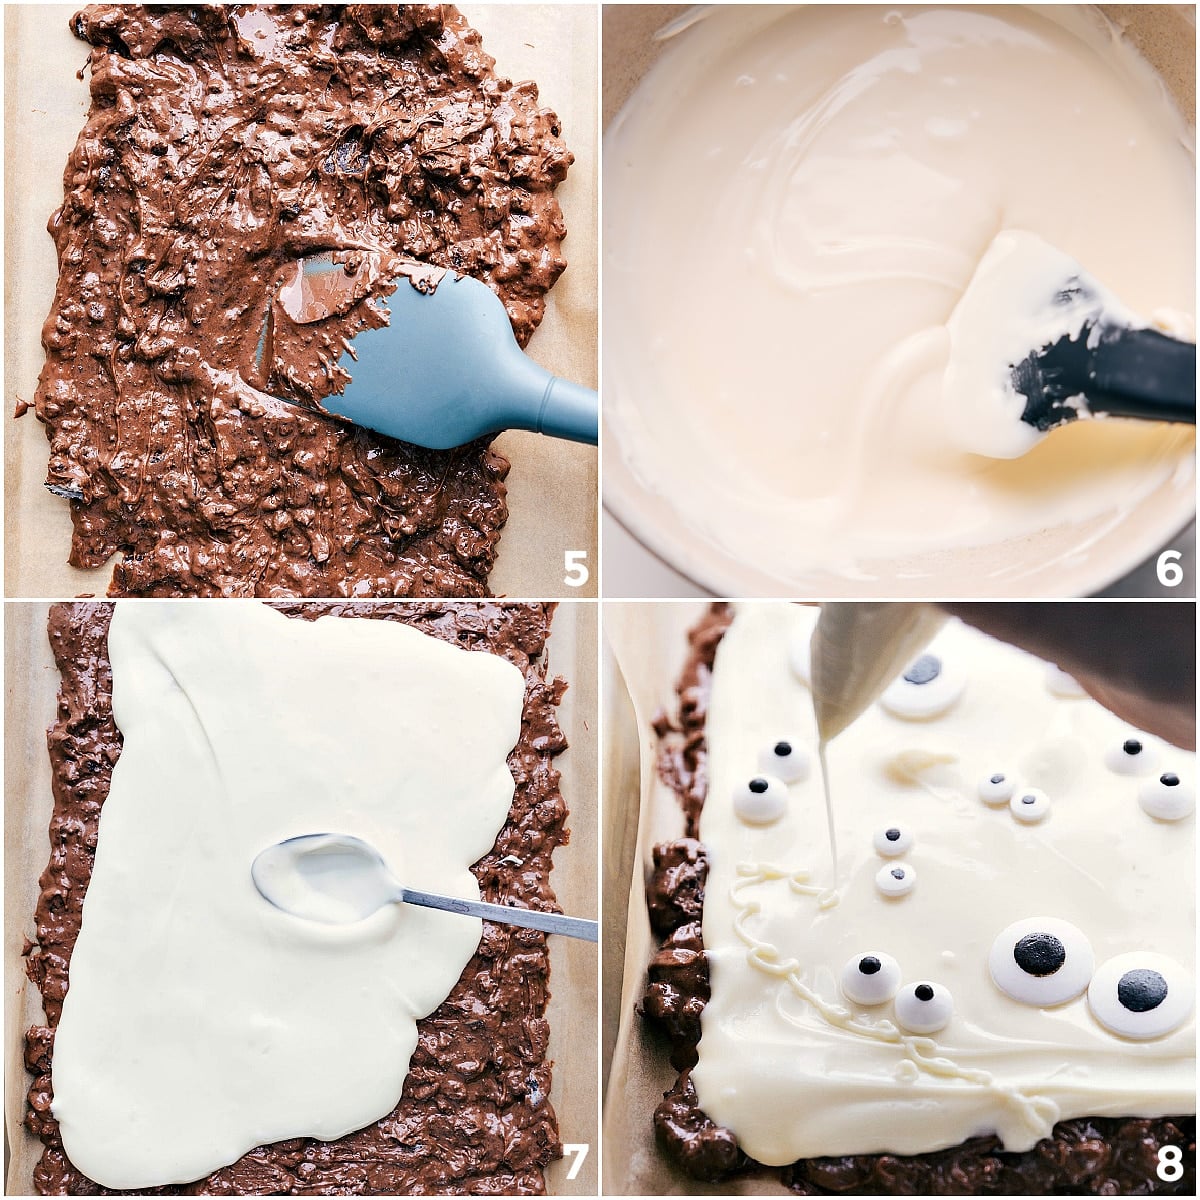
- Decorate: Spread melted white chocolate over the base, add candy eyes, and drizzle with reserved white chocolate.
- Chill and enjoy: Refrigerate until firm, then break into pieces.
Quick Tip
Melt chocolate slowly, stirring often. Keep water out & avoid overheating to prevent hard, grainy chocolate.
Chelsea’s Recipe Notes
Party Trays and Treat Bags
For a party, arrange the mummy treat pieces in a single layer with the eyes facing up. I love putting them in these black snack stack bowls along with some Halloween popcorn!
For gifting, let the bark set completely before placing a few pieces in food-safe treat box. Keep the boxes somewhere cool so the chocolate stays firm.
Want a few more treats for the table? Add my Halloween Bat Treats, Halloween Oreo balls, or Monster Munch.
Storage
Make this mummy treat a day or two before your party so it’s ready to serve.
Once fully set, store it in an airtight container with parchment between layers. Keep it in a cool, dry spot away from sunlight, or refrigerate if your kitchen is warm. Enjoy within a week.
If refrigerated, let the bark sit briefly in its closed container before opening to help limit condensation on the chocolate and candy eyes.
More Halloween Favorites:
Desserts
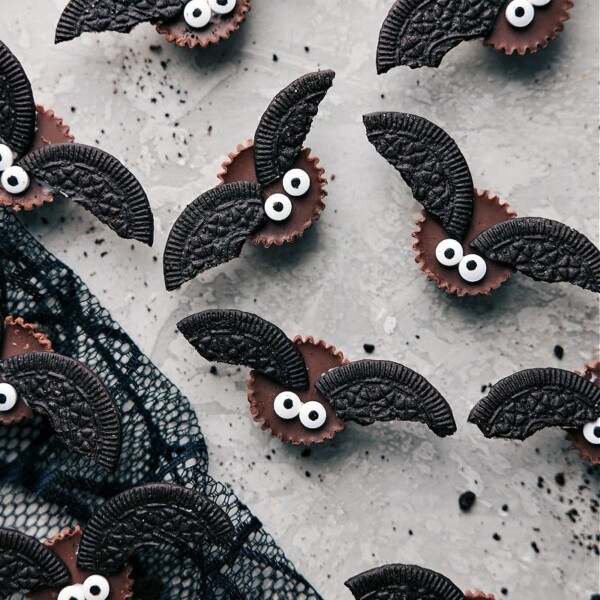
Halloween Bat Treats
Desserts
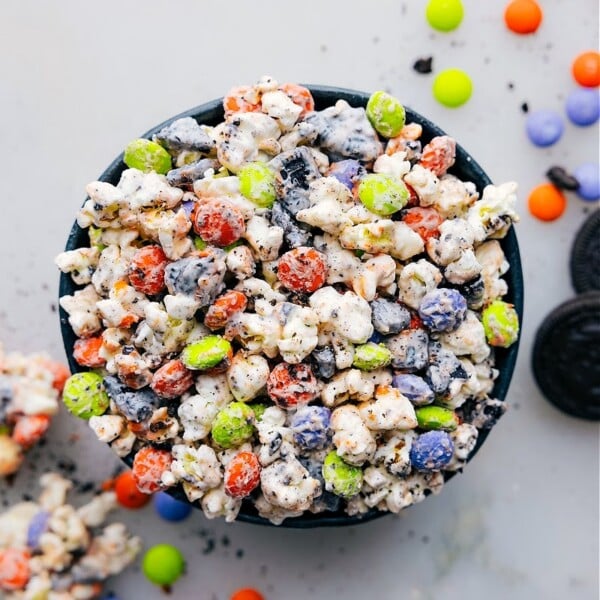
Halloween Popcorn
Desserts
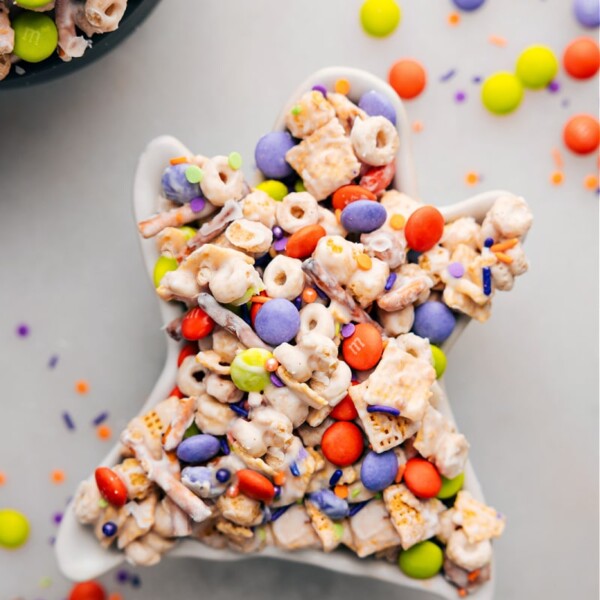
Monster Munch
Halloween
15 Halloween Breakfast Ideas
Mummy Treat
Video
Ingredients
- 12 Oreos or other chocolate sandwich cookies
- 1 (11.5-ounce) bag milk chocolate chips or semi-sweet chocolate if you prefer less sweet
- 1 (11-ounce) bag white chocolate chips divided
- Candy eyeballs see note 1
Instructions
- Line a 9×13-inch baking sheet pan with parchment paper and set aside. Add the Oreos (no need to remove the cream filling) to a plastic bag, seal the bag, and press out extra air. Use a rolling pin, meat mallet, or handle of a chef’s knife to coarsely break the cookies into smaller chunks.
- Melt milk chocolate chips in 30-second intervals, stirring between each burst for 15–20 seconds, until the chocolate is smooth and melted. Stir in the coarsely broken cookies until combined.
- With a spatula, spread the chocolate and cookie mixture onto the prepared pan in an even 1/4-inch thick layer. Place in the fridge to harden.
- Melt the white chocolate chips in 30-second intervals, stirring between each microwave burst for 15–20 seconds, until the chocolate is smooth. Remove about 1/4 cup of the melted white chocolate, transfer to a small plastic bag, and set aside. Gently spread the remaining melted white chocolate on top of the milk chocolate, using the back of a spoon. If the 2 chocolates begin swirling together, swap out for a new spoon to keep the colors separate. Immediately top the white chocolate with edible eyes (work quickly—white chocolate hardens fast!)
- Cut the tip off the plastic bag with the remaining white chocolate. Drizzle remaining white chocolate on top of the bark to resemble mummy bandages.
- Chill for 30 minutes or until firmly set up. Then coarsely chop or break into bark. Enjoy! If the chocolate is getting melty or soft, return to the fridge to firm up a bit.
Recipe Notes
Nutrition
Nutrition information is automatically calculated, so should only be used as an approximation.













Love your Halloween recipes!!!!
Thanks so much Eileen 🙂
You have the cutest Halloween treats, Chelsea 🙂
Those look so fun, perfect for Halloween. Thanks for sharing!
Thank you!!
Chelsea, I am planning to make these for the Halloween party that I am hosting this year!
Thank you so much Tania!! 🙂 I hope you LOVE the recipe!
Love your creative Halloween ideas!
Could these even be any cuter?
You come up with the cutest Halloween treats, Chelsea! I love this bark. I think I would munch on this all day long!
So cute and such a great idea! Can’t wait to make them for our party.
These cute treats are perfect! 🙂